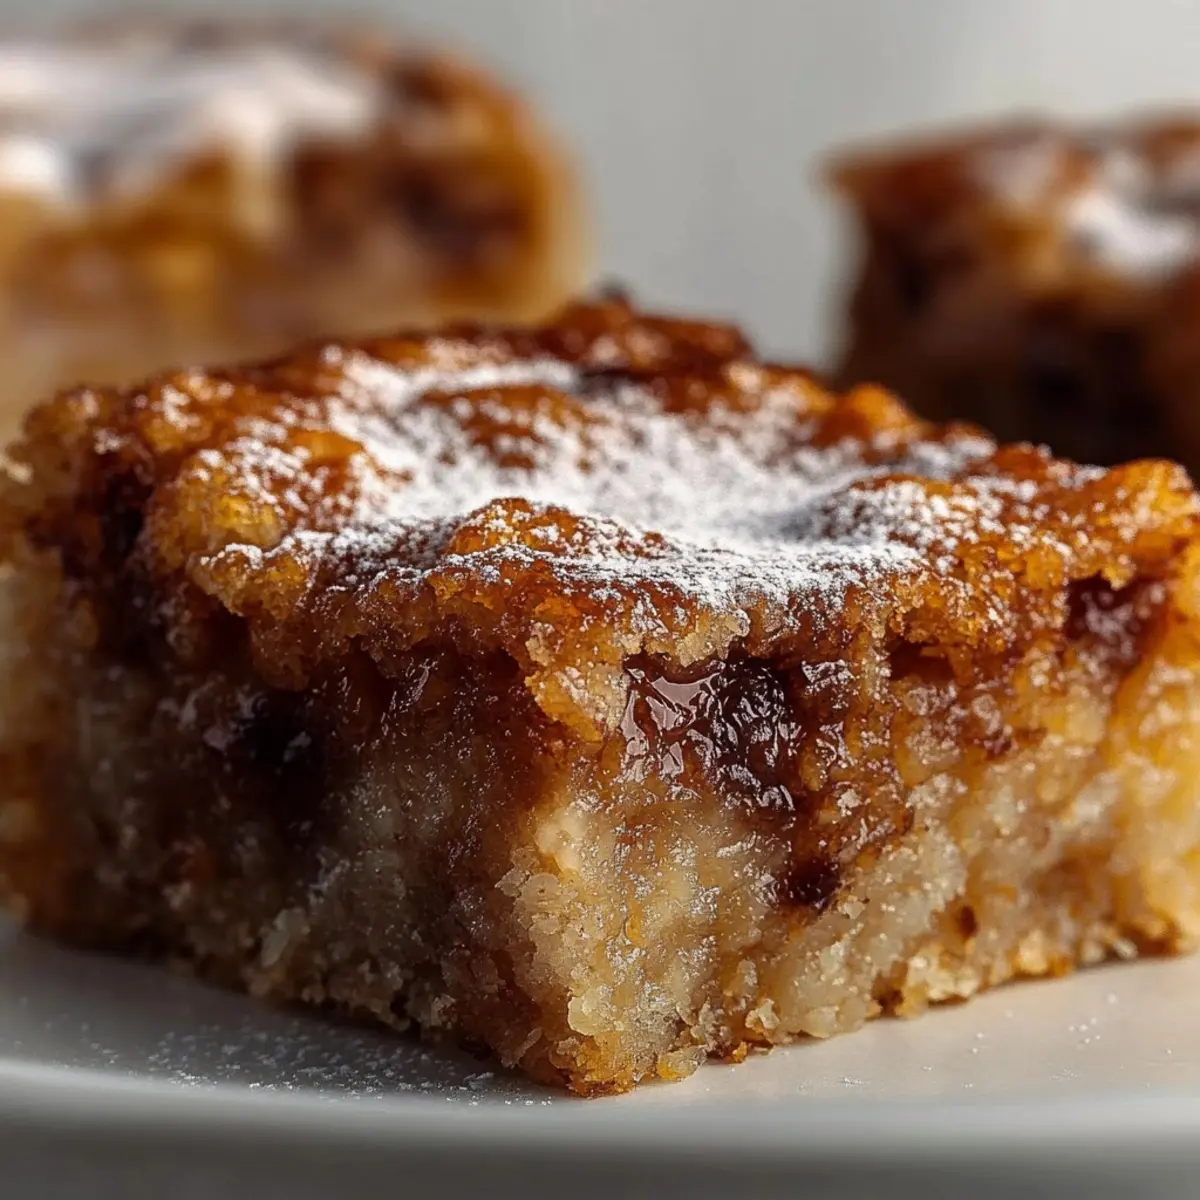
While rummaging through my pantry recently, I discovered a lonely box of yellow cake mix just waiting for its moment to shine. That's when the idea for these Ooey Gooey Bars struck me, and let me tell you, they exceeded my expectations. You’ll love how easy they are to whip up, requiring just a handful of simple ingredients, making them perfect for those moments when the craving for something sweet hits. Not only do they bake up into a delightful treat that brings people together, but they also transform a basic cake mix into something sensational that feels like a warm hug. Whether you’re treating yourself or impressing family and friends, these bars are the ultimate dessert that will have everyone coming back for seconds! Curious about how to create this sweet masterpiece? Let’s dive into the recipe!
Why Are These Bars So Irresistible?
Simplicity at its core: Few ingredients and easy steps mean anyone can master this recipe without any hassle!
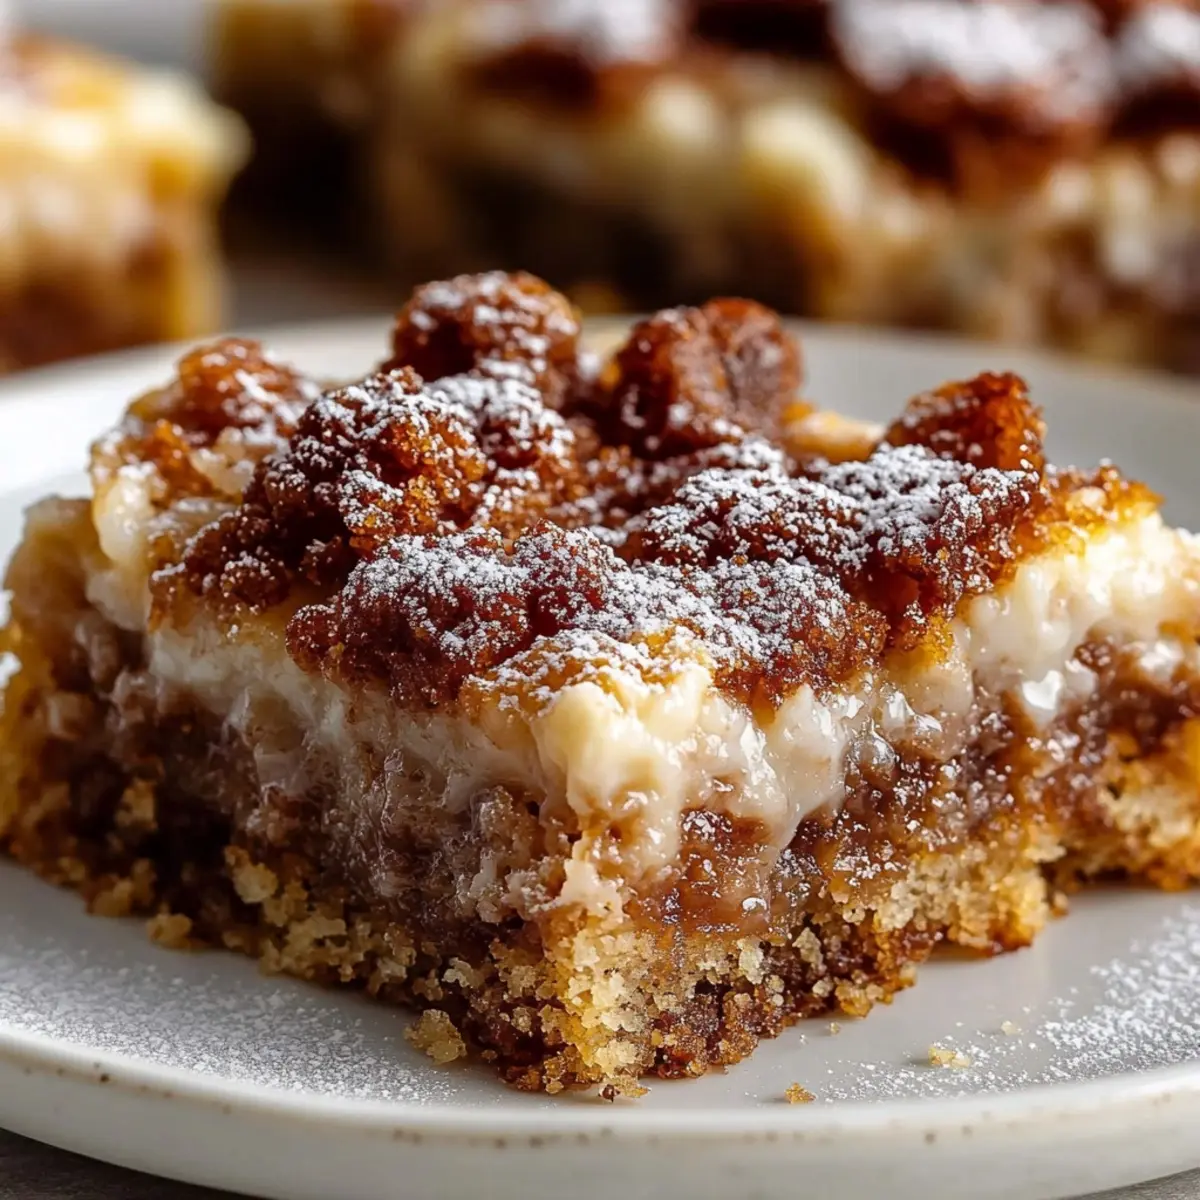
Decadent creamy filling: The luscious cream cheese layer elevates the ordinary into sheer delight, guaranteeing smiles with every bite.
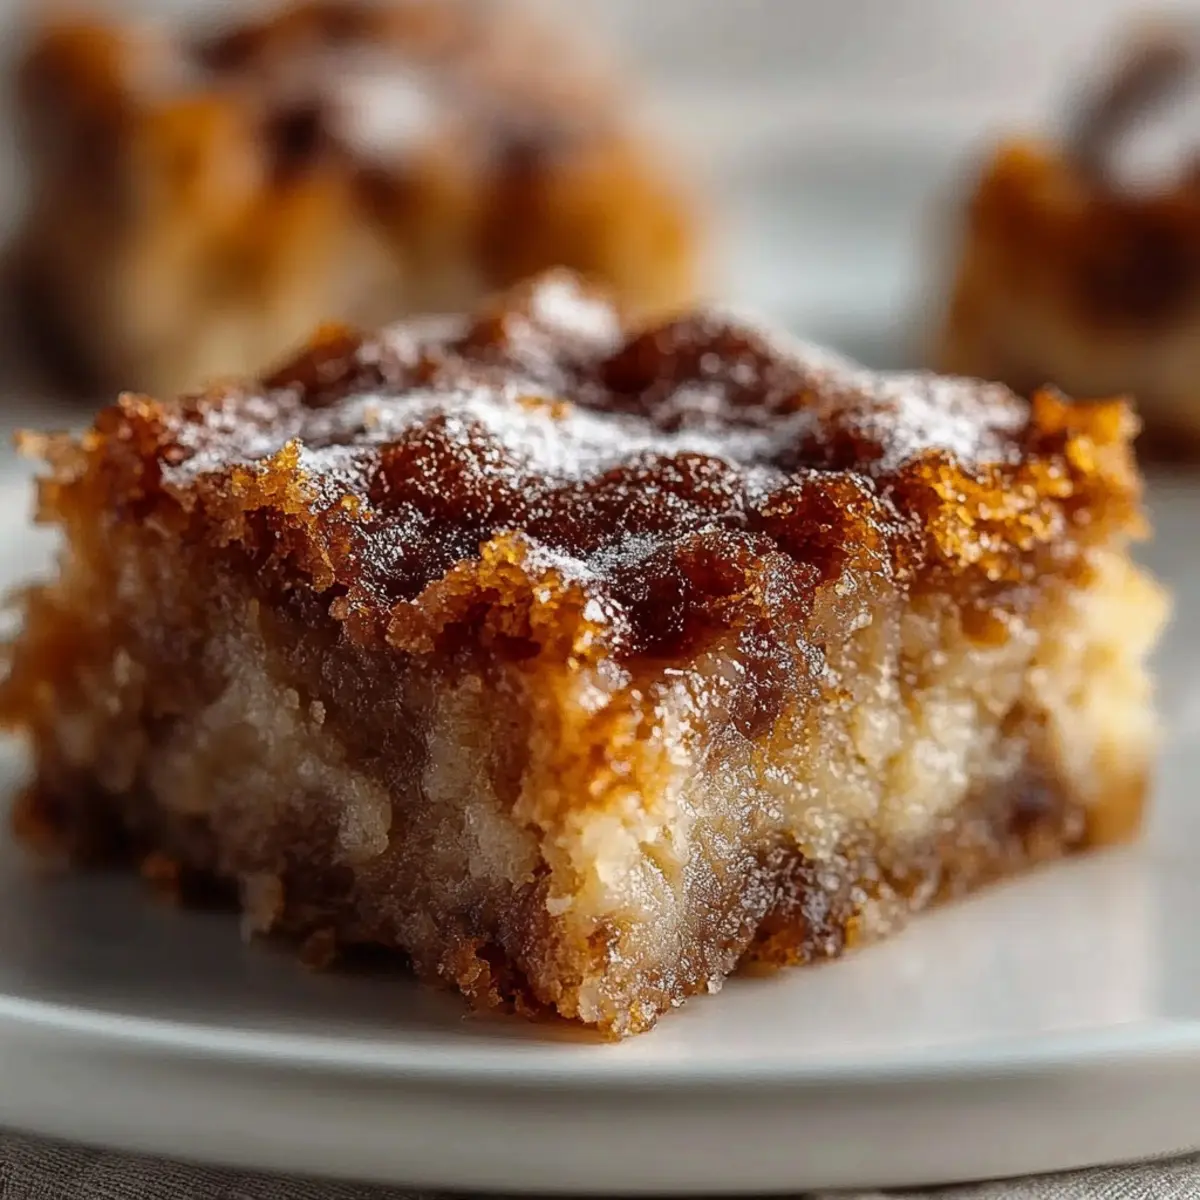
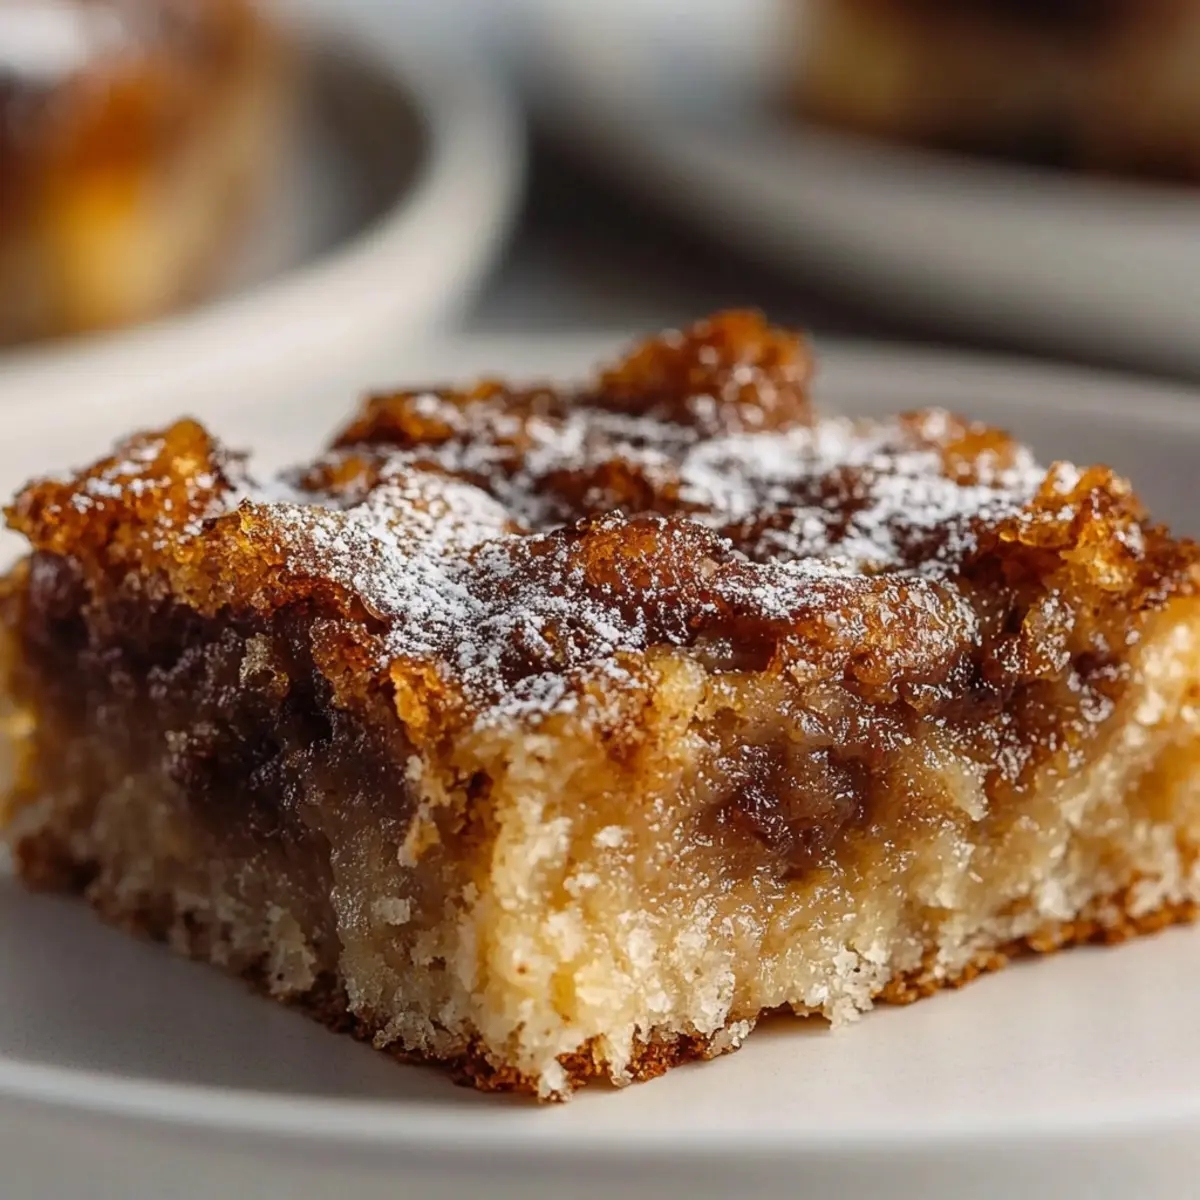
Perfectly gooey texture: These bars combine a chewy bottom crust with a smooth, rich top that will have you savoring each mouthful.
Crowd pleaser: Their mouthwatering taste makes them an instant hit at any gathering, whether it’s a cozy family dinner or a festive party.
Quick preparation: With just 15 minutes of prep time, you can satisfy your sweet tooth in no time, making these bars a go-to for busy days.
Versatile joy: Serve them as-is or jazz them up with your favorite toppings like fresh fruit or a drizzle of chocolate for a custom dessert experience!
Ooey Gooey Bars Ingredients
For the Crust
- Yellow cake mix – this dry ingredient forms the base and is the secret to the bars’ delicious texture.
- Butter – melted to create moisture and richness that binds the crust together.
- Egg – adds a bit of structure to the crust, helping it hold its shape.
For the Filling
- Cream cheese – softened for a smooth, creamy texture that creates the luscious filling that everyone loves.
- Beaten eggs – these help to thicken the filling while providing a rich flavor.
- Powdered sugar – sweetens the filling and gives it that heavenly gooeyness that makes Ooey Gooey Bars irresistible.
Happy baking, and get ready to indulge in each sweet, gooey bite!
Step‑by‑Step Instructions for Ooey Gooey Bars
Step 1: Preheat and Prepare
Start by preheating your oven to 350°F (175°C) to ensure it's hot and ready for baking. While the oven heats up, grab a 9×13 inch baking dish and grease it with butter or non-stick spray to prevent sticking, ensuring a flawless removal of your Ooey Gooey Bars later on.
Step 2: Make the Crust
In a medium bowl, combine the dry yellow cake mix, melted butter, and 1 egg. Mix these ingredients together until they form a thick, sticky dough that should easily hold together. You’ll know it’s ready when it pulls away from the sides of the bowl and has a uniform consistency, which will create a delicious base for your bars.
Step 3: Press the Dough
Take the thick dough and evenly press it into the bottom of the prepared baking dish, creating a solid crust. Make sure it covers the base entirely, reaching the corners to form an even layer. Use your fingers or the back of a spatula to smooth it out, making it look neat and ready for the delectable filling.
Step 4: Prepare the Cream Cheese Filling
In a large mixing bowl, beat the softened cream cheese with an electric mixer on medium speed for about 1–2 minutes until smooth and creamy. This whisking helps break down any lumps, ensuring a luxurious texture in your filling. You want it to have a velvety appearance that promises a creamy bite.
Step 5: Combine Ingredients for Filling
Add the two beaten eggs to the creamy mixture and blend them in until completely incorporated. This will enrich the filling with moisture and flavor. Continue mixing until the batter is glossy and well combined, ensuring that every bite of your Ooey Gooey Bars is scrumptiously indulgent.
Step 6: Sweeten the Filling
Gradually add the powdered sugar to the cream cheese mixture, whisking continuously until a thick and creamy filling forms. This step is crucial for achieving the signature gooey texture of your bars, which should be smooth, fluffy, and irresistible, forming a perfect topping for the crust.
Step 7: Assemble the Layers
Pour the luscious cream cheese filling over the crust you prepared earlier. Use a spatula to gently spread it evenly, covering the crust entirely. Take a moment to admire the layers building up—the crust on the bottom and the creamy filling on top that promises indulgence in every slice of your Ooey Gooey Bars.
Step 8: Bake the Ooey Gooey Bars
Slide the baking dish into the preheated oven and bake for 25–30 minutes. Keep an eye on the bars; they’re ready when the top is slightly golden and the center jiggles a little when you gently shake the pan. This visual cue is crucial for ensuring your bars remain delightfully gooey inside.
Step 9: Cooling Time
Once out of the oven, let the Ooey Gooey Bars cool completely on a wire rack for about 1–2 hours. Allowing them to cool will help the filling set, making them easier to slice later. The aroma filling your kitchen will be worth the wait as you anticipate that first heavenly bite.
Step 10: Slice and Serve
After cooling, slice the bars into squares or rectangles, making sure to cut through both layers. Serve them at room temperature, showcasing their gorgeous layers, and delight in the smiles that follow. Each piece promises a delightful blend of chewy crust and creamy filling that is simply irresistible!
Ooey Gooey Bars Variations
Feel free to get creative and customize these delightful bars into your very own treat that satisfies every craving!
-
Gluten-Free: Substitute the yellow cake mix with a gluten-free cake mix for a delicious alternative everyone can enjoy.
-
Cheesecake Swirl: Mix in a tablespoon of vanilla extract and a splash of lemon juice in the cream cheese filling for an extra burst of flavor that whispers “cheesecake.”
-
Chocolate Delight: Add 1 cup of chocolate chips to the filling for a rich twist that will please any chocolate lover in your life.
-
Nutty Crunch: Fold in half a cup of chopped walnuts or pecans into the crust for a delightful crunch that complements the creamy filling beautifully.
-
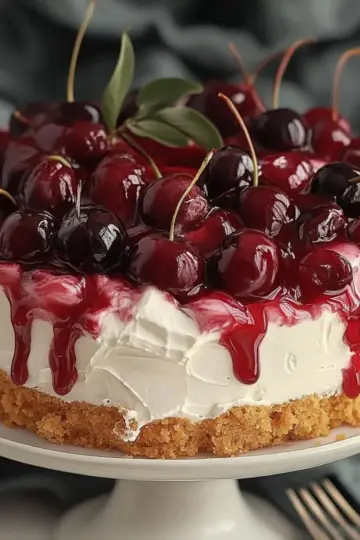
Fruit Infusion: Top the bars with fresh raspberries or sliced strawberries before baking to add a touch of fruity sweetness that balances the richness.
-
Spice it Up: Add a teaspoon of cinnamon or nutmeg to the crust for a warm, inviting flavor that's perfect for cozy gatherings or fall festivities.
-
Caramel Drizzle: Drizzle melted caramel over the top after baking for a decadent finish that transforms your bars into an indulgent dessert.
-
Mini Bars: For bite-sized treats, use a mini muffin tin instead of a baking dish. Bake for about 15–20 minutes for perfect little nibbles!
Make Ahead Options
These Ooey Gooey Bars are perfect for meal prep, allowing busy home cooks to indulge in a sweet treat without the last-minute rush! You can prepare the crust by mixing the yellow cake mix, melted butter, and egg up to 24 hours ahead of time; just keep it covered tightly in the refrigerator to maintain freshness. The cream cheese filling can also be mixed in advance and stored in an airtight container for up to 3 days. When you're ready to bake, simply spread the filling over the crust, bake as directed, and let cool completely. This way, you’ll have delicious, gooey bars ready to enjoy whenever your sweet tooth calls!
What to Serve with Ooey Gooey Bars
Indulging in these sweet treats is even better when paired with delicious accompaniments for a full dessert experience.
-
Fresh Berries: Juicy strawberries or blueberries add a burst of freshness that contrasts beautifully with the sweetness of the bars. Their natural acidity cuts through the richness.
-
Whipped Cream: Light and airy, a dollop of whipped cream enhances the creamy texture and provides a delightful creaminess to balance the gooeyness.
-
Vanilla Ice Cream: A scoop of classic vanilla ice cream complements the warm, chewy texture while adding a cool sensation, creating a delightful temperature contrast.
-
Chocolate Drizzle: A drizzle of melted chocolate on top intensifies the chocolatey flavor, transforming your bars into an elegant dessert while adding a sophisticated touch.
-
Coffee: A cup of rich, bold coffee enhances the dessert's sweetness and provides a comforting warmth, making it a perfect pairing for a cozy afternoon treat.
-
Caramel Sauce: Drizzling some caramel sauce highlights that wonderful gooey texture and adds a rich, buttery flavor that takes these bars to the next level.
-
Nutty Crunch: Toasted pecans or walnuts sprinkled on top provide a delightful crunch that contrasts with the softness of the bars, adding a lovely nutty flavor.
-
Milk: A glass of cold milk is the classic companion, refreshing your palate and perfectly balancing the sweetness of the bars with every bite.
Helpful Tricks for Ooey Gooey Bars
Chill the Cream Cheese: Make sure your cream cheese is softened at room temperature for the smoothest filling. Cold cream cheese can create lumps, ruining the signature gooey texture.
Don’t Over-bake: Keep an eye on your bars, as over-baking will lead to a dry filling. The center should be slightly jiggly when you remove it from the oven for that perfect ooey gooey goodness.
Use Quality Ingredients: Opt for high-quality butter and eggs. This can enhance flavor and texture, making your Ooey Gooey Bars even more delectable.
Allow Proper Cooling: Patience is key—let the bars cool completely for 1–2 hours. This ensures the filling sets properly, making them easier to slice without falling apart.
Customize with Toppings: Get creative! Top your bars with fresh berries, whipped cream, or a drizzle of chocolate to elevate them even further for special occasions.
How to Store and Freeze Ooey Gooey Bars
Room Temperature: Store your Ooey Gooey Bars in an airtight container at room temperature for up to 3 days, ensuring they stay soft and delicious.
Fridge: If you'd like them to last longer, keep the bars in the fridge for about a week. Just cover them with plastic wrap or place them in a sealed container to maintain their gooey texture.
Freezer: For longer storage, freeze the bars for up to 2 months. Cut them into squares, wrap each piece in plastic wrap, and place them in a freezer-safe bag. Thaw in the fridge overnight when you're ready to enjoy!
Reheating: To enjoy the bars warm, simply microwave for about 10-15 seconds. This will bring back that delightful gooeyness that makes these bars irresistible!
Ooey Gooey Bars Recipe FAQs
How do I choose the right yellow cake mix?
Absolutely! Look for a box labeled "yellow cake mix" that doesn't include extra ingredients like pudding mix. A simple, classic yellow cake mix will give your Ooey Gooey Bars the best texture. Check the date on the box to ensure freshness, as older mixes may not perform as well.
What is the best way to store leftover Ooey Gooey Bars?
To keep your bars at their best, store them in an airtight container at room temperature for up to 3 days. If you want to extend their life, refrigerate them where they can last up to a week. Just be sure to cover them well to keep that gooey texture intact!
Can I freeze my Ooey Gooey Bars? If so, how?
Yes, you certainly can! To freeze your bars, cut them into squares and wrap each piece tightly in plastic wrap. Then, place them in a freezer-safe bag, making sure to remove as much air as possible. They will stay good in the freezer for up to 2 months. When you're ready to enjoy, simply thaw them in the fridge overnight. Voila!
What should I do if my filling isn’t gooey enough?
If your filling isn’t gooey enough, it may be due to over-baking. Make sure to keep an eye on the bars and remove them from the oven when the top is slightly golden, and the center still has a little jiggle. If you find that they're already baked and set too firmly, you can warm them slightly in the microwave for a few seconds to reintroduce some gooeyness.
Are there any dietary considerations for this recipe?
When making Ooey Gooey Bars, make sure to check for allergies among your guests! Both the yellow cake mix and cream cheese can contain allergens like gluten and dairy. If you need a gluten-free version, look for a gluten-free cake mix. For dairy-free, there are vegan cream cheese alternatives available that can substitute effectively without compromising flavor. Always double-check your ingredient labels!
Indulge in Delicious Ooey Gooey Bars for Dessert Bliss
Ingredients
Equipment
Method
- Preheat your oven to 350°F (175°C) and grease a 9×13 inch baking dish.
- In a medium bowl, combine yellow cake mix, melted butter, and 1 egg until a thick dough forms.
- Press the dough into the bottom of the prepared baking dish to create a crust.
- Beat the cream cheese until smooth and creamy in a large mixing bowl.
- Add the two beaten eggs and mix until well combined.
- Gradually mix in the powdered sugar until a creamy filling forms.
- Pour the cream cheese filling over the crust and spread it evenly.
- Bake for 25-30 minutes, until the top is golden and the center jiggles slightly.
- Allow to cool completely on a wire rack for 1-2 hours before slicing.
- Slice into squares and serve at room temperature.