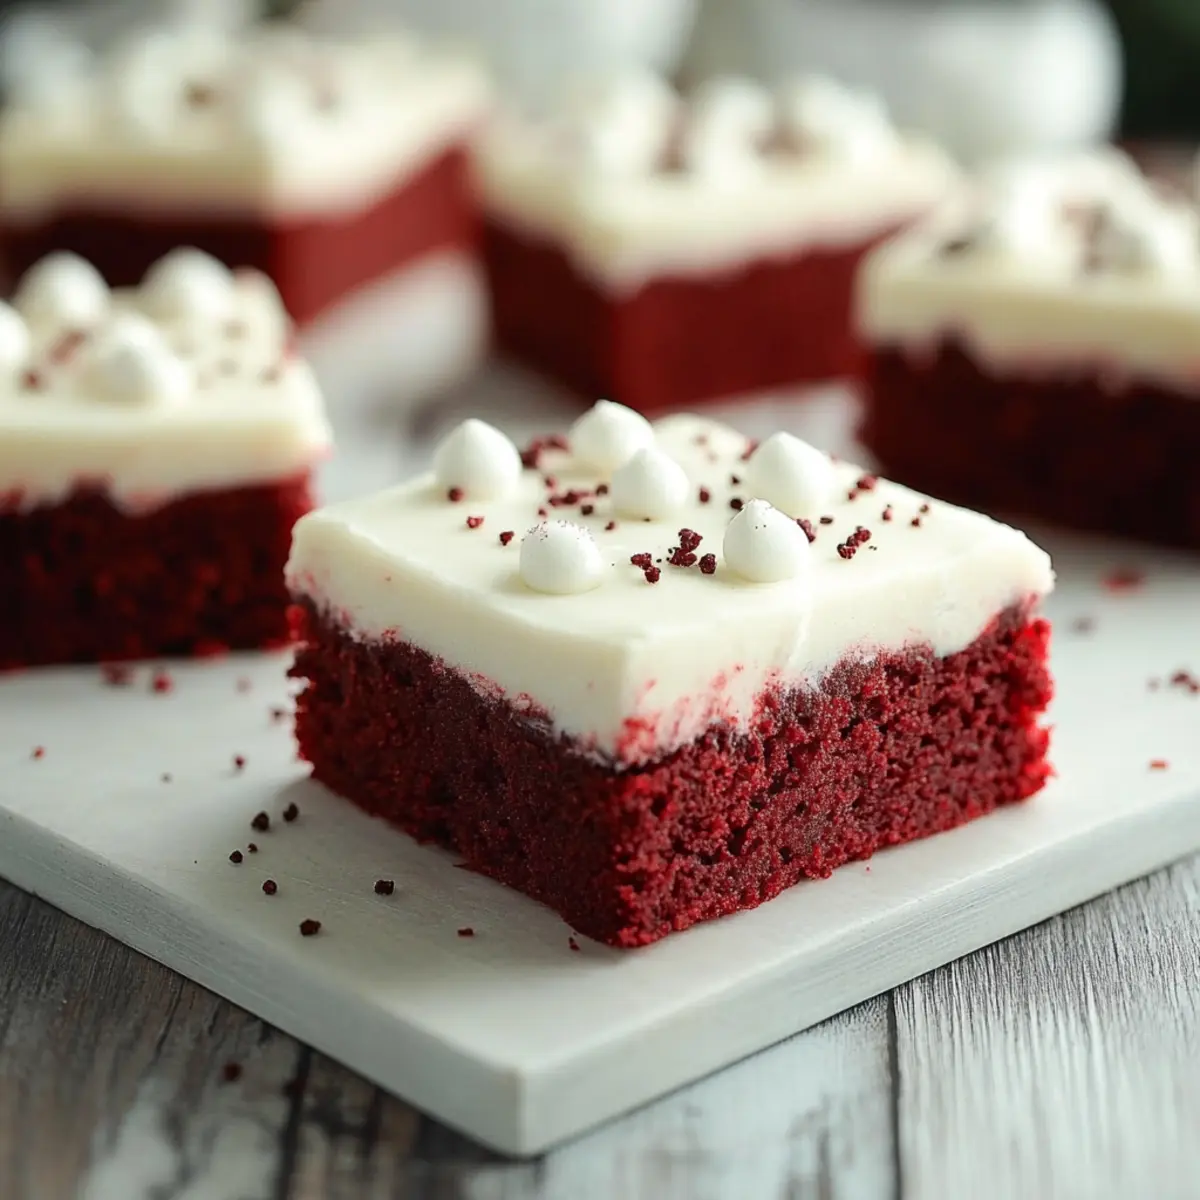
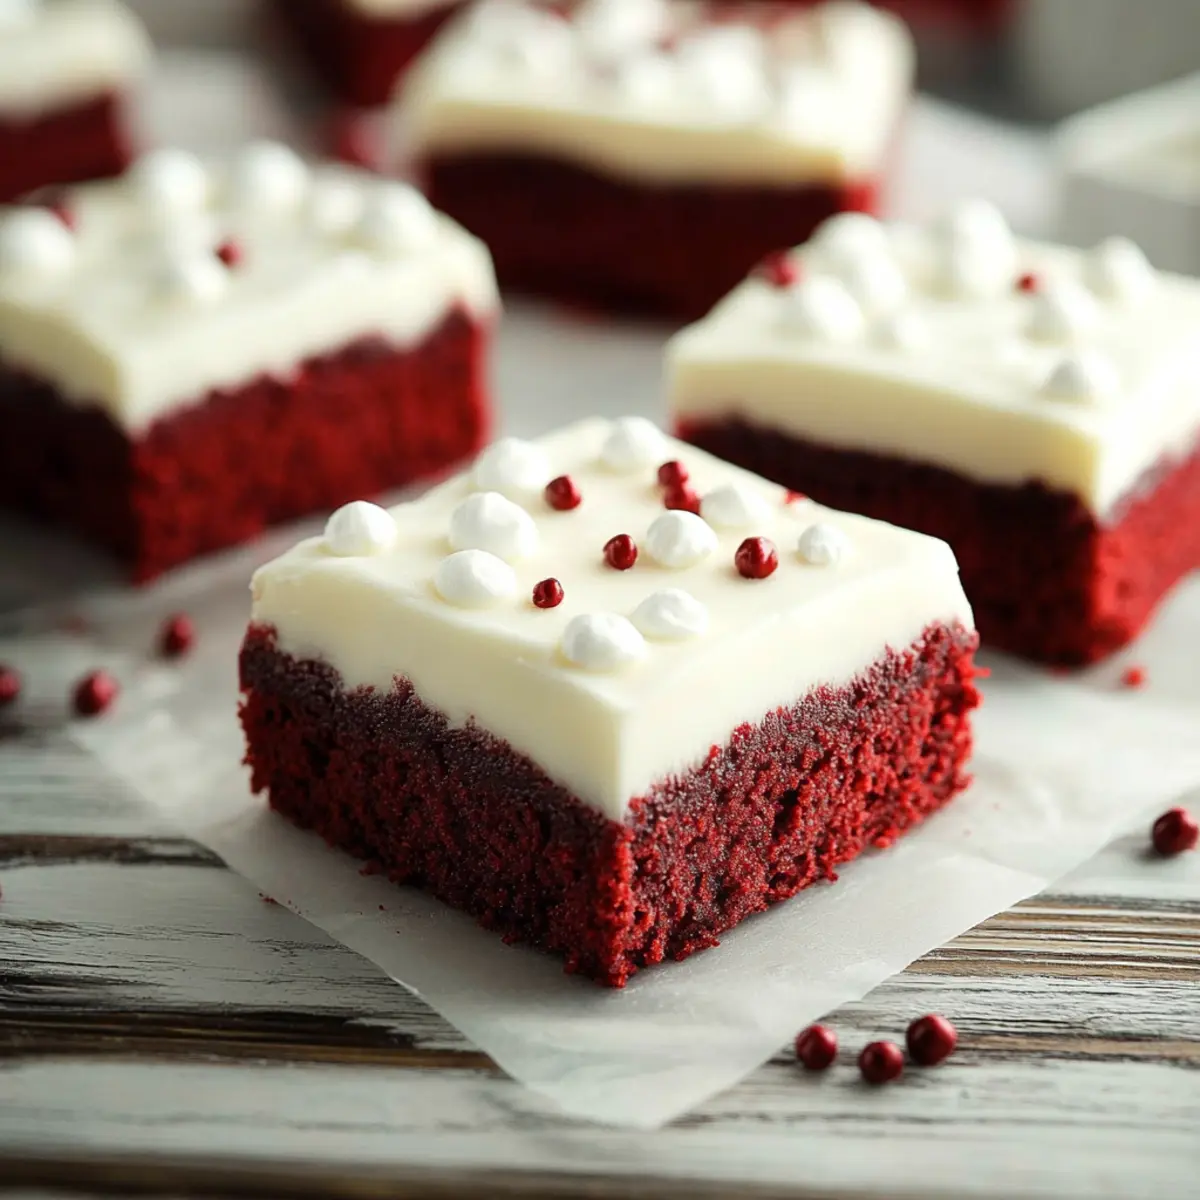
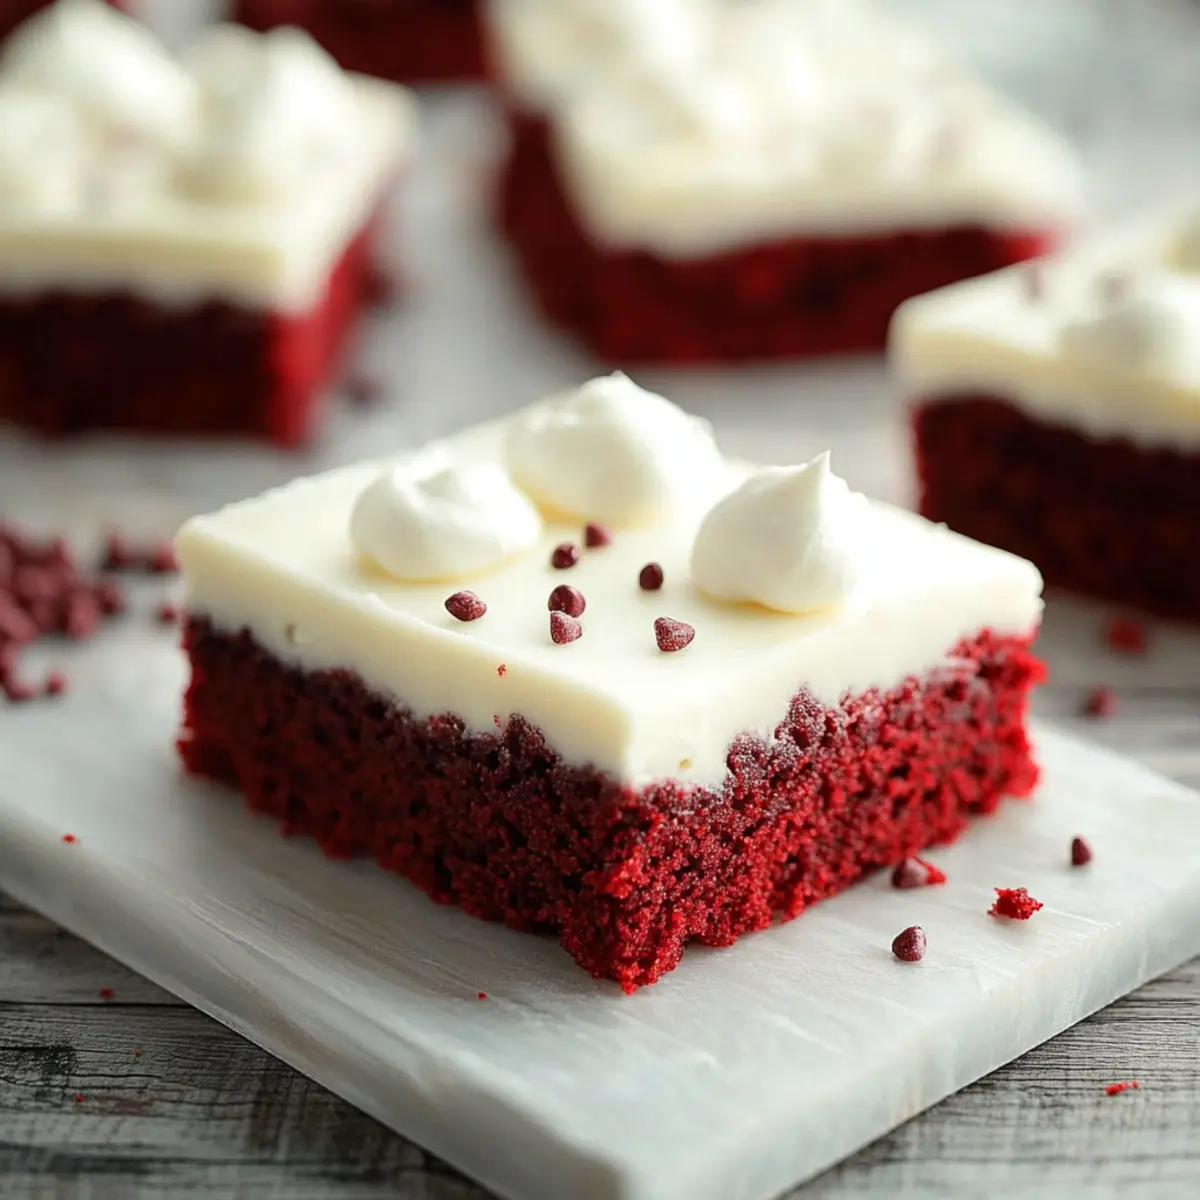
Did you know that a simple tweak to your favorite cake recipe can take it from a traditional treat to a delightful, easy-to-serve dessert? Enter my Easy Red Velvet Cookie Bars with Cream Cheese Frosting! Combining the taste of classic red velvet cake with the casual ease of cookie bars, this recipe is a game-changer for those cozy gatherings or festive celebrations.
What makes these cookie bars irresistible? For one, they come together in a flash—ideal for when you’re short on time but still want to impress your guests with something special. Plus, the creamy, tangy cream cheese frosting adds an enticing contrast to the rich, chewy bars beneath.
Whether you’re a seasoned home cook or simply looking for a fabulous new dessert to add to your repertoire, these cookie bars check all the boxes for flavor and simplicity. So, are you ready to bring a touch of festive indulgence to your kitchen? Let’s dive into the recipe and whip up this delightful treat!
Why are these Red Velvet Cookie Bars with Cream Cheese Frosting so special?
Simplicity: The step-by-step process makes these cookie bars incredibly easy to whip up, even for beginners.
Decadent Taste: A perfect balance of rich red velvet flavor and creamy frosting that will have everyone asking for seconds.
Versatile: You can easily customize the frosting or mix in your favorite add-ins to make this recipe your own.
Time-Saving: Ready in under 30 minutes, these bars are a quick and impressive dessert for any occasion.
Crowd-Pleaser: Perfect for parties, gatherings, or just a cozy night in, they cater to all dessert lovers.
Need a delightful cookie to pair with these bars? Consider making some cinnamon cream cheese cookies for a delicious cookie platter!
Red Velvet Cookie Bars Ingredients
• Get ready to bake these delectable treats!
For the Bars
• Flour – Provides structure to ensure your cookie bars hold together perfectly.
• Unsweetened Cocoa Powder – Adds a subtle chocolate flavor and enhances the vibrant red color.
• Salt – Enhances flavors and balances the sweetness.
• Baking Powder – Helps the bars rise for that perfect chewy texture.
• Baking Soda – Reacts with cocoa powder to promote browning and lift.
• Butter (Softened) – Contributes to the tender texture that makes these cookie bars irresistible.
• Sugar – Brings sweetness and moisture to balance the flavors.
• Eggs – Binds the ingredients together while adding richness.
• Vanilla – Enhances the overall flavor for a delightful finish.
• Red Food Coloring – Gives your cookie bars that iconic red hue; adjust the amount for desired intensity.
For the Cream Cheese Frosting
• Cream Cheese (Softened) – Provides the rich, tangy base that pairs perfectly with red velvet.
• Butter (Softened) – Adds richness and helps the frosting maintain its shape.
• Powdered Sugar – Sweetens and thickens; adjust for desired consistency in your frosting.
• Vanilla – Elevates the frosting’s flavor profile for a delightful finish.
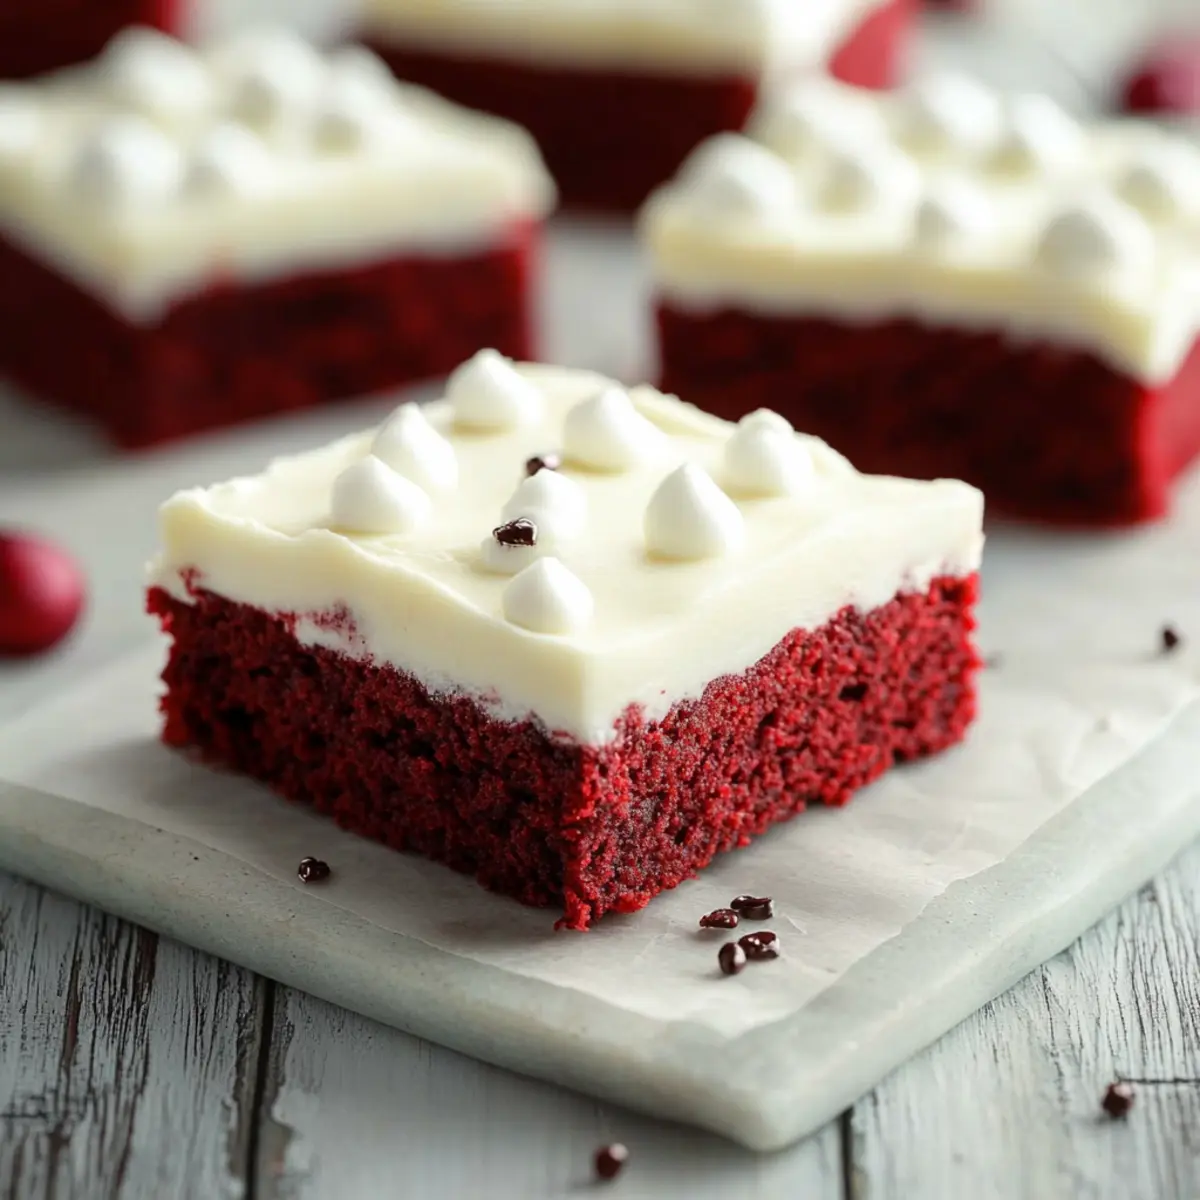
These Red Velvet Cookie Bars with Cream Cheese Frosting are not just a treat but a feast for the eyes and palate!
Step-by-Step Instructions for Red Velvet Cookie Bars with Cream Cheese Frosting
Step 1
Preheat your oven to 350 degrees Fahrenheit. As the oven warms up, grab a 13x9 inch baking pan and line it with parchment paper or foil; this will help you lift out the bars easily later. Don’t forget to grease it lightly to prevent sticking! Ensure your pan is set and ready for the batter.
Step 2
In a large mixing bowl, whisk together the dry ingredients: flour, unsweetened cocoa powder, salt, baking powder, and baking soda. This only takes about 2-3 minutes. Whisk until everything is well combined and the mixture is free of lumps. This step is crucial as it ensures that the leavening agents are evenly distributed throughout the batter.
Step 3
In another bowl, cream together the softened butter and sugar using a hand mixer or a stand mixer. Beat them on medium speed for about 5 minutes, until the mixture is light and fluffy. You'll know it's ready when it turns a pale yellow color and has a creamy texture. This step is important for incorporating air into the batter for that perfect chewy texture.
Step 4
Add the eggs to the creamed mixture one at a time, mixing well after each addition until fully incorporated. Then, add in the vanilla extract and red food coloring. Keep mixing until the batter is smooth and vibrant red. Your color should be rich and uniform, indicating that the ingredients are well blended.
Step 5
Gradually incorporate the dry ingredient mixture into the wet ingredients, mixing just until combined. Avoid over-mixing, as you want the texture of your Red Velvet Cookie Bars to remain tender and not tough. The batter will come together seamlessly, combining the rich flavors of cocoa and butter.
Step 6
Spread the batter evenly in the prepared baking pan using a spatula. Make sure to reach the corners for uniform thickness. You want a smooth top, as this would ensure even baking. The batter will be thick but manageable, so take your time to level it out perfectly.
Step 7
Bake the cookie bars in the preheated oven for 15-20 minutes. Check for doneness by inserting a toothpick in the center; it should come out clean or with a few moist crumbs. If the top is slightly domed and set, that’s a good indicator they are ready. Allow them to cool completely in the pan on a wire rack.
Step 8
While the cookie bars are cooling, prepare the cream cheese frosting. In a large bowl, beat together the softened cream cheese and butter on medium speed for about 5 minutes until it's creamy and well combined. This step brings a luscious texture to your frosting; ensure there are no lumps.
Step 9
Gradually add the powdered sugar, mixing gently until fully combined. This will take a few minutes, so be patient! Once fully incorporated, add the vanilla extract and mix for an additional 3 minutes. You want your frosting to be thick yet spreadable, so adjust the powdered sugar for desired consistency.
Step 10
Once the Red Velvet Cookie Bars are completely cool, generously frost the top with your cream cheese frosting. Use a spatula to create a smooth, even layer. After frosting, cut the bars into squares, and they’re ready to serve. You can’t go wrong with this indulgent dessert that promises smiles all around!
Make Ahead Options
These Red Velvet Cookie Bars with Cream Cheese Frosting are ideal for busy home cooks looking to save time during the week! You can prepare the cookie bar batter up to 24 hours in advance by mixing all the ingredients together and storing it in an airtight container in the refrigerator. For the frosting, simply beat together the cream cheese and butter and refrigerate it for up to 3 days. When you're ready to bake, allow the batter to come to room temperature before spreading it in the pan and baking. After frosting, these bars maintain their delicious flavor and moist texture for days, making them a perfect make-ahead dessert that will impress your family and friends!
What to Serve with Red Velvet Cookie Bars with Cream Cheese Frosting?
These delightful cookie bars pack all the sweetness you crave, making it easy to create a full dessert experience.
-
Fresh Berries: Bright, juicy strawberries or raspberries provide a fresh contrast, balancing the richness of the cookie bars beautifully. Their tartness enhances the overall flavor profile, making each bite feel even more indulgent.
-
Vanilla Ice Cream: A scoop of creamy vanilla ice cream melts over the warm bars, creating a luscious, dreamy combination. The cool creaminess complements the rich, chewy texture, making this pairing an unforgettable treat.
-
Chocolate Milkshake: Pairing these cookie bars with a thick, creamy chocolate milkshake takes dessert to an entirely new level. The smooth and decadent shake enhances the chocolate notes from the cookie bars, satisfying any sweet tooth.
-
Caramel Sauce: Drizzling warm caramel sauce over the bars adds a luxurious sweetness and a gooey texture that elevates the overall dessert experience. The buttery richness of the caramel creates a heavenly combination with the cream cheese frosting.
-
Chopped Nuts: Sprinkling toasted pecans or walnuts adds a satisfying crunch and nutty flavor, contrasting beautifully with the soft texture of the bars. This touch brings a delightful element of surprise with each bite.
-
Coffee or Espresso: A hot cup of coffee or a shot of espresso brings a sophisticated touch, enhancing the flavors of the cookie bars. The rich, roasty notes balance the sweetness, making it a perfect after-dinner treat.
-
Dark Chocolate Sauce: A drizzle of rich dark chocolate sauce brings an extra layer of decadence and complements the red velvet flavor beautifully. It’s a fantastic addition for chocolate lovers seeking an indulgent experience.
With these enticing pairings, prepare to impress your guests and elevate your dessert game!
How to Store and Freeze Red Velvet Cookie Bars
Room Temperature: Keep cooled cookie bars in an airtight container for up to 3 days. This helps maintain their chewy texture and rich flavor.
Fridge: For longer storage, place the cookie bars in the refrigerator for up to a week. Make sure they’re well covered to prevent them from drying out.
Freezer: Freeze individual bars wrapped in plastic wrap, then place them in a freezer bag for up to 3 months. Thaw at room temperature before enjoying.
Reheating: To enjoy warm cookie bars, gently heat them in the microwave for 10-15 seconds. This will bring back their fresh-baked taste while allowing the cream cheese frosting to soften beautifully.
Red Velvet Cookie Bars with Cream Cheese Frosting Variations
Customize your delightful cookie bars with these tempting twists that beckon you to get creative in the kitchen!
-
Chocolate Cream Cheese Frosting: Swap in cocoa powder for part of the powdered sugar in the frosting for a rich chocolatey twist. It's an indulgent variation that chocolate lovers will adore.
-
Gluten-Free: Use a gluten-free flour blend to keep these cookie bars soft and tasty for those avoiding gluten, ensuring everyone can enjoy this treat.
-
Nuts: Add chopped walnuts or pecans into the cookie batter for a delightful crunch that complements the smooth texture of the bars.
-
Vanilla Bean: Mix in the seeds of a vanilla bean pod into your cream cheese frosting for a gourmet touch that elevates the flavor profile beautifully.
-
Spiced Up: Incorporate a pinch of cinnamon or nutmeg into the cookie batter for a warm, cozy flavor that dances on your palate, bringing a dash of spice to every bite.
-
Fruity Addition: Fold in some mini chocolate chips or dried cranberries into the batter for bursts of sweetness and added texture that makes each square extra special.
-
Layered Delight: Create a sandwich effect by spreading frosting between two bars, transforming your dessert into a layered treat that's sure to impress.
-
Lemon Zest: Add a touch of lemon zest to your cream cheese frosting for a bright, refreshing contrast that enhances the richness of the red velvet.
Explore these variations to make the Red Velvet Cookie Bars with Cream Cheese Frosting uniquely yours!
Expert Tips for Red Velvet Cookie Bars
-
Use Parchment Paper: Line your pan with parchment paper to easily lift out the bars after baking, ensuring they keep their shape.
-
Soften Ingredients: Make sure the butter and cream cheese are softened to room temperature for a smooth, creamy frosting that's easy to spread.
-
Cool Completely: Let the cookie bars cool completely before frosting; this prevents the frosting from melting and ensures a beautiful finish.
-
Customize Frosting: For a chocolate twist, add cocoa powder to your cream cheese frosting. Adjust powdered sugar for the desired consistency.
-
Avoid Overmixing: When combining wet and dry ingredients, mix just until combined to keep the texture of your Red Velvet Cookie Bars soft and chewy.
Red Velvet Cookie Bars with Cream Cheese Frosting Recipe FAQs
How do I select the right red food coloring for the bars?
Choosing a high-quality gel or liquid food coloring will yield the best results for your Red Velvet Cookie Bars. Gel food coloring is my personal recommendation because it produces a vibrant color without altering the batter's consistency. Always start with about 1 tablespoon, and you can adjust based on your preferred intensity—just remember to mix thoroughly!
How should I store leftover cookie bars?
To keep your delicious Red Velvet Cookie Bars fresh, store them in an airtight container at room temperature for up to 3 days. If you want to extend their shelf life, refrigeration is a great option; just ensure they're well covered to prevent them from drying out. They can last up to a week in the fridge!
Can I freeze these cookie bars?
Absolutely! To freeze your Red Velvet Cookie Bars, first allow them to cool completely. Wrap each bar tightly in plastic wrap, then place them in a freezer-safe bag. They can be frozen for up to 3 months. When you're ready to indulge, simply thaw them at room temperature for a few hours, or microwave them for about 10-15 seconds for that fresh-baked feel.
What if my cookie bars turn out dry?
If your Red Velvet Cookie Bars are on the dry side, it might be due to overbaking. Keep a close eye on them after the first 15 minutes of baking; they should be just set, not overly firm. If you find yourself with dry bars, serving them with a dollop of cream cheese frosting can help add moisture and flavor back in.
Can I make these cookie bars gluten-free?
Absolutely! You can substitute all-purpose flour with a gluten-free flour blend. Ensure that the blend contains xanthan gum, as it helps mimic the texture of gluten. This way, you can enjoy the indulgence of Red Velvet Cookie Bars while accommodating dietary preferences. Just follow the same measurements!
Is there a way to make a vegan version of these cookie bars?
For a vegan adaptation of your Red Velvet Cookie Bars, swap out eggs for flaxseed meal or applesauce. To replace dairy, use vegan butter and a dairy-free cream cheese alternative in the frosting. Just know, the texture can vary slightly, so adjustments may be needed for optimal results. Enjoy experimentation!
Indulgent Red Velvet Cookie Bars with Cream Cheese Frosting
Ingredients
Method
- Preheat your oven to 350 degrees Fahrenheit. Line a 13x9 inch baking pan with parchment paper or foil and lightly grease it.
- In a large mixing bowl, whisk together the dry ingredients: flour, unsweetened cocoa powder, salt, baking powder, and baking soda.
- In another bowl, cream together the softened butter and sugar until light and fluffy.
- Add the eggs one at a time, followed by the vanilla extract and red food coloring, mixing until smooth.
- Gradually incorporate the dry ingredient mixture into the wet ingredients, mixing just until combined.
- Spread the batter evenly in the prepared baking pan.
- Bake for 15-20 minutes or until a toothpick comes out clean.
- Allow to cool completely in the pan on a wire rack.
- Prepare the cream cheese frosting by beating together the softened cream cheese and butter until creamy.
- Gradually add powdered sugar, then mix in vanilla extract for additional flavor.
- Once the cookie bars are cool, frost the top generously with cream cheese frosting and cut into squares.
Nutrition
Notes
- Use parchment paper to easily lift out the bars after baking.
- Ensure ingredients like butter and cream cheese are softened for a smooth frosting.
- Let the cookie bars cool completely before frosting to prevent melting.
- Customize frosting by adding cocoa powder for a chocolate twist.
- Mix just until combined to maintain soft and chewy texture.