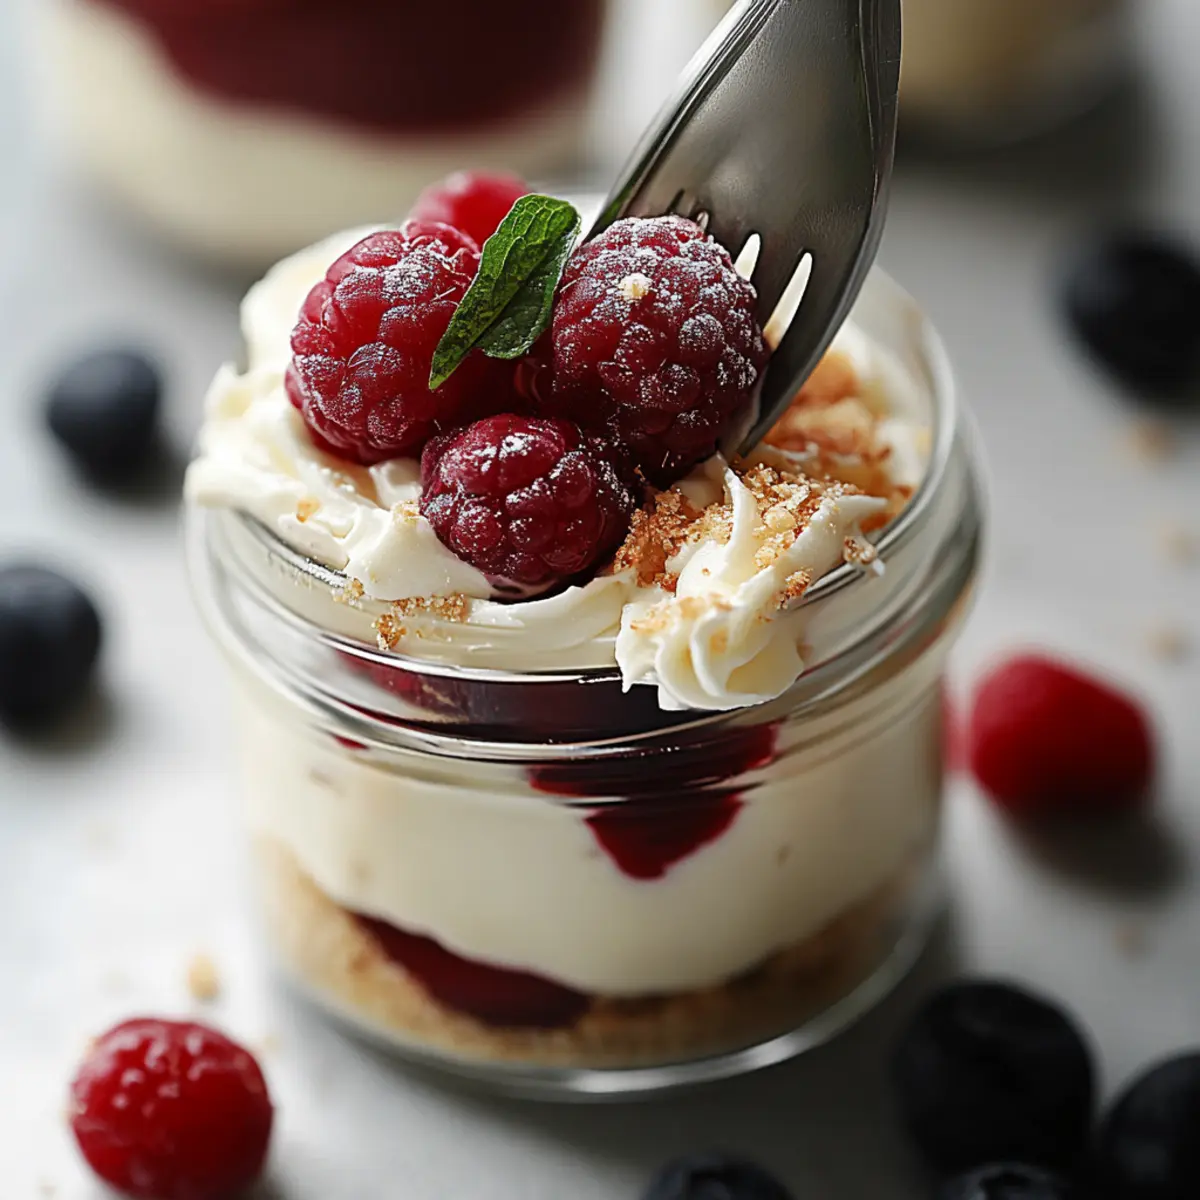
As I stood in my kitchen, the sweet aroma of cherries bubbling away caught my attention, transporting me to sun-soaked picnics and carefree afternoons. This Healthy No Bake Cheesecake In A Jar is the perfect blend of nostalgia and innovation, allowing you to enjoy a delightful dessert without the fuss of baking. Not only is it a quick and easy recipe that requires minimal effort, but it's also packed with the creamy goodness of Greek yogurt and the fresh taste of cherries, making it a guilt-free indulgence. Each delightful jar is a charming presentation that’s sure to impress friends and family, whether it’s for a special occasion or a simple weeknight treat. Are you ready to whip up a dessert that’s as good for your soul as it is for your tastebuds? Let’s dive in!
Why is this cheesecake a must-try?
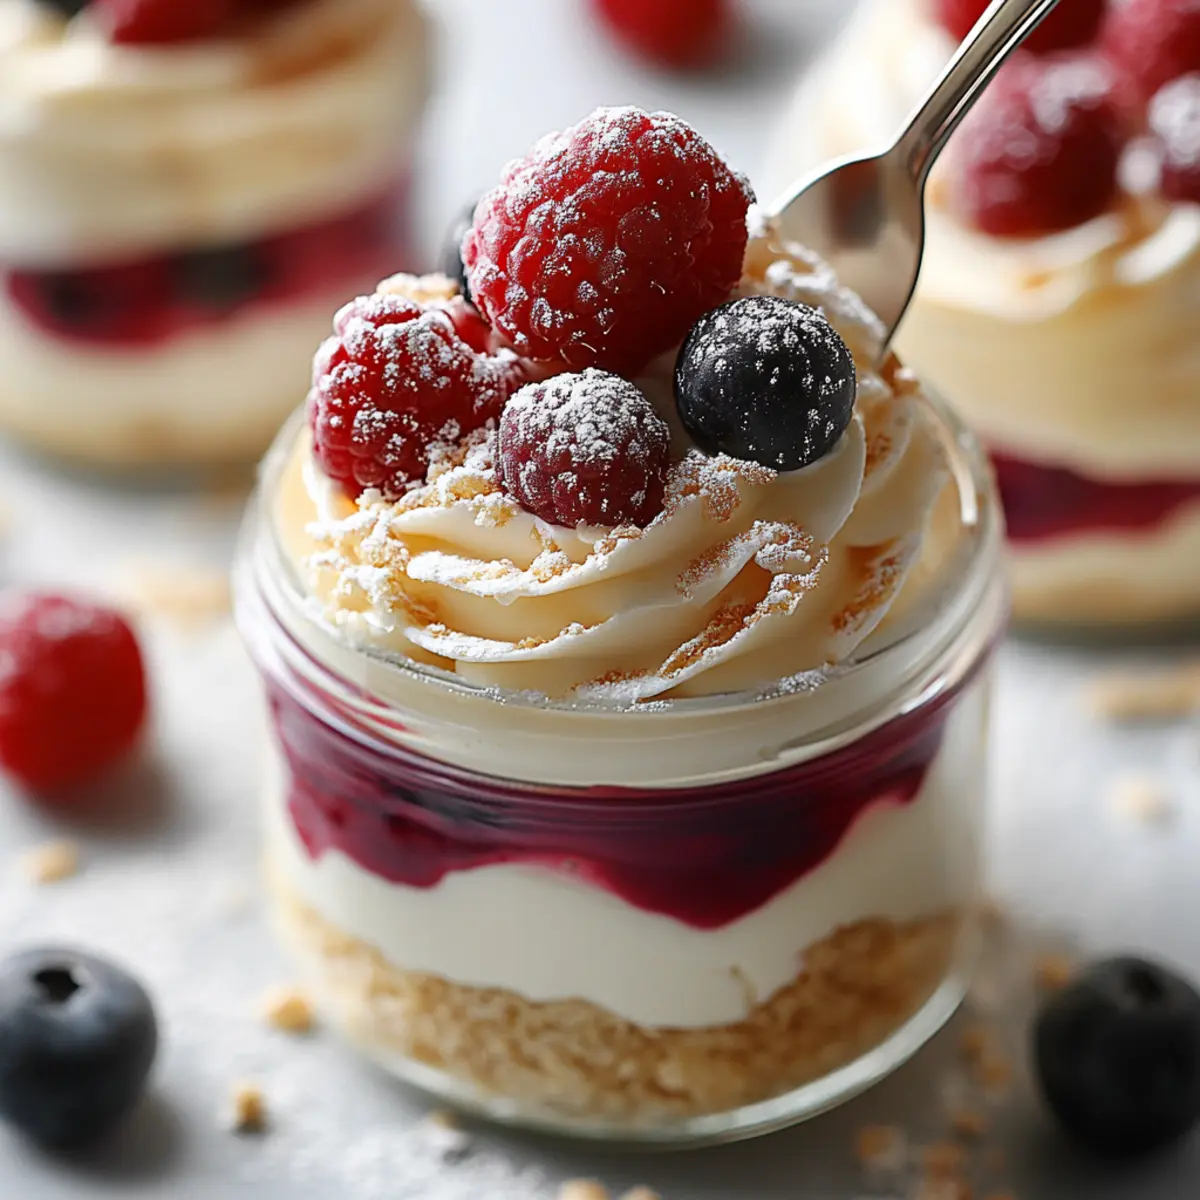
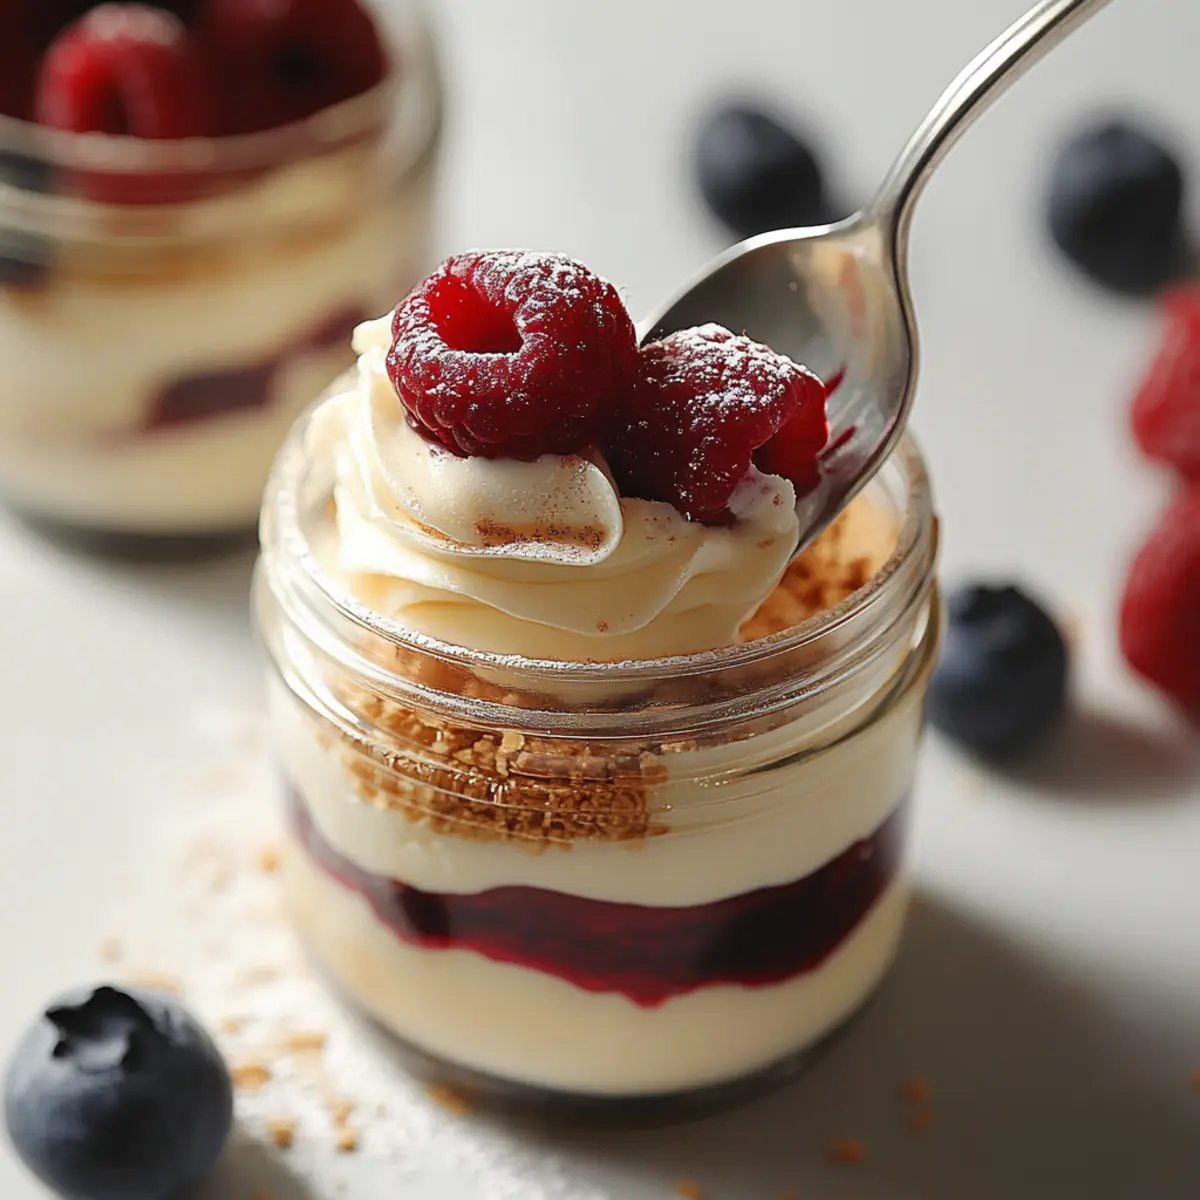
Unique presentation: Each serving in a charming jar makes it visually appealing and perfect for gatherings or meal prep.
No baking required: Save time and effort—this cheesecake comes together in just 25 minutes!
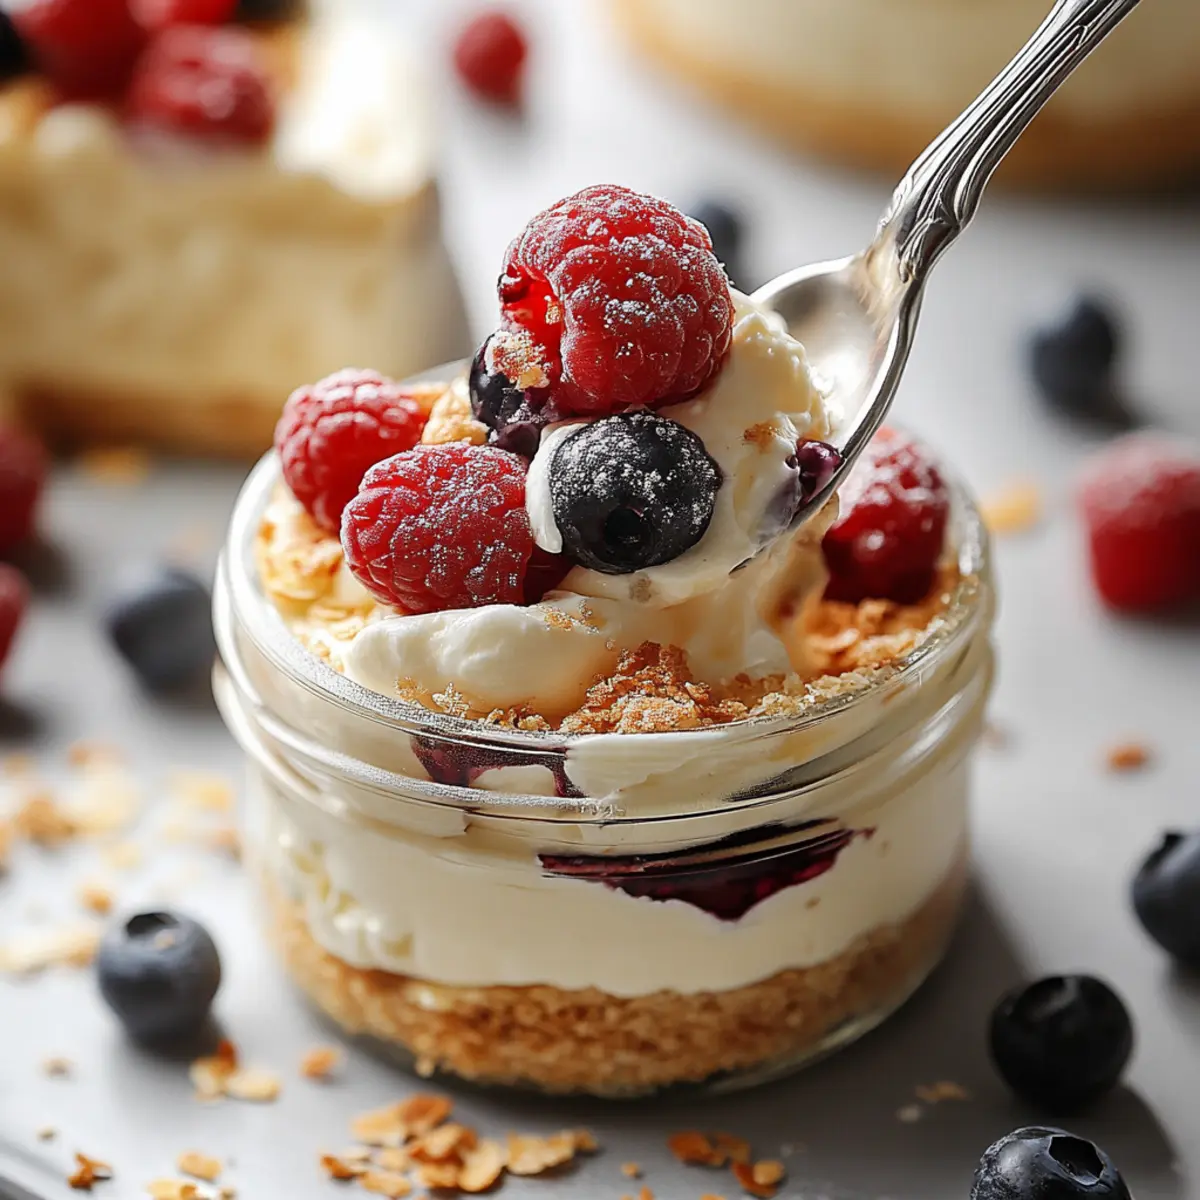
Creamy texture: The combination of cream cheese and Greek yogurt creates a decadently smooth filling that you’ll crave.
Guilt-free indulgence: With healthier ingredients like Greek yogurt and fresh cherries, you can satisfy your sweet tooth without the remorse.
Versatile topping options: While cherry topping is delightful, feel free to experiment with other fruits or flavors based on your mood!
Healthy No Bake Cheesecake In A Jar Ingredients
Get ready to create a dessert that's not only delicious but also easy to make!
For the Cherry Topping
• Pitted cherries – fresh or frozen, these add a burst of flavor to your cheesecake.
• Pure maple syrup – this natural sweetener enhances the cherry's sweetness beautifully.
• Fresh lemon juice – brightens the cherry topping and balances sweetness.
• Water – helps to create the desired sauce consistency.
• Cornstarch – thickens the sauce, giving it a luscious texture.
For the Cheesecake Filling
• Cream cheese – choose full-fat for a rich and creamy base.
• Plain full-fat Greek yogurt – contributes to the creamy texture and adds protein.
• Pure maple syrup – sweetens the filling naturally, keeping it wholesome.
• Fresh lemon juice – adds brightness and complements the flavors in the filling.
For the Crust
• Graham cracker crumbs – the classic base for cheesecake, providing crunch and flavor.
• Butter – helps bind the crumbs together for a firm crust; consider using coconut oil for a vegan version.
This Healthy No Bake Cheesecake In A Jar is sure to be a hit—both at the table and in your heart!
Step‑by‑Step Instructions for Healthy No Bake Cheesecake In A Jar
Step 1: Prepare the Cherry Topping
In a medium saucepan over medium heat, combine the pitted cherries, maple syrup, fresh lemon juice, water, and cornstarch. Cook for 5–10 minutes, stirring occasionally, until the mixture thickens into a rich sauce. You'll know it's ready when it starts to bubble gently, resembling a luscious syrup. Remove from heat and let it cool while you prepare the cheesecake filling.
Step 2: Make the Cheesecake Filling
In a medium mixing bowl, add the softened cream cheese, plain Greek yogurt, maple syrup, and fresh lemon juice. Using an electric hand mixer, blend the ingredients on medium speed for 2–3 minutes until the mixture is smooth and creamy. Once combined, transfer the filling to the refrigerator to chill slightly, allowing flavors to meld while you prepare the crust.
Step 3: Prepare the Graham Cracker Crust
Melt the butter in the microwave for about 30 seconds until fully liquefied. In a small bowl, combine the graham cracker crumbs and melted butter, mixing until the crumbs are evenly coated and resemble wet sand. This crust will provide a delightful crunch, so ensure there are no dry spots. Set the mixture aside as you assemble the dessert.
Step 4: Assemble the Crust Layers
Divide the graham cracker crust mixture evenly among six 125 ml mason or jam jars. Gently press down the crumbs with the back of a spoon or your fingers to form a compact base layer. This will create a sturdy and satisfying foundation for your Healthy No Bake Cheesecake In A Jar, ensuring it holds together nicely when served.
Step 5: Add the Cheesecake Filling
Carefully spoon the chilled cheesecake filling into each jar, distributing it evenly on top of the graham cracker crust layer. Lightly tap the jars on the counter after each addition, which helps settle the filling for a smooth finish. You should fill the jars to about three-quarters full, leaving room for the cherry topping.
Step 6: Top with Cherry Sauce
Once the cherry topping has cooled to room temperature, spoon it generously over the cheesecake filling in each jar. Aim for an even distribution of cherries and sauce so every spoonful is bursting with flavor. You can serve the jars immediately, or cover them with lids and refrigerate for at least 1 hour to let the cheesecake set beautifully.
Make Ahead Options
These Healthy No Bake Cheesecake In A Jar are perfect for busy weeknights and meal prep enthusiasts! You can prepare the cherry topping up to 3 days in advance and store it in an airtight container in the refrigerator to maintain its vibrant color and flavor. Additionally, the cheesecake filling can be made ahead and refrigerated for up to 24 hours without sacrificing its creamy texture. When you're ready to serve, simply assemble the jars by layering the graham cracker crust, cheesecake filling, and cherry topping. This way, you can enjoy a delightful dessert with minimal last-minute effort, allowing you more time to savor life's sweet moments!
Expert Tips for Healthy No Bake Cheesecake In A Jar
-
Use Fresh Ingredients: Fresh cherries and quality cream cheese elevate the flavor. If using frozen cherries, allow them to thaw and drain excess liquid before cooking.
-
Beat the Filling Well: Ensure you blend the cream cheese and yogurt until completely smooth. Lumps can spoil the creamy texture of your cheesecake filling, so take your time!
-
Control the Sweetness: Taste your cheesecake filling before adding extra maple syrup. The cherries can add natural sweetness, so adjust accordingly to achieve the perfect balance.
-
Keep it Chilled: Refrigerate the jars for at least an hour so the cheesecake can set properly. This step ensures a wonderful texture that’s easier to serve.
-
Experiment with Toppings: While cherry topping is delightful, try mixing it up with other fruits like blueberries or strawberries for variety. Enjoy your Healthy No Bake Cheesecake In A Jar in new ways!
How to Store and Freeze Healthy No Bake Cheesecake In A Jar
Fridge: Store your Healthy No Bake Cheesecake In A Jar in the refrigerator for up to 3 days. Make sure to seal them with lids or cover with plastic wrap to keep them fresh.
Freezer: You can freeze the jars for up to 2 months, but it's best to freeze the crust and cheesecake filling separately from the cherry topping to maintain texture.
Thawing: To enjoy frozen cheesecake, transfer the jars to the fridge for several hours or overnight before serving. This allows them to thaw slowly and taste delicious.
Serving: Before serving after storage, give the jars a gentle stir, especially if the filling has settled. A quick tap on the counter helps to resettle the cheesecake!
What to Serve with Healthy No Bake Cheesecake In A Jar
Elevate your dessert experience by pairing this charming cheesecake with delightful complements that tantalize the taste buds.
-
Fresh Fruit Salad: A medley of seasonal fruits brings a refreshing contrast and adds vibrant colors to your table. The juicy bursts of berries and citrus create a playful balance with the creamy cheesecake.
-
Artisan Coffee: A smooth, rich brew or a frothy cappuccino enhances the sweetness of the cheesecake while providing the perfect warm contrast. Sip slowly while savoring your dessert.
-
Whipped Cream: A dollop of whipped cream on top adds an airy, light texture, enhancing each spoonful of rich cheesecake. It’s a simple yet classic pairing that never disappoints.
-
Chocolate Drizzle: A drizzle of melted dark chocolate adds decadence and a touch of indulgence. The bittersweet notes beautifully complement the fruity topping.
-
Nutty Granola: Leftover crumbles of nutty granola elevate your cheesecake and add a delightful crunch. This pairing brings additional heartiness, making each bite a unique experience.
-
Mint Tea: A warm cup of mint tea offers a soothing finish to your sweet indulgence. Its refreshing flavor cleanses the palate between bites of the rich cheesecake.
-
Cheese Platter: Serve a selection of soft and hard cheeses alongside the dessert for an elegant touch. The savory elements contrast beautifully with the sweetness of the cheesecake, creating a sophisticated end to your meal.
-
Dark Chocolate Shavings: A sprinkle of dark chocolate shavings on top provides a touch of luxury and a hint of bitterness that balances the sweet cheesecake.
Feel free to mix and match these options to create a delightful spread that will have everyone asking for more!
Healthy No Bake Cheesecake Variations
Get creative with your Healthy No Bake Cheesecake In A Jar and discover delightful twists that cater to your personal tastes!
- Dairy-Free: Substitute cream cheese with a plant-based cream cheese alternative and Greek yogurt with coconut yogurt for a creamy, dairy-free treat.
- Gluten-Free: Use gluten-free graham cracker crumbs or crushed almonds for a gluten-free crust that doesn’t compromise on flavor.
- Fruit Swaps: Try different fruits like strawberries or blueberries instead of cherries. Each fruit adds its own unique flavor profile, making it a fresh experience every time!
Texture lovers, this is for you! Consider adding a layer of diced fruits or nuts in between the crust and filling for a delightful crunch.
- Lower Sugar: Use a sugar alternative like stevia or monk fruit sweetener in place of maple syrup for a low-sugar version without sacrificing sweetness.
- Chocolate Lover’s Twist: Mix cocoa powder into the cheesecake filling for a rich chocolate experience or top with chocolate shavings for added indulgence.
If you want an extra zing, fold in some lime or orange zest to the filling. It elevates the flavor and creates a refreshing citrusy note.
- Extra Creamy: For a richer filling, add a splash of heavy cream or more Greek yogurt to the mixture. This makes it exceedingly decadent and creamy.
- Spice It Up: Sprinkle some cinnamon or nutmeg into the crust for a hint of warmth and spice that pairs beautifully with the fruit topping.
Each variation brings a new dimension to your already amazing dessert—have fun experimenting!
Healthy No Bake Cheesecake In A Jar Recipe FAQs
What types of cherries work best for this recipe?
Absolutely! Fresh pitted cherries are ideal for a burst of juicy flavor. However, if you're using frozen cherries, make sure to thaw them completely and drain any excess liquid before cooking, this ensures your cherry topping won't be too watery.
How should I store the leftover cheesecake jars?
Very simple! Keep your Healthy No Bake Cheesecake In A Jar in the refrigerator for up to 3 days. Just make sure to seal each jar with a lid or cover them tightly with plastic wrap to prevent them from drying out or absorbing odors from the fridge.
Can I freeze these cheesecake jars?
Yes, you can! I often freeze them for a quick dessert later on. Just remember to freeze the crust and cheesecake filling in the jars, but store the cherry topping separately. They can be frozen for up to 2 months. To enjoy, transfer the jars to the refrigerator and let them thaw for 6 to 8 hours or overnight before serving.
What if my cheesecake filling turns out lumpy?
Don't worry, this can be fixed! It's essential to ensure the cream cheese is softened to room temperature before mixing—this helps achieve a creamy texture. If lumps do form, you can blend the mixture a bit longer with the mixer or even whip it in a blender until smooth. I always recommend tasting the mixture before filling the jars to ensure the texture is just right.
Are there any allergy considerations for this cheesecake?
Certainly! This recipe contains dairy from cream cheese and yogurt, along with gluten from the graham crackers. For a gluten-free alternative, use gluten-free graham cracker crumbs. If you're concerned about dairy, you can try using a dairy-free cream cheese substitute. Always check labels to ensure they meet your dietary needs.
Can I use a different sweetener instead of maple syrup?
Yes, feel free to experiment! Honey or agave syrup can be wonderful alternatives if you prefer them. Just keep in mind that the sweetness levels may differ slightly, so adjust the quantity based on your taste preference. Enjoy seeing what variations you love the most!
Delicious Healthy No Bake Cheesecake In A Jar Made Easy
Ingredients
Equipment
Method
- In a medium saucepan over medium heat, combine the pitted cherries, maple syrup, fresh lemon juice, water, and cornstarch. Cook for 5–10 minutes, stirring occasionally, until the mixture thickens into a rich sauce. Remove from heat and let cool.
- In a medium mixing bowl, blend softened cream cheese, plain Greek yogurt, maple syrup, and fresh lemon juice with an electric mixer for 2–3 minutes until smooth. Transfer filling to the refrigerator to chill slightly.
- Melt the butter in the microwave for about 30 seconds until fully liquefied. In a small bowl, combine the graham cracker crumbs and melted butter, mixing until evenly coated. Set aside.
- Divide the graham cracker crust mixture evenly among six jars. Press down the crumbs to form a compact base layer.
- Spoon the chilled cheesecake filling into each jar, distributing evenly on top of the crust. Fill jars to about three-quarters full.
- Once the cherry topping has cooled, spoon it generously over the cheesecake filling in each jar.