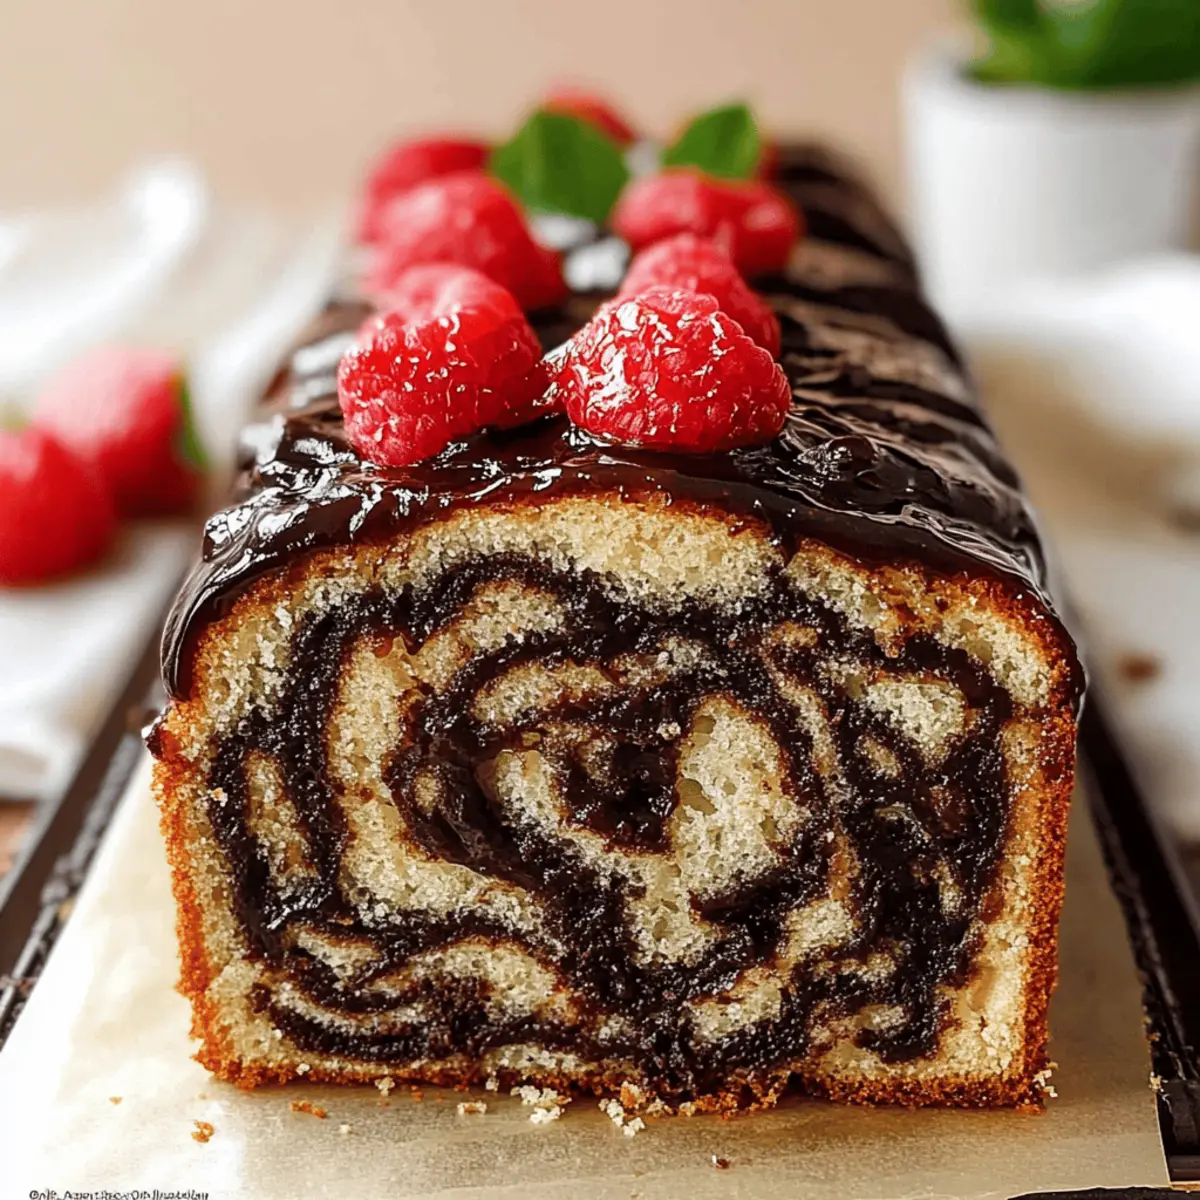
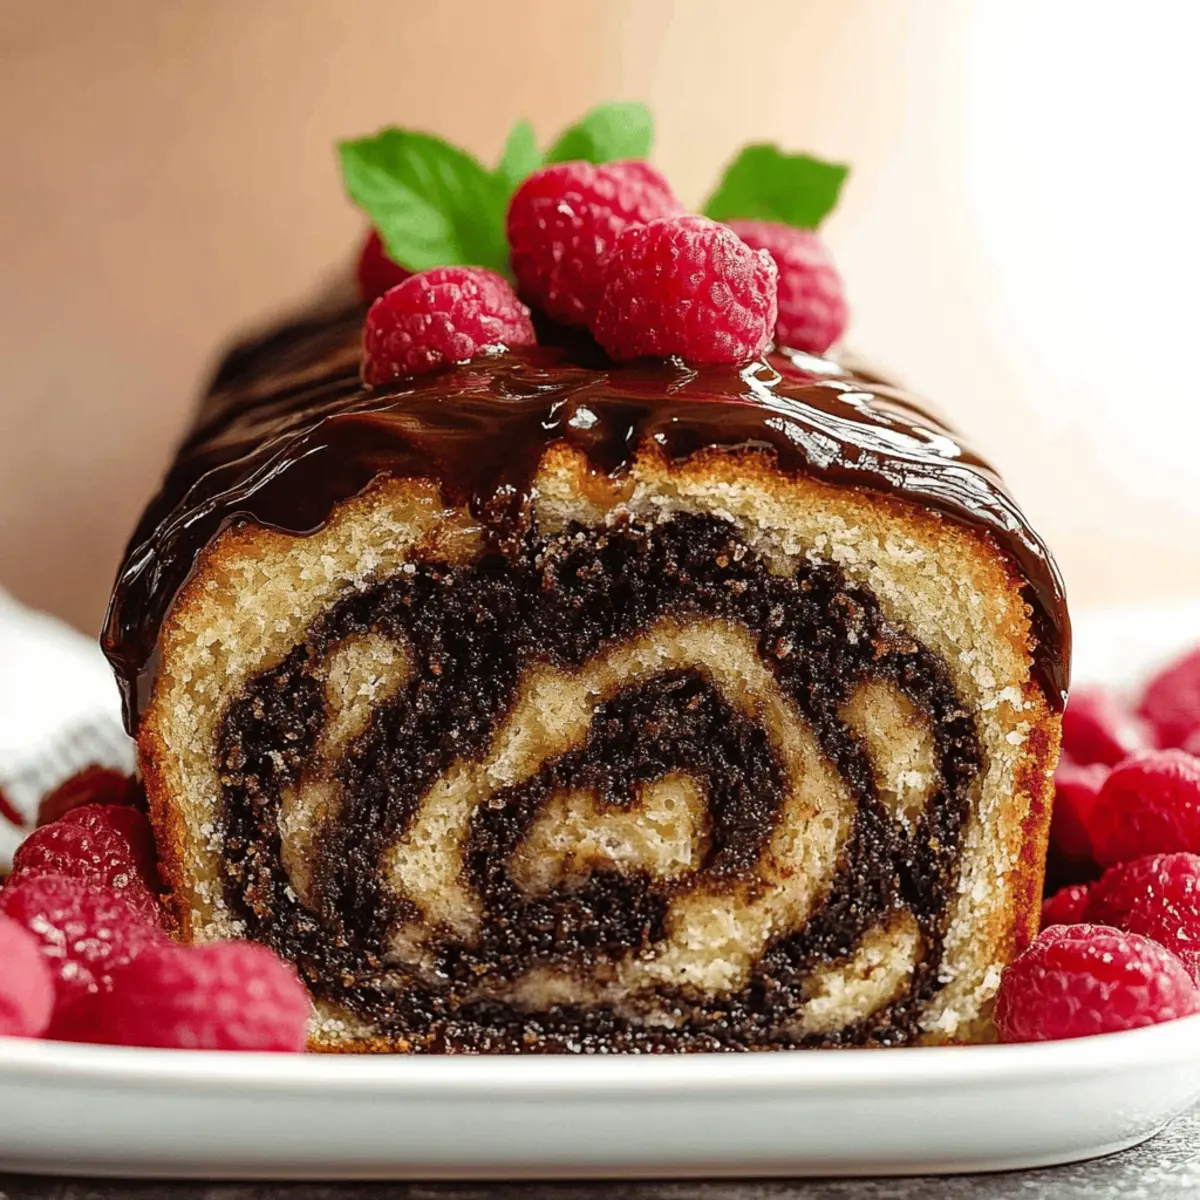
As I sifted through my pantry, the rich scent of cocoa and vanilla already danced in the air, whispering of sweet memories waiting to unfold. Making a Marble Loaf Cake is a heartwarming ritual, transforming simple ingredients into an edible work of art that’s perfect for both casual gatherings and special occasions. This recipe not only boasts a beautiful marbled blend of chocolate and vanilla flavors but also comes together quickly, making it a go-to for busy weekends or those unexpected guests. With its tender crumb and a glossy finish from luscious chocolate ganache, this cake is sure to win over even the pickiest of eaters. Isn’t it time to elevate your baking game and indulge in a slice of this delightful creation?
Why is Marble Loaf Cake irresistible?
Decadent flavors: The duet of rich chocolate and creamy vanilla creates a harmonious taste that pleases the palate.
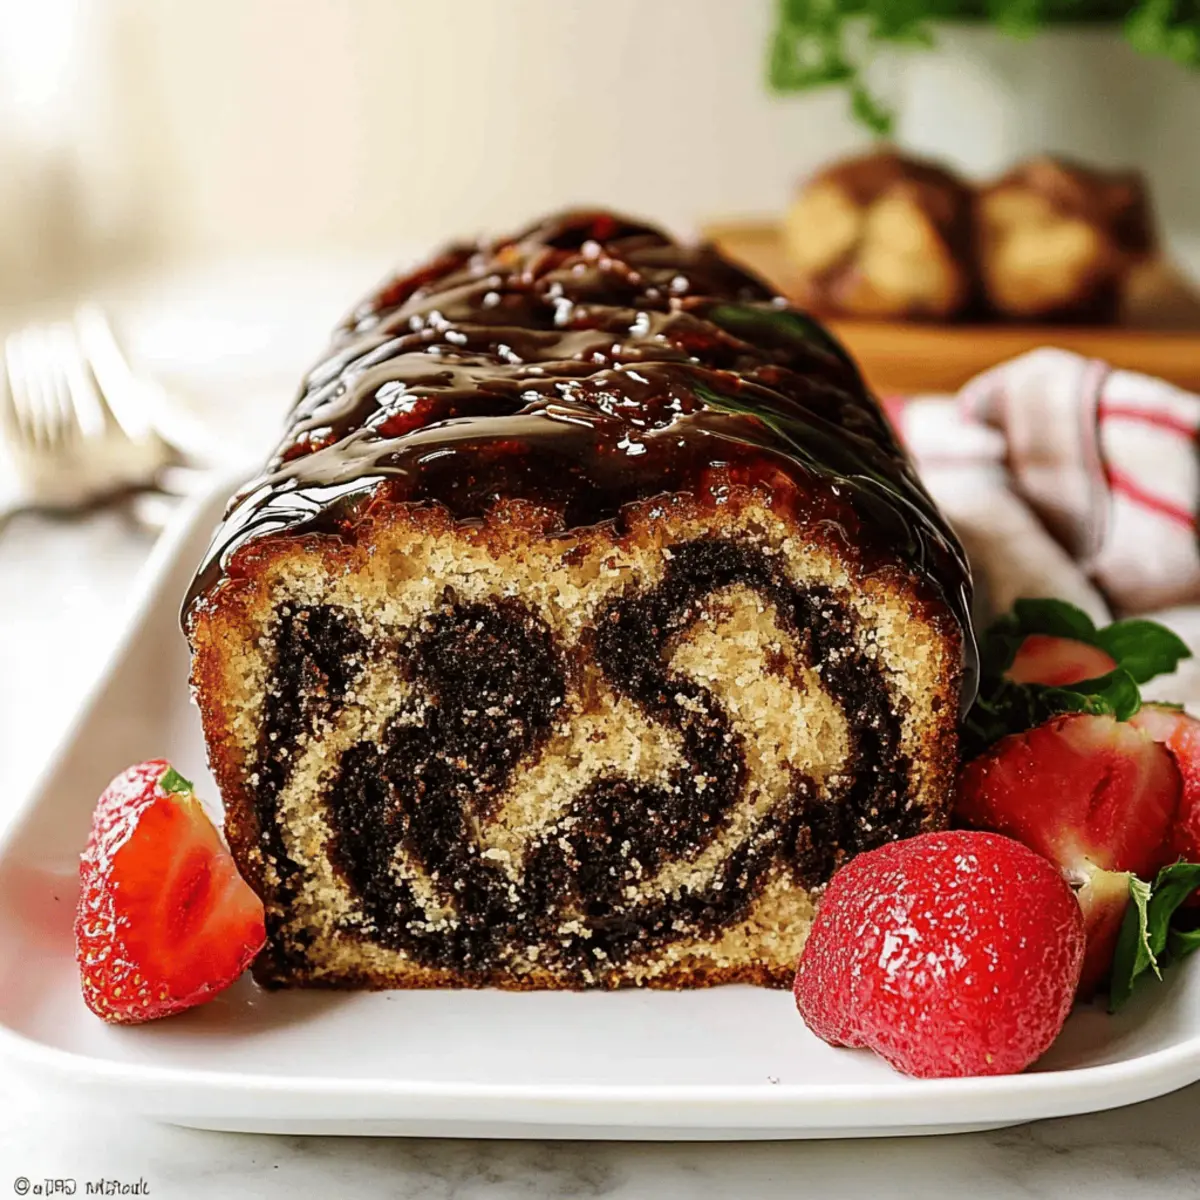
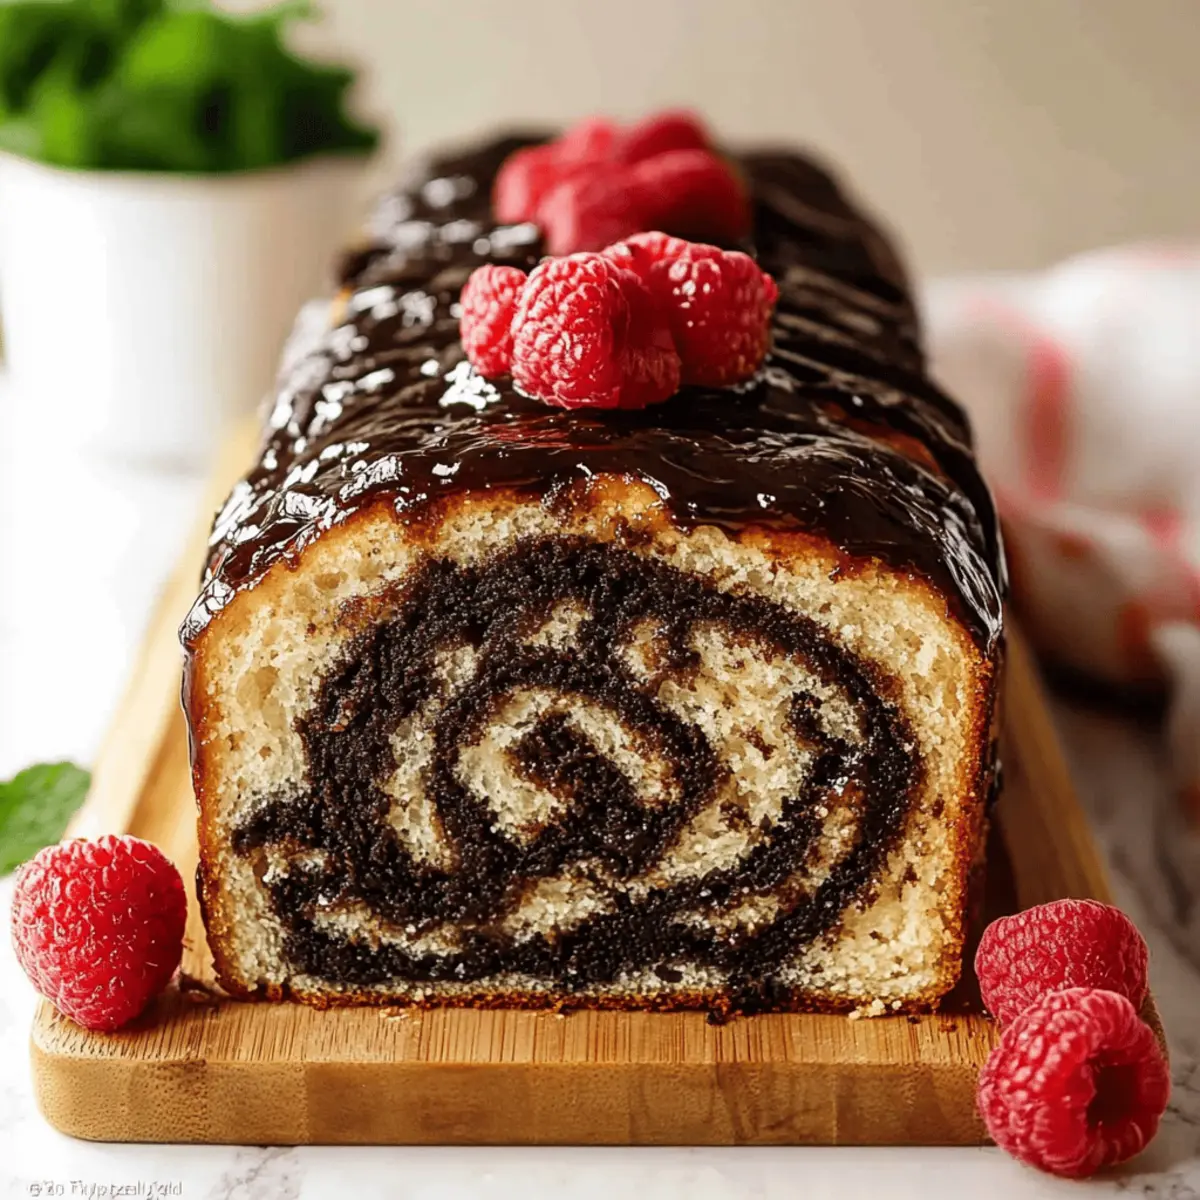
Visually stunning: Each slice reveals a swirl of contrasting colors, making it a show-stopping centerpiece for any table.
Quick and easy: In just 25 minutes of prep, you can have this elegant dessert ready to bake, perfect for last-minute cravings or gatherings.
Perfectly moist: Thanks to the addition of buttermilk, every bite is tender and satisfying, making it hard to stop at just one slice.
Versatile treat: Whether enjoyed with coffee in the morning or served at a party, this cake transitions seamlessly from day to night!
Marble Loaf Cake Ingredients
• Let's gather everything we need to create this delightful Marble Loaf Cake!
For the Batter
- 2 cups all-purpose flour – A versatile base that gives structure to the cake.
- 1 ½ teaspoons baking powder – Helps the cake rise for that fluffy texture.
- ½ teaspoon baking soda – Balances the acidity of buttermilk, ensuring a tender crumb.
- ¼ teaspoon salt – Enhances all the flavors in the cake.
- ½ cup unsalted butter, softened – Adds richness and moisture, making it irresistibly creamy.
- 1 cup granulated sugar – Sweetens the cake and contributes to its golden crust.
- 2 large eggs – Essential for binding the ingredients and providing structure.
- 1 teaspoon vanilla extract – Infuses a delightful aroma and flavor in each bite.
- 1 cup buttermilk – Ensures the cake remains moist and tender.
For the Chocolate Layer
- ¼ cup unsweetened cocoa powder – Gives that rich chocolatey flavor, creating a delicious contrast.
- 1 tablespoon espresso powder – Intensifies the chocolate flavor without overpowering the vanilla.
For the Topping
- 1 recipe chocolate ganache – Made with 1:1 semi-sweet chocolate and reduced heavy cream, adds a luscious finish to the Marble Loaf Cake.
Step‑by‑Step Instructions for Marble Loaf Cake
Step 1: Preheat the Oven
Begin by preheating your oven to 350°F (175°C). This ensures that your Marble Loaf Cake bakes evenly and rises perfectly. While the oven heats, gather your ingredients and prepare your loaf pan by greasing it with butter or nonstick spray to prevent sticking.
Step 2: Combine the Dry Ingredients
In a large mixing bowl, whisk together 2 cups of all-purpose flour, 1 ½ teaspoons of baking powder, ½ teaspoon of baking soda, and ¼ teaspoon of salt. This will create the dry mixture that provides structure to your Marble Loaf Cake. Set this bowl aside, as it will be added to the wet ingredients soon.
Step 3: Cream the Butter and Sugar
In a separate mixing bowl, cream together ½ cup of softened unsalted butter and 1 cup of granulated sugar using an electric mixer on medium speed. Beat them until the mixture is light and fluffy—about 3-4 minutes. This step adds air into the batter, leading to a beautifully risen cake.
Step 4: Add Eggs and Vanilla
Next, beat in 2 large eggs, one at a time, ensuring each is fully incorporated before adding the next. Follow this by mixing in 1 teaspoon of vanilla extract. The mixture should be smooth and inviting, setting the foundation for your delicious Marble Loaf Cake.
Step 5: Incorporate the Dry Ingredients
Gradually add the prepared dry ingredients to the butter mixture, alternating with 1 cup of buttermilk. Start and end with the dry ingredients to create a smooth batter. Mix until just combined, taking care not to overmix. The batter should be well-blended but thick and creamy.
Step 6: Prepare the Chocolate Batter
Divide the batter evenly between two bowls. In one bowl, whisk in ¼ cup of unsweetened cocoa powder and 1 tablespoon of espresso powder until fully combined. This rich chocolate mixture will create the beautiful marble effect in your cake and complement the vanilla batter perfectly.
Step 7: Layer the Batter
Spoon alternating dollops of the vanilla and chocolate batters into the prepared loaf pan. Use a spatula to layer the two batters side by side to create the marbling effect. This method not only adds visual appeal but also ensures that each slice of your Marble Loaf Cake offers both flavors.
Step 8: Swirl for a Marbled Effect
With a knife or skewer, gently swirl the batters together in the pan, creating a marbled pattern. Be careful not to overmix; you want to retain distinct swirls of chocolate and vanilla. This step brings out the cake’s signature aesthetic and enhances the flavor in each bite.
Step 9: Bake the Cake
Place the filled loaf pan in the preheated oven and bake for 60-65 minutes. Check for doneness by inserting a toothpick into the center; it should come out clean or with a few moist crumbs. The top should be golden brown and spring back lightly when touched.
Step 10: Cool in the Pan
Once baked, remove the Marble Loaf Cake from the oven and let it cool in the pan for about 20 minutes. This cooling period allows the cake to set properly and makes it easier to remove without breaking. Keep an eye on its beautiful marbled top as it cools!
Step 11: Transfer and Cool Completely
After 20 minutes, carefully transfer the cake to a wire rack to cool completely. This step is crucial for achieving the ideal texture and ensures your Marble Loaf Cake won’t become soggy. Let it cool for at least an hour before adding the ganache.
Step 12: Top with Ganache
Once the cake has cooled, prepare your chocolate ganache and pour it over the top. Allow the ganache to cascade down the sides, creating a delightful finish. This luscious topping will enhance your Marble Loaf Cake, completing its decadent look and flavor profile.
Marble Loaf Cake Variations
Customize your Marble Loaf Cake with these delightful twists; let your creativity shine as you bake!
-
Gluten-Free: Substitute all-purpose flour with a gluten-free blend for a deliciously accommodating treat. Just ensure your blend includes a binding agent to maintain structure.
-
Dairy-Free: Swap buttermilk with almond milk or coconut milk mixed with a splash of vinegar for a creamy alternative. Your cake will still be tender and flavorful without dairy.
-
Nutty Addition: Fold in ½ cup of chopped walnuts or almonds into the batter for a delightful crunch and flavor contrast. These nuts bring a wonderful texture to every slice.
-
Spicy Kick: Add 1 teaspoon of cinnamon or nutmeg to the dry ingredients for a warm spiced flavor that complements the chocolate and vanilla beautifully. It’s like a hug in every bite!
-
Citrusy Brightness: Incorporate the zest of one orange or lemon into the batter for a refreshing citrus note that adds a lovely twist to this classic dessert.
-
Choco-mint: For a minty freshness, stir in a few drops of peppermint extract in the chocolate layer. It gives a festive flair perfect for holiday gatherings.
-
Swirl of Jam: Before swirling the batters, add dollops of raspberry or cherry jam for a fruity surprise that enhances the moistness and adds another flavor dimension.
-
Tropical Vibes: Mix in ½ cup of shredded coconut to the vanilla batter for a lovely coconut flavor. Paired with chocolate, it takes your loaf cake to a tropical paradise!
Make Ahead Options
These Marble Loaf Cakes are perfect for meal prep enthusiasts looking to save time during the week! You can prepare the batter and refrigerate it up to 24 hours in advance; just be sure to cover it tightly to prevent any drying out. For even more convenience, you can bake the loaf and let it cool completely, then wrap it in plastic wrap and store it in the refrigerator for up to 3 days. When you’re ready to serve, simply reheat individual slices in the microwave for about 10-15 seconds, and top with your prepared chocolate ganache right before enjoying. This method ensures that your Marble Loaf Cake remains just as delicious and moist as the day you baked it!
What to Serve with Marble Loaf Cake
Elevate your Marble Loaf Cake experience with these delectable pairings that will surely impress your family and friends.
-
Fresh Berries: The tartness of raspberries or blueberries adds a bright contrast, enhancing the cake's rich flavors while providing a refreshing boost.
-
Vanilla Ice Cream: A scoop of creamy vanilla ice cream melts beautifully atop warm slices, creating a comforting dessert that's reminiscent of childhood.
-
Espresso: A bold shot of espresso complements the chocolate notes in the cake and awakens your senses with its smooth, rich flavor.
-
Whipped Cream: Light and airy whipped cream adds a luxurious touch to each slice, balancing the richness of the ganache with a cloud-like texture.
Pair your Marble Loaf Cake with these delightful options, and let the flavors dance on your palate while you create cherished memories around the table!
How to Store and Freeze Marble Loaf Cake
Room Temperature: Keep your Marble Loaf Cake covered at room temperature for up to 3 days. A cake dome or plastic wrap works well to maintain moisture and prevent drying out.
Fridge: If you'd like to extend its lifespan, store the cake in the fridge for up to a week, ensuring it’s covered to fend off any odors from your fridge.
Freezer: For longer storage, wrap individual slices or the whole cake tightly in plastic wrap and aluminum foil. Freeze for up to 3 months, and thaw in the fridge when you're ready to indulge.
Reheating: To enjoy your cake warm, reheat individual slices in the microwave for about 15-20 seconds. This revives the decadent flavors and texture of your Marble Loaf Cake!
Expert Tips for Marble Loaf Cake
-
Room Temperature Ingredients: Use ingredients like butter and eggs at room temperature for better incorporation, leading to a lighter and fluffier Marble Loaf Cake.
-
Don’t Overmix: Mix your batter just until combined to avoid a dense texture. Overmixing can lead to tough cake, which we definitely want to avoid!
-
Check for Doneness: Keep an eye on the baking time and check with a toothpick; it should come out clean. This ensures your cake remains perfectly moist and tender.
-
Cooling Time: Be patient! Proper cooling on a wire rack is essential. Leaving the cake in the pan too long can make it soggy and impact the texture of your Marble Loaf Cake.
-
Add Extras: Feel free to customize with nuts or chocolate chips for an extra layer of flavor and texture; just keep the proportions of the original recipe in mind.
Marble Loaf Cake Recipe FAQs
What type of flour is best for Marble Loaf Cake?
For this recipe, all-purpose flour is the best choice. It provides the right structure for the cake, ensuring a tender, yet sturdy loaf that holds up well when sliced. I often find that this flour allows for optimal absorption of liquids, contributing to the cake's perfect texture.
How should I store Marble Loaf Cake?
Store your Marble Loaf Cake covered at room temperature for up to 3 days. If you want to keep it fresh for longer, wrap it well in plastic wrap and keep it in the refrigerator for up to a week, making sure it's protected from other odors in your fridge to preserve its delightful flavor.
Can I freeze Marble Loaf Cake?
Absolutely! For freezing, wrap the whole cake or individual slices tightly in plastic wrap, followed by aluminum foil for added protection. You can freeze it for up to 3 months. To enjoy, simply thaw in the fridge overnight and reheat individual slices in the microwave for about 15-20 seconds for that fresh-baked taste.
What if my Marble Loaf Cake comes out dense?
No worries! A dense loaf can often be attributed to overmixing the batter. Ensure you mix just until combined and don’t overbeat after adding the dry ingredients. Also, check your baking powder and baking soda for freshness; if they're old, they may not work effectively, leading to less rise in your cake.
Can I substitute any ingredients in Marble Loaf Cake for dietary concerns?
Yes, you can make substitutions! If you’re looking for a dairy-free option, try using almond or soy milk mixed with vinegar instead of buttermilk. For a gluten-free cake, you can use a 1:1 gluten-free flour blend, but check for taste and texture as it may vary slightly. Always keep an eye on the texture when making substitutions!
Is there an alternative for espresso powder?
If you're not a fan of espresso powder or if you don't have it on hand, you can omit it entirely, or use a bit of instant coffee granules instead. Both options will enhance the chocolate flavor without being overpowering, giving you a delicious result in your Marble Loaf Cake!
Decadent Marble Loaf Cake That's Easy to Love
Ingredients
Equipment
Method
- Preheat your oven to 350°F (175°C) and prepare your loaf pan.
- In a bowl, whisk together the dry ingredients: flour, baking powder, baking soda, and salt.
- Cream butter and sugar until light and fluffy.
- Beat in eggs one at a time and then mix in vanilla extract.
- Gradually add the dry ingredients and buttermilk, alternating between them, until combined.
- Divide the batter and mix cocoa powder and espresso powder into one half.
- Spoon alternating dollops of batters into the loaf pan to create marbling.
- Swirl the batters together gently with a knife or skewer.
- Bake in the preheated oven for 60-65 minutes.
- Let the cake cool in the pan for about 20 minutes, then transfer to a wire rack.
- Once cool, top the cake with chocolate ganache.