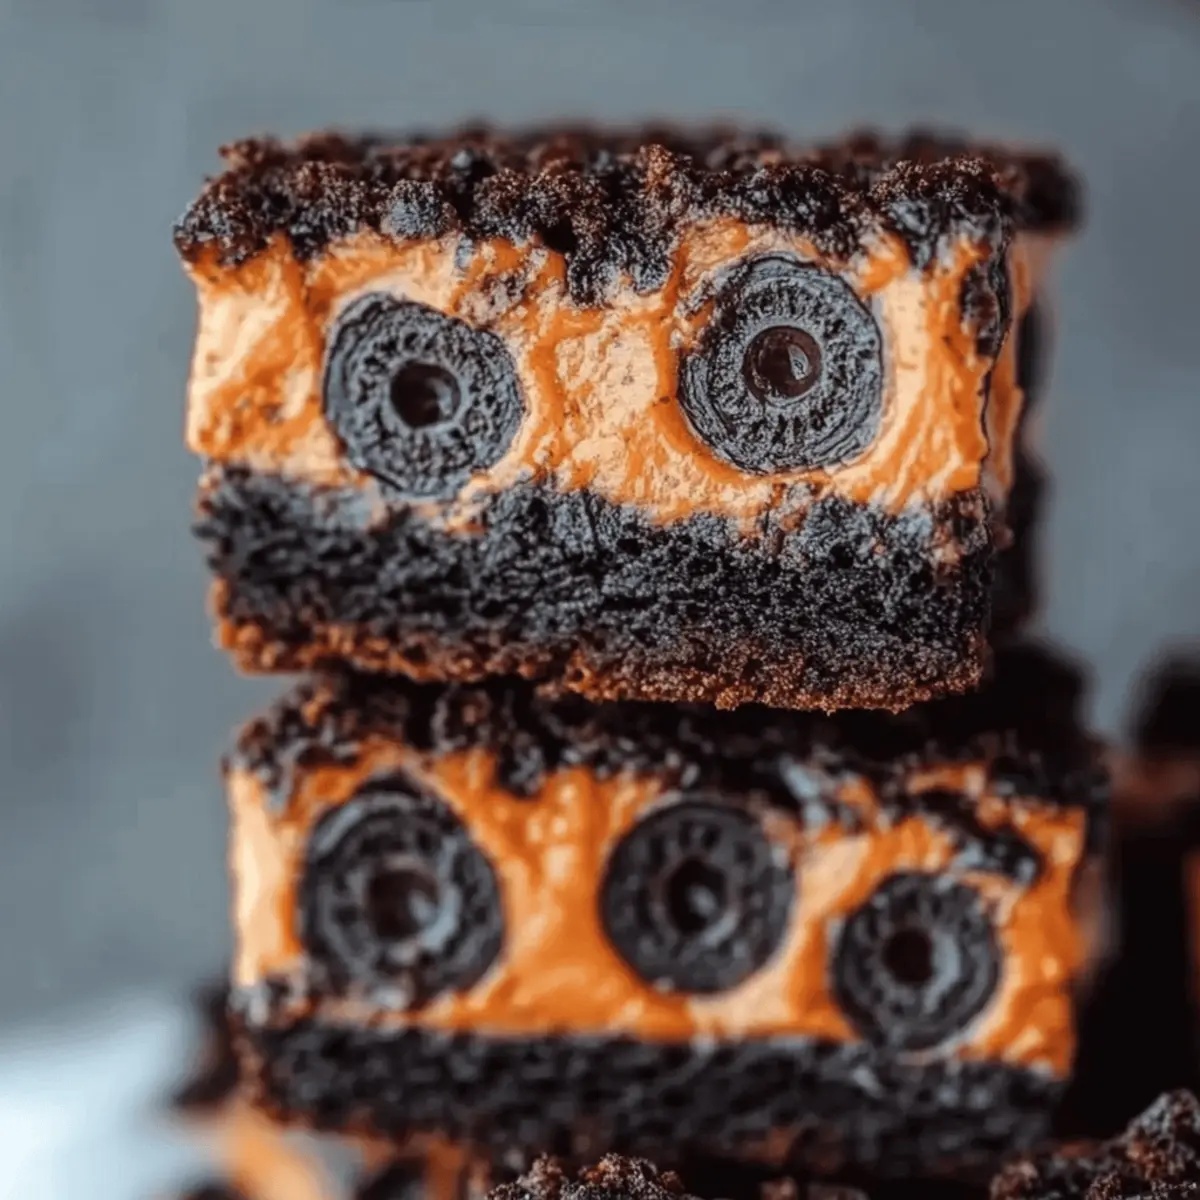
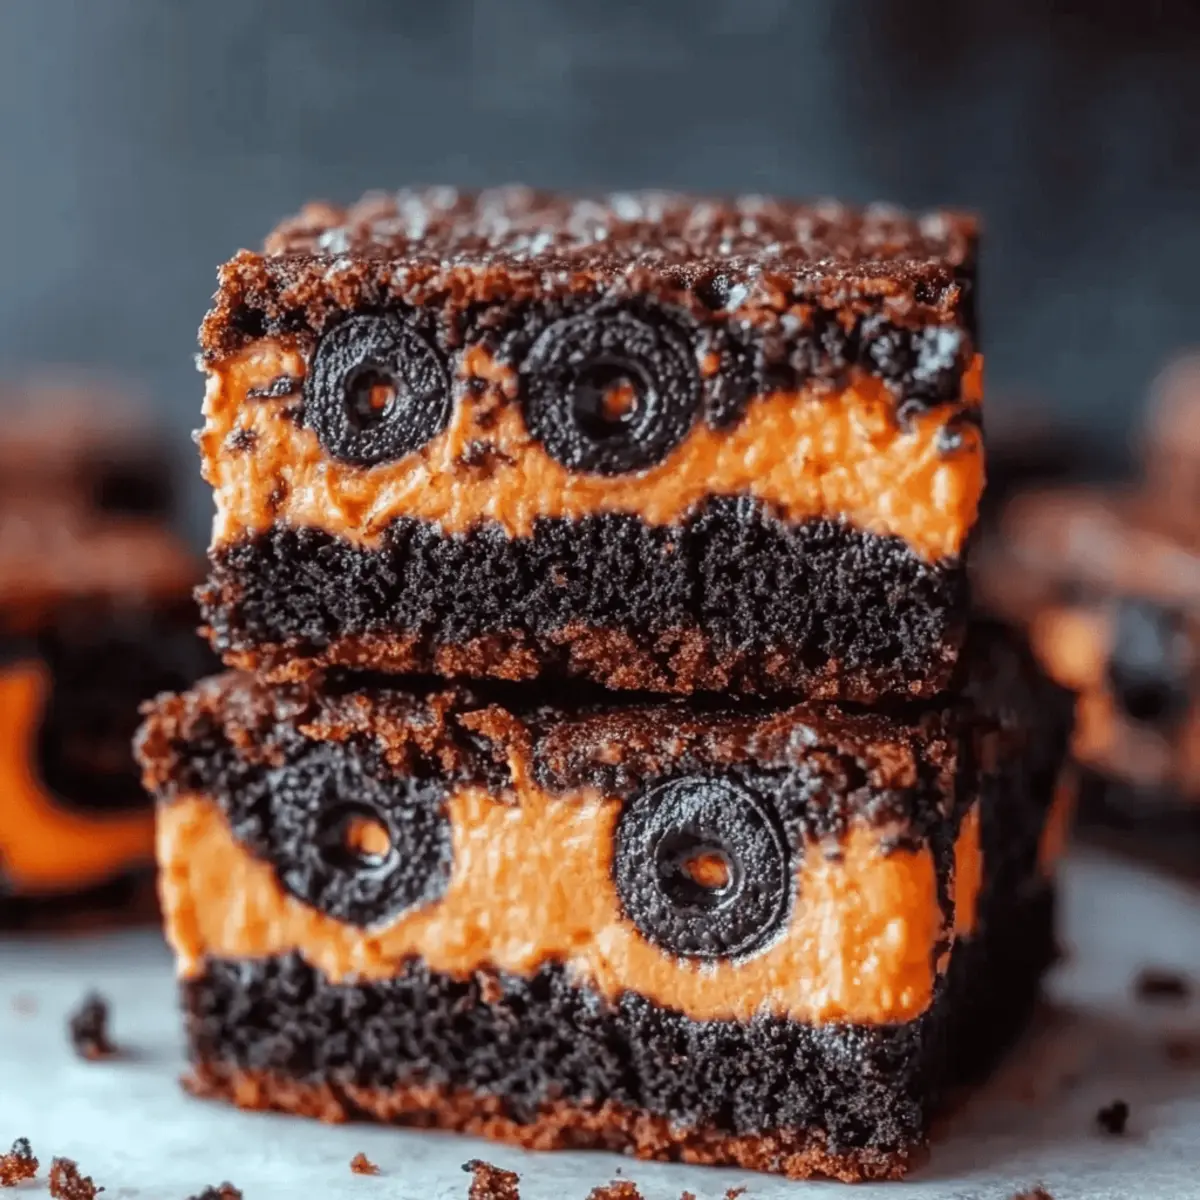
The moment I took my first bite of Halloween Oreo Brownies, I could feel the childhood excitement of trick-or-treating flood back. These brownies are not just a dessert but a whimsical experience that makes any autumn evening special. Made with a rich, fudgy base and generously layered with Oreos, this recipe is perfect for anyone craving a homemade treat that crowd-pleases and is surprisingly quick to whip up. Plus, with minimal baking time and a comforting taste, these brownies are destined to become a Halloween tradition in your kitchen. Ready to bring a little spooktacular delight to your dessert table?
Why Are These Brownies So Irresistible?
Decadent Layers: Each brownie is loaded with rich chocolate flavor while the Oreos add a delightful crunch, making every bite a sweet treat.
Quick & Easy: This recipe takes just 15 minutes to prep, perfect for busy bakers who still want homemade goodness.
Crowd-Pleasing Delight: Whether it’s a Halloween party or a cozy family night, these brownies are sure to impress both kids and adults alike.
Versatile Goodness: Customize with your favorite candies or toppings for a fun twist every time you bake!
Memorable Experience: Enjoy the nostalgic taste of childhood with these brownies that create moments of joy around the dessert table.
Halloween Oreo Brownie Ingredients
Get ready to bake these delightful brownies with the following ingredients!
For the Brownie Batter
- Butter – 1 cup, melted for a rich, fudgy texture.
- Vegetable Oil – ¼ cup – ensures moistness and a tender crumb.
- Granulated Sugar – 1 cup – adds sweetness that balances the cocoa flavor.
- Brown Sugar – ½ cup – enhances the chewy texture and caramel notes.
- Cocoa Powder – ½ cup – the star ingredient for that deep chocolate flavor.
- Eggs – 2 large – these provide structure and help the brownies rise.
- Vanilla Extract – 2 teaspoons – amplifies the sweetness and adds warmth.
- Salt – ½ teaspoon – a must-have to intensify all the flavors.
- All-Purpose Flour – 1 cup – forms the base for a perfectly chewy brownie.
For the Oreo Layer
- Oreos – 15 cookies – the iconic treat adds crunch and creaminess.
- Extra Oreos – 5 cookies – crumbled on top for an added layer of deliciousness.
Each bite of these Halloween Oreo Brownies will bring the festive spirit alive, making them a seasonal sensation!
Step‑by‑Step Instructions for Halloween Oreo Brownies
Step 1: Preheat the Oven
Start by preheating your oven to 350°F (175°C). While the oven heats, prepare your 8x8 inch baking pan by lining it with parchment paper, allowing extra at the edges for easy lifting after baking. This ensures your Halloween Oreo Brownies come out beautifully without sticking.
Step 2: Melt the Butters and Sugars
In a microwave-safe bowl, combine 1 cup of butter, ¼ cup of vegetable oil, 1 cup of granulated sugar, and ½ cup of brown sugar. Heat the mixture in 30-second intervals, stirring well in between until everything is melted and smooth, taking about 1.5 to 2 minutes total. Let this sweet mixture cool slightly before moving on.
Step 3: Incorporate Eggs and Vanilla
Whisk in 2 large eggs, one at a time, fully blending each before adding the next. Then, mix in 2 teaspoons of vanilla extract until your batter appears glossy and pulls gently from the sides of the bowl—this indicates it’s ready for the dry ingredients.
Step 4: Mix in Dry Ingredients
Now, gently fold in 1 cup of all-purpose flour, ½ cup of cocoa powder, and ½ teaspoon of salt. Stir until just combined, being careful not to overmix, so your Halloween Oreo Brownies remain tender. The batter should be thick and fudgy, ready for layering.
Step 5: Layer the First Batter
Pour half of the brownie batter into your prepared pan, spreading it evenly across the bottom with a spatula. The layer should cover the base but not reach the edges of the pan; this allows for rising during baking.
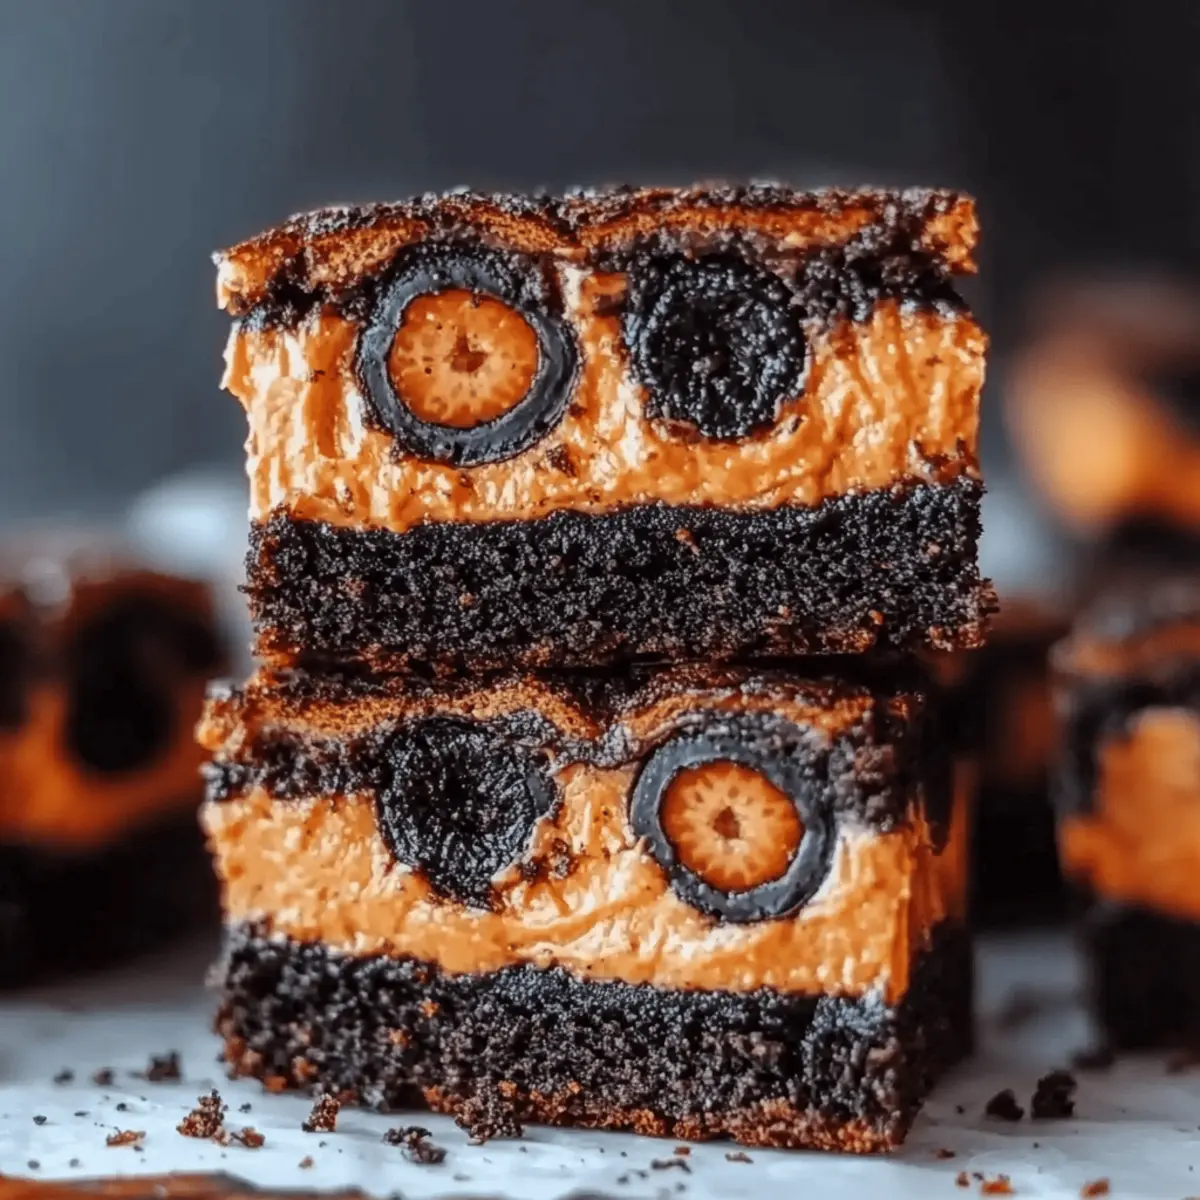
Step 6: Add Oreos
Take 15 Oreo cookies and lay them evenly on top of the brownie batter, pressing them in slightly for better integration. The classic flavors will add both crunch and creaminess, making these brownies irresistibly delicious.
Step 7: Top with Remaining Batter
Now, pour the remaining brownie batter over the Oreos, ensuring they are fully covered. Use your spatula to smooth the top, creating a deliciously thick layer that encloses the cookies for a delightful surprise in every bite.
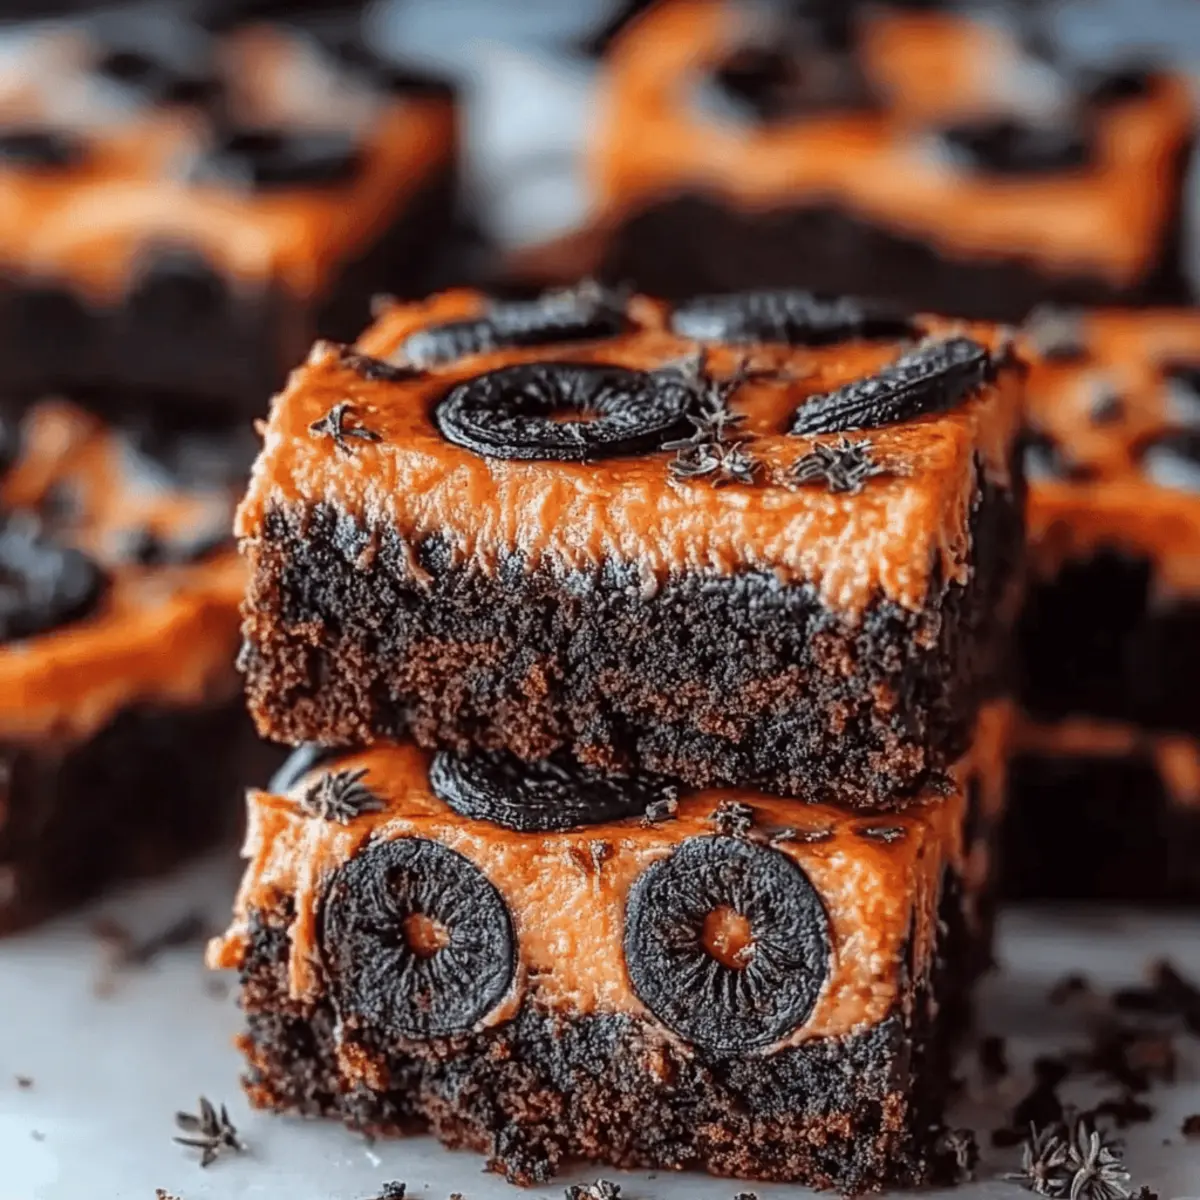
Step 8: Sprinkle Extra Oreos
For an added touch of crunch, crumble the remaining 5 Oreo cookies and sprinkle them generously over the top of the brownie batter. This will create a wonderfully textured topping while baking, enhancing the overall experience of the Halloween Oreo Brownies.
Step 9: Bake and Cool
Bake the brownies in your preheated oven for about 30 minutes. The edges should look set and slightly pull away from the pan, while the center will still be slightly soft. After baking, allow your brownies to cool completely on a wire rack. This cooling process is key for better slicing and a more enjoyable texture.
Make Ahead Options
These Halloween Oreo Brownies are perfect for meal prep! You can prepare the brownie batter (without adding Oreos) up to 24 hours in advance. Simply combine the melted ingredients and mix in the dry ingredients, then store the batter in an airtight container in the refrigerator. To maintain the quality and prevent browning, make sure to seal it tightly. When you’re ready to bake, pour the batter into your prepared pan, layer the Oreos, and bake as directed. You can also bake the brownies ahead of time, then refrigerate them for up to 3 days—just cover them well to keep that fudgy goodness intact. Reheat slightly in the microwave before serving for the ultimate indulgent treat!
How to Store and Freeze Halloween Oreo Brownies
Room Temperature: Store leftover Halloween Oreo Brownies in an airtight container at room temperature for up to 4 days to maintain their fudgy texture.
Fridge: If you want them to last longer, refrigerate brownies in an airtight container for up to a week. Just be sure to soften them slightly at room temperature before enjoying.
Freezer: For longer storage, freeze brownies wrapped tightly in plastic wrap and then in aluminum foil for up to 3 months. Thaw in the fridge or at room temperature when ready to indulge.
Reheating: To enjoy brownies warm again, place them in the microwave for 10-15 seconds. This will bring back their melty goodness!
Halloween Oreo Brownies Variations
Feel free to have some fun and personalize your Halloween Oreo Brownies with these delicious twists!
- Gluten-Free: Substitute all-purpose flour with a 1:1 gluten-free blend for a safe treat that everyone can enjoy.
- Nutty Addition: Toss in a cup of chopped walnuts or pecans for a delightful crunch and rich flavor landscape. Nuts and chocolate make a timeless pair!
- Minty Magic: Opt for mint-flavored Oreos instead of regular ones for a refreshing twist that’s perfect for Halloween. The cool mint will truly invigorate each bite.
- Extra Chocolate: Add a cup of chocolate chips to the batter for a gooey, chocolatey surprise that elevates your brownies to new heights. More chocolate, more fun!
- Cream Cheese Swirl: Blend 4 oz of cream cheese with an egg and a little sugar, then swirl through your batter before baking for a delightful tang. This twist adds a creamy texture that beautifully contrasts with the brownies.
- Spicy Kick: Introduce a pinch of cayenne pepper or cinnamon to the batter for a warming spice that adds depth to your brownies. Just a little spice can enliven the chocolate experience.
- Caramel Drizzle: Drizzle melted caramel on top before baking, creating a sweet, gooey layer that pairs magnificently with the Oreos for an extra indulgent treat.
- Vegan Option: Replace the butter with coconut oil and the eggs with flaxseed meal or applesauce to make an egg-free version that everyone will love. This way, everyone can join in on the chocolatey fun!
Expert Tips for Halloween Oreo Brownies
-
Use Room Temperature Eggs: Ensure your eggs are at room temperature for better mixing, which helps achieve a smoother brownie batter.
-
Don’t Overmix: When combining the flour and cocoa powder, mix just until no dry ingredients remain. Overmixing can make your brownies tough instead of fudgy.
-
Check for Doneness: Insert a toothpick into the center; it should come out with a few moist crumbs. If it's too wet, bake a few minutes longer to avoid a gooey texture.
-
Let Them Cool: Be sure to cool the brownies completely before slicing. This helps them set, making every piece easier to cut and ensuring clean edges.
-
Storage Tip: Keep leftover Halloween Oreo Brownies in an airtight container at room temperature for up to 4 days, or refrigerate for longer freshness without losing texture.
What to Serve with Halloween Oreo Brownies
Looking to create the perfect ambiance for your Halloween celebration? Pairing delightful treats can heighten the festive spirit!
-
Vanilla Ice Cream: The classic pairing of warm brownies and cold ice cream creates a sensational melt-in-your-mouth experience. A scoop of vanilla adds a creamy contrast to the rich chocolate.
-
Pumpkin Spice Latte: Embrace the season with this cozy beverage. The warm spices of the latte complement the chocolaty sweetness, making it a comforting treat on a chilly evening.
-
Whipped Cream: A generous dollop of fresh whipped cream on top provides a light and airy contrast to the dense fudginess of the brownies. It enhances every bite with smooth richness.
-
Caramel Sauce: Drizzle warm caramel sauce over the brownies for added sweetness and a gooey texture. The sweet and salty notes interplay beautifully with the chocolatey flavor.
-
Chocolate Milk: This classic childhood favorite pairs perfectly with your Halloween Oreo Brownies. The rich chocolate flavors create a nostalgic experience that both kids and adults will enjoy.
-
Candied Apples: Fresh and crunchy, these treats add a wonderful texture contrast. Their sweetness and slight tartness are a playful offset to the brownies’ fudgy depth.
-
Ghostly Meringues: Light and airy meringue cookies shaped like ghosts bring a whimsical touch that delights both the eyes and the palate. They offer a playful balance to the dense brownies.
-
Spiced Hot Chocolate: Keep the chill away with a richly flavored hot chocolate spiced with cinnamon and nutmeg. This warm treat accentuates the coziness of the Halloween celebration while complementing the brownie’s richness.
-
Pecan Pie Bars: For a dessert spread that showcases various textures and flavors, include these nutty bars. Their sweet and buttery essence pairs beautifully with the chocolatey richness of the brownies.
Halloween Oreo Brownies Recipe FAQs
What kind of Oreos should I use for the brownies?
I recommend using classic Oreos for the best flavor and texture in your Halloween Oreo Brownies. However, feel free to experiment with different flavors like peanut butter or mint if you’re feeling adventurous!
How do I store leftover brownies?
Store any leftover Halloween Oreo Brownies in an airtight container at room temperature for up to 4 days. If you'd like them to last longer, you can refrigerate them for up to a week, just remember to soften them slightly at room temperature before enjoying!
Can I freeze these brownies?
Absolutely! For longer storage, wrap your brownies tightly in plastic wrap, then wrap them in aluminum foil. You can freeze them for up to 3 months. To thaw, place them in the fridge overnight or let them sit at room temperature for a couple of hours before indulging again.
What should I do if my brownies turn out too cakey?
If your brownies turn out too cakey, it’s likely due to overmixing the batter or baking them for too long. Be gentle when mixing the flour and cocoa powder to avoid developing the gluten. For doneness, a toothpick should come out with a few moist crumbs, indicating a fudgy texture.
Can I substitute any ingredients for dietary restrictions?
Yes! If you're looking for a gluten-free option, you can substitute all-purpose flour with a gluten-free flour blend. For vegan brownies, replace the eggs with flax eggs (1 tablespoon ground flaxseed mixed with 2.5 tablespoons water per egg) and use a plant-based butter substitute. Adjusting sugar types can also cater to dietary needs if necessary.
Is it safe for pets?
No, these Halloween Oreo Brownies contain ingredients like chocolate and sugar, which are harmful to pets. Always keep these delicious treats out of reach to ensure your furry friends stay safe and healthy!
Indulgent Halloween Oreo Brownies That Steal the Show
Ingredients
Equipment
Method
- Preheat your oven to 350°F (175°C) and prepare your 8x8 inch baking pan lined with parchment paper.
- Combine melted butter, vegetable oil, granulated sugar, and brown sugar in a microwave-safe bowl. Heat in 30-second intervals until melted and smooth.
- Whisk in eggs one at a time, then mix in vanilla extract until glossy.
- Fold in flour, cocoa powder, and salt until just combined.
- Pour half of the brownie batter into the prepared pan and spread it evenly.
- Lay Oreo cookies evenly on top of the brownie batter, pressing them in slightly.
- Pour the remaining brownie batter over the Oreos, smoothing the top.
- Crumble extra Oreos and sprinkle over the top of the brownie batter.
- Bake for about 30 minutes, until edges are set. Allow brownies to cool completely on a wire rack.