As I stood in my kitchen, the sweet, velvety scent of melting chocolate filled the air, whisking me back to childhood treats shared on cozy evenings. Today, I'm excited to share my take on a classic indulgence: Hershey Pie – a No-Bake Chocolate Dessert that’s perfect for those moments when you crave something delightful yet effortless. In just 15 minutes of prep, you’ll unlock a pie that not only pleases the palate but also saves you time—ideal for whipping up after a long day. With a luscious blend of rich chocolate and creamy layers, this dessert brings the joy of homemade goodness to your table, pleasing friends and family alike. Ready to dive into this chocolatey masterpiece? Let’s get started!
Why Is Hershey Pie A Must-Try?
Easy Preparation: With just 15 minutes of hands-on work, you can whip up this decadent pie without breaking a sweat.
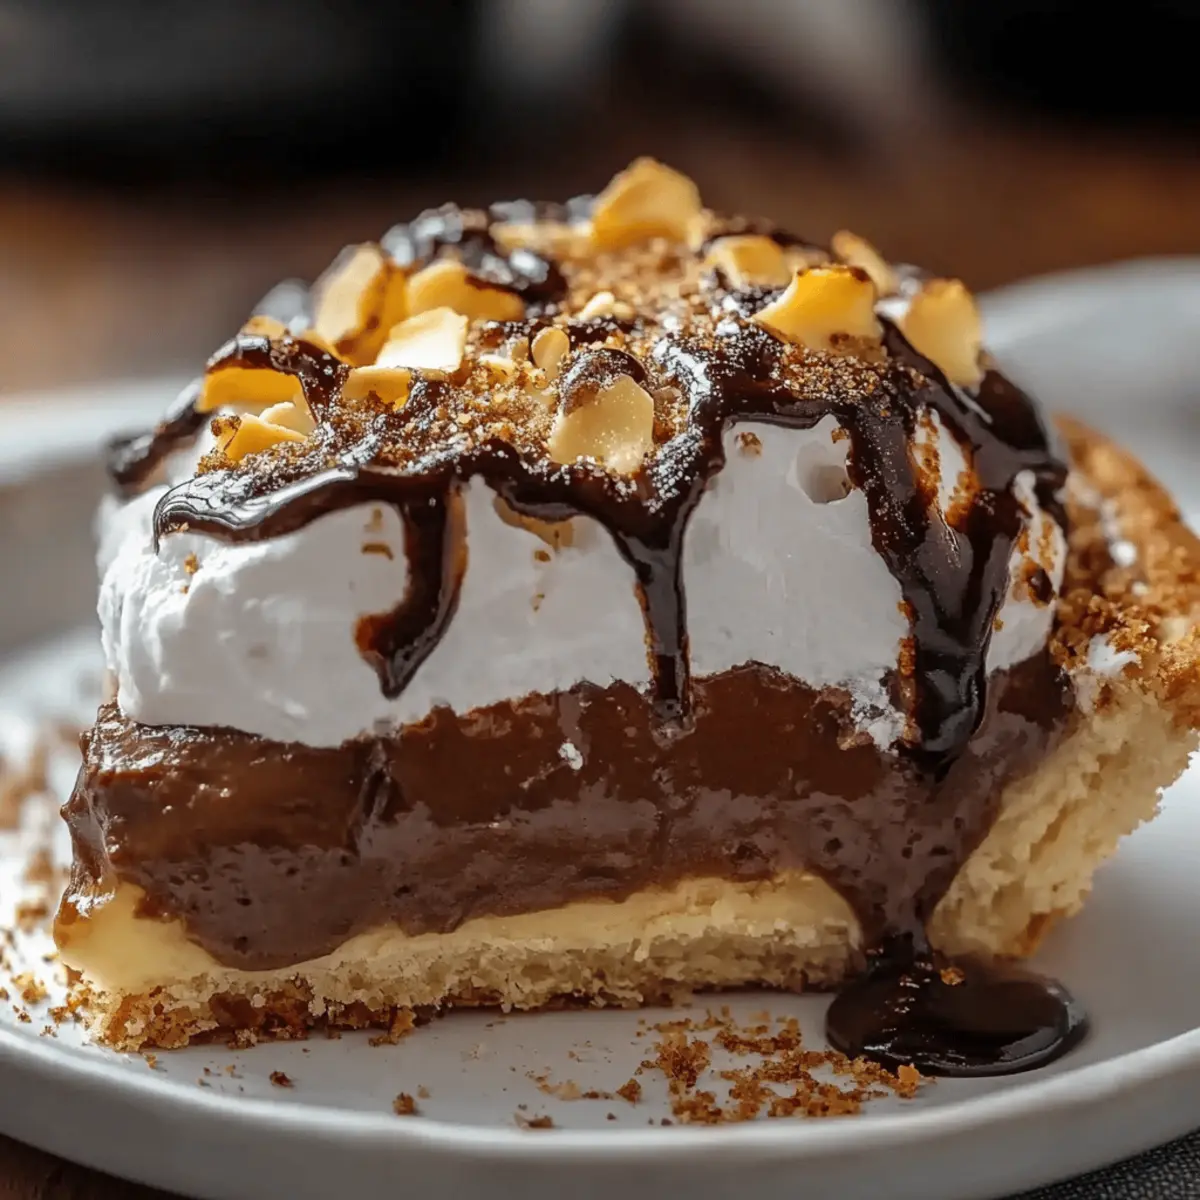
Decadent Layers: Each slice beautifully combines melted chocolate, creamy filling, and a light topping, making every bite a delight.
No-Bake Convenience: Say goodbye to complicated baking processes! This recipe requires minimal effort—perfect for busy days or last-minute gatherings.
Crowd-Pleasing Dessert: Whether it's a birthday party or family gathering, this Hershey Pie will impress both kids and adults alike.
Endless Customization: Top it with syrups, nuts, or fresh fruits to personalize it according to your taste or occasion.
Nostalgic Treat: Revel in the warmth of childhood memories with every bite, as this pie captures the essence of sweet indulgence.
Hershey Pie Ingredients
• Get ready to whip up a chocolate delight!
For the Crust
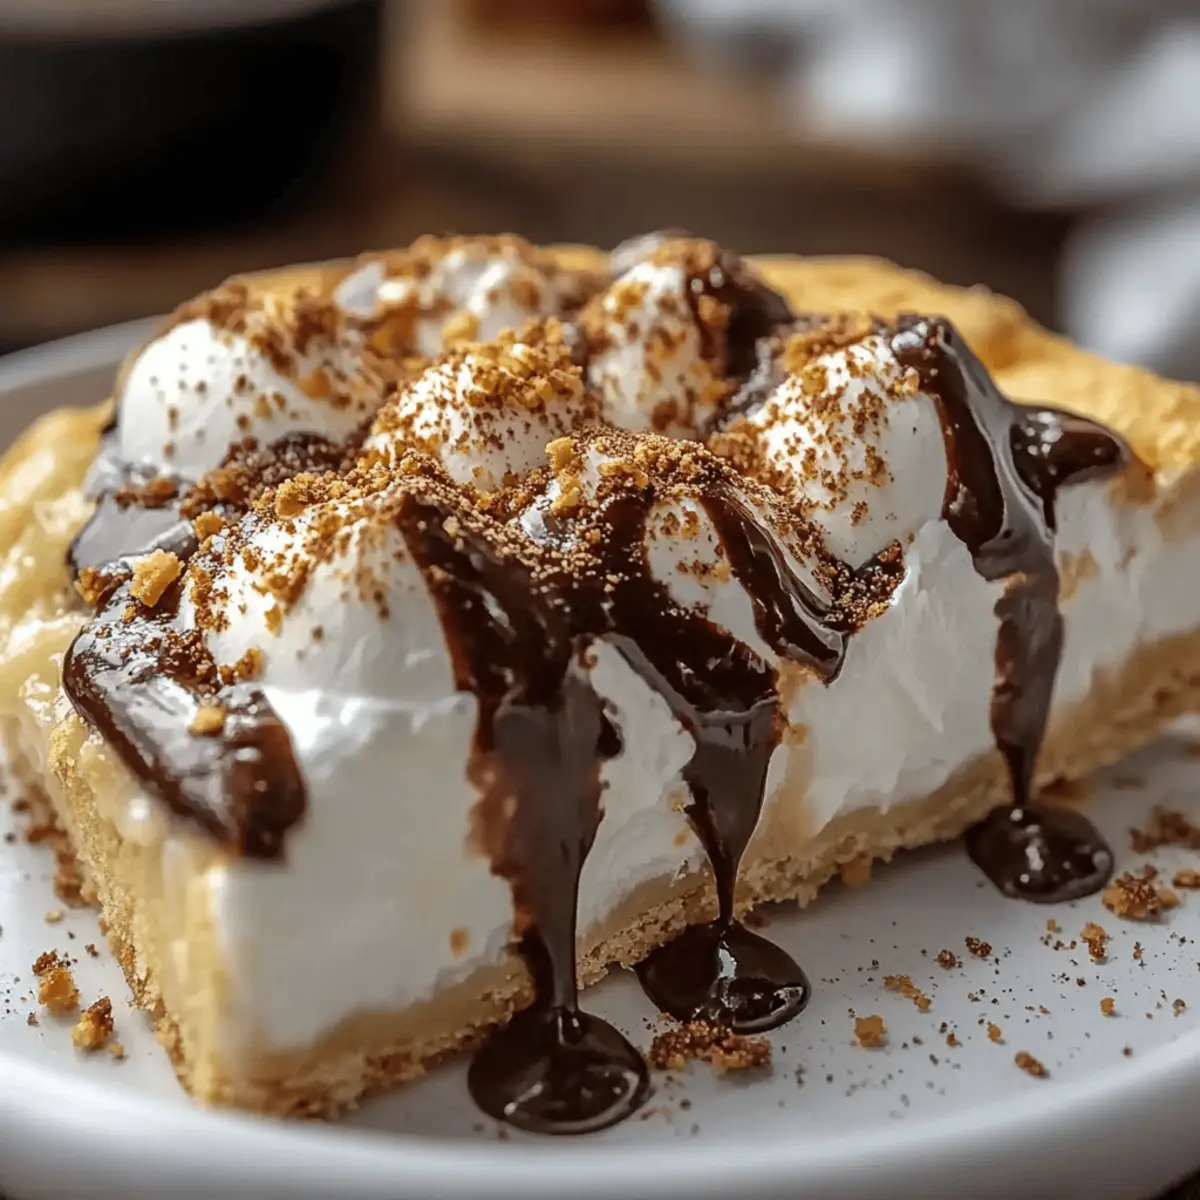
- 1 pie crust – Use an Oreo or graham cracker crust for a perfect base that adds a delicious crunch.
For the Filling
- 8 oz cream cheese – Soften this to achieve a creamy texture that blends well with other ingredients.
- ½ cup confectioners’ sugar – Sift it to avoid lumps and ensure a smooth, sweet filling.
- 1 teaspoon pure vanilla extract – Adds a great depth of flavor to balance the sweetness.
- 16 oz frozen whipped topping – Thaw this for a light, airy texture that makes your pie irresistibly fluffy.
- 6 Hershey’s milk chocolate bars – Melt to create a rich, chocolatey base that defines the Hershey Pie – No-Bake Chocolate Dessert.
For the Topping
- Optional: chocolate syrup – Drizzle for an extra layer of sweetness and a beautiful presentation.
- Optional: crushed graham crackers – Sprinkle on top for added crunch and nostalgic flavor.
Step‑by‑Step Instructions for Hershey Pie – No-Bake Chocolate Dessert
Step 1: Melt the Chocolate Bars
Begin by unwrapping the 6 Hershey’s milk chocolate bars and placing them in a microwave-safe bowl. Melt them in the microwave in 30-second bursts, stirring in between each interval until smooth and fully melted, which should take about 2 minutes total. Once melted, allow the chocolate to cool slightly before folding in half of the thawed whipped topping until the mixture is light and fluffy.
Step 2: Prepare the Chocolate Layer
Gently spread the fluffy chocolate mixture into the bottom of your prepared pie crust, smoothing it out with a spatula to ensure even coverage. The rich, velvety chocolate layer should fill the pie crust entirely, creating a decadent base for your Hershey Pie – No-Bake Chocolate Dessert. Set the pie aside as you work on the cream cheese layer.
Step 3: Cream the Cheese Filling
In a large mixing bowl, add the softened cream cheese and beat it with an electric mixer on medium speed until it’s smooth and creamy. Gradually mix in the sifted confectioners’ sugar and pure vanilla extract, blending until the mixture is homogenous. The cream cheese mixture should be velvety with no lumps for a perfect texture.
Step 4: Fold in Whipped Topping
Once the cream cheese mixture is smooth, gently fold in the remaining thawed whipped topping. Use a spatula to incorporate it slowly, ensuring you maintain the light and airy quality of the whipped topping. This creates a luscious filling that will complement the chocolate layer beautifully.
Step 5: Assemble the Pie
Carefully spread the cream cheese mixture over the chocolate layer in the crust, smoothing it out to create an even top. This layer adds a creamy sweetness to balance the rich chocolate beneath. Make sure to cover every bit of chocolate to keep the dessert beautifully layered.
Step 6: Add the Final Whipped Topping Layer
For an elegant finish, use the rest of your whipped topping to create a smooth, fluffy layer on top of the cream cheese mixture. Spread it evenly for a light, airy appearance. This simple step enhances the overall texture and makes your Hershey Pie visually appealing.
Step 7: Chill the Pie
Cover the assembled Hershey Pie with plastic wrap and refrigerate it for at least 4 hours, or even overnight for the best flavor and texture. Allowing it to chill will help the layers set perfectly, making it easier to slice when serving.
Step 8: Garnish Before Serving
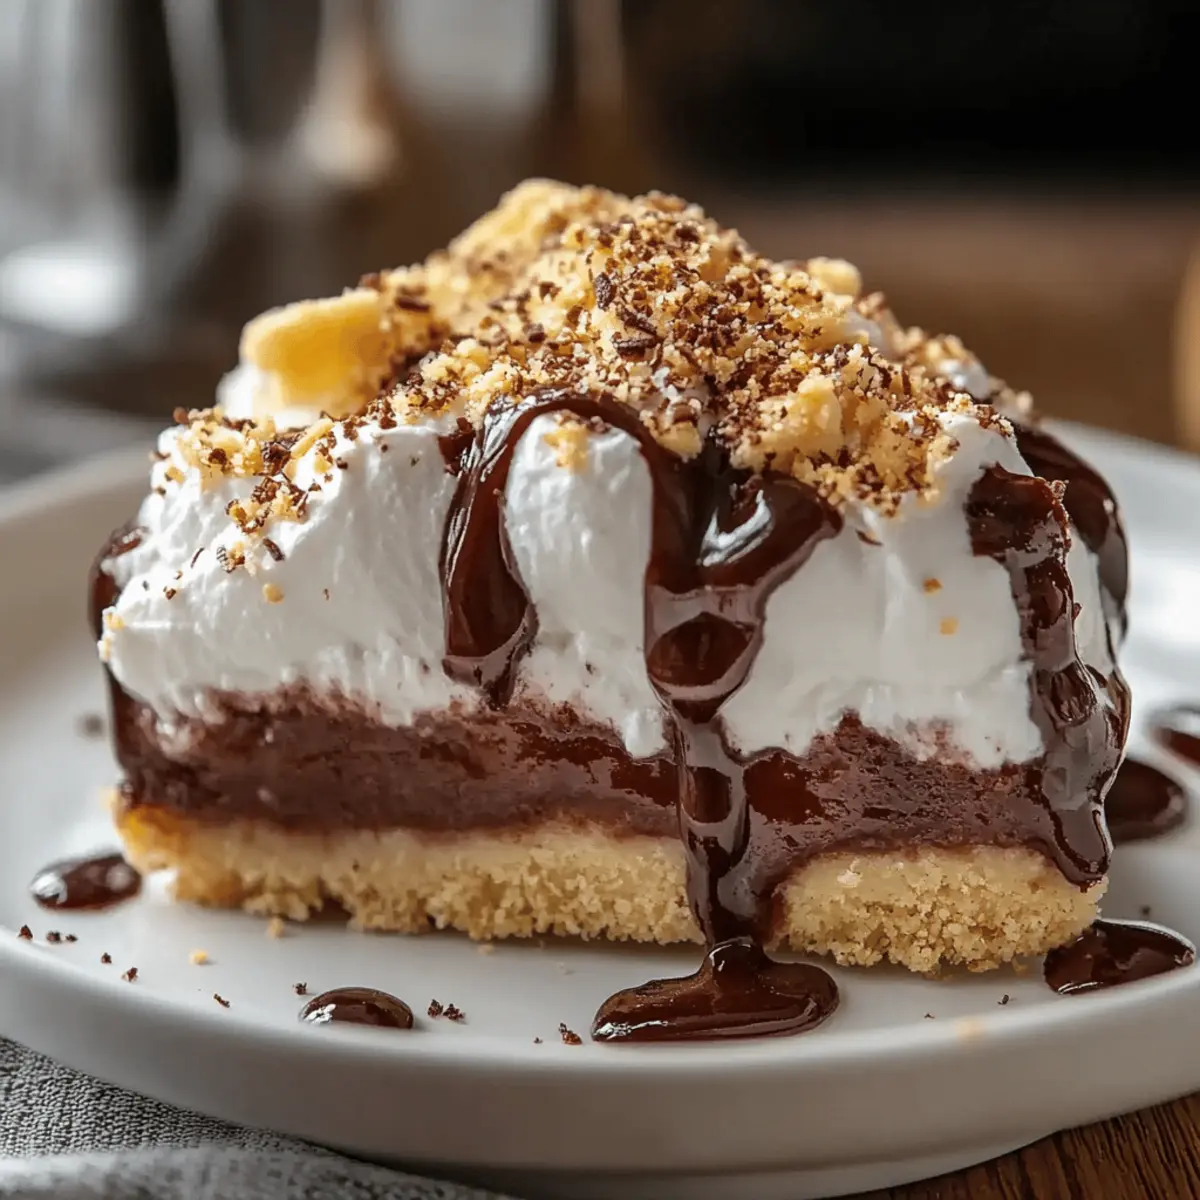
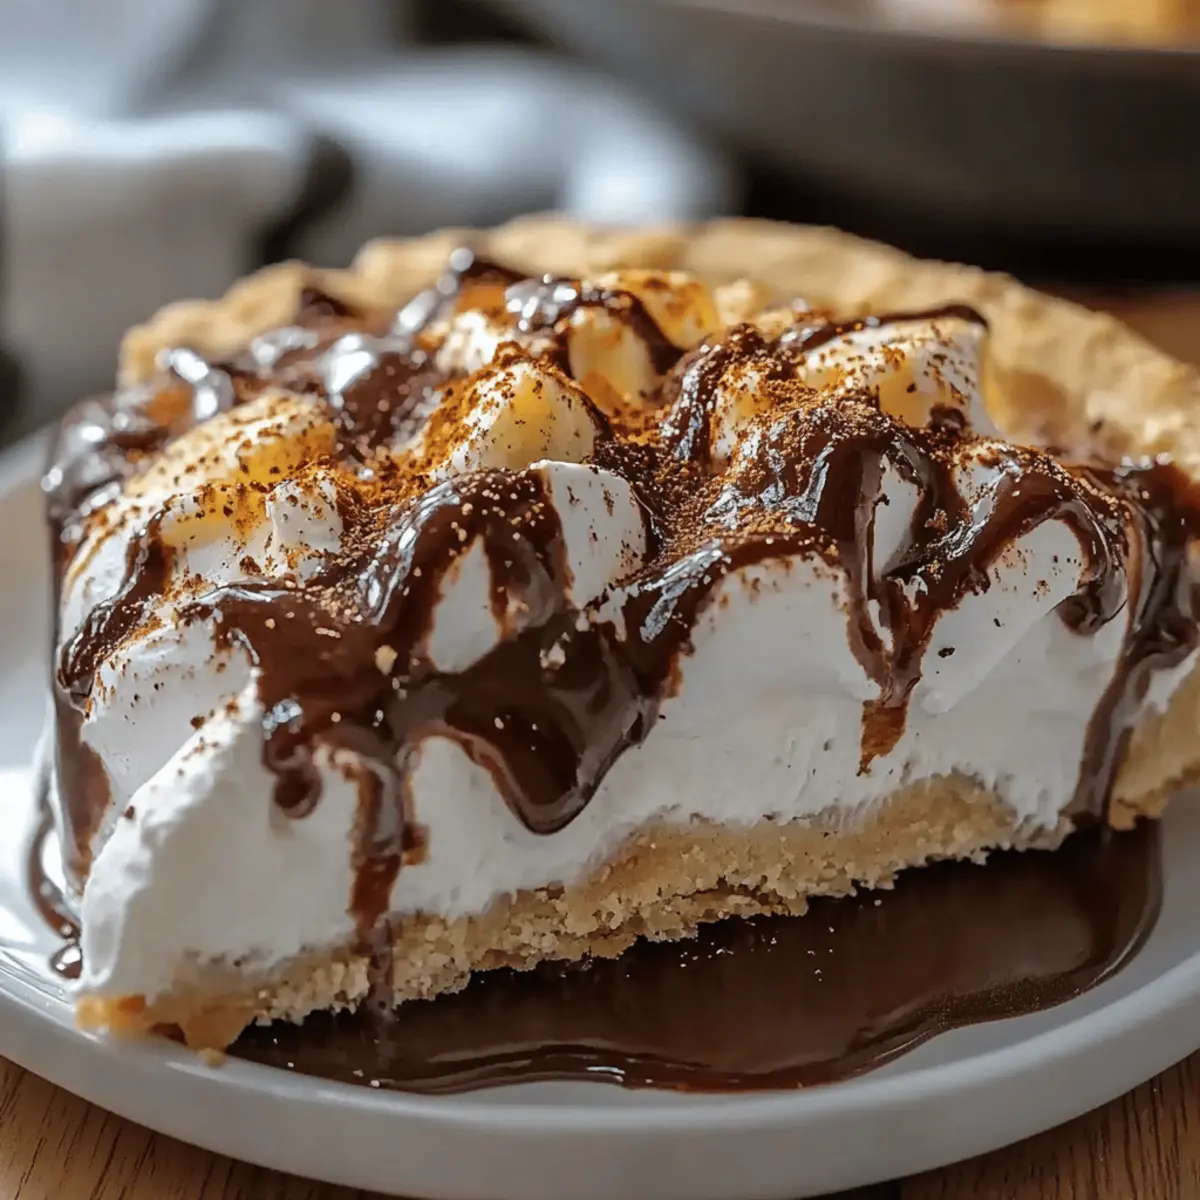
Just before serving, remove the pie from the refrigerator. Drizzle chocolate syrup on top for a sweet visual effect, and sprinkle crushed graham crackers or chocolate shavings over the dessert for a delightful crunch. This adds both flavor and a lovely presentation to your Hershey Pie – No-Bake Chocolate Dessert.
Hershey Pie Variations to Try
Discover the delightful ways you can personalize your Hershey Pie, enhancing both flavor and texture to fit your cravings!
-
Gluten-Free: Swap the pie crust for a gluten-free option like almond flour or a pre-made gluten-free crust. This way, everyone can indulge without worry!
-
Nutty Twist: Sprinkle in chopped nuts such as walnuts or pecans into the chocolate layer for added crunch and a rich, earthy flavor. It’s a delightful surprise in every bite!
-
Minty Fresh: Add a few drops of peppermint extract to the chocolate mixture for a refreshing mint flavor that pairs perfectly with chocolate. It’s like a sweet breeze on a warm day!
-
Vegan Delight: Substitute the cream cheese with a vegan cream cheese alternative and use coconut whipped topping for a dairy-free treat that everyone will love. This ensures everyone feels included!
-
Fruit Infusion: Layer in some sliced strawberries or raspberries between the chocolate and cream cheese layers. The fruity acidity balances the richness, creating a wonderful symphony of flavors!
-
Spicy Kick: For those who like it hot, add a pinch of cayenne pepper to the melted chocolate. It brings a surprising heat that beautifully contrasts the sweet creaminess!
-
Coconut Cream: Substitute half the cream cheese with coconut cream for a tropical twist. This luscious variation will whisk you away to a beachy paradise!
-
Double Chocolate: Use chocolate-flavored whipped topping in place of regular whipped topping for an extra-chocolatey indulgence that chocolate lovers will adore!
How to Store and Freeze Hershey Pie
Fridge: Keep the Hershey Pie in an airtight container in the refrigerator for up to 3 days. This will maintain its creamy texture and chocolate flavor.
Freezer: For longer storage, you can freeze the pie. Wrap it tightly in plastic wrap, followed by aluminum foil, and keep it in the freezer for up to 2 months. Thaw in the fridge before serving.
Reheating: There's no need to reheat this No-Bake Chocolate Dessert; simply slice and enjoy chilled!
Serving: For the freshest taste, it's best to enjoy your Hershey Pie soon after preparation, but it still holds its delectable qualities when stored properly.
Make Ahead Options
Hershey Pie – No-Bake Chocolate Dessert is perfect for busy home cooks looking to save time! You can prepare the chocolate and cream cheese layers up to 24 hours in advance. Simply melt the Hershey’s chocolate and fold in the whipped topping, then spread it into your crust; do the same with the cream cheese mixture. Store each layer in airtight containers in the refrigerator until you’re ready to assemble. When it’s time to serve, layer them in the pie crust, add the final whipped topping, and chill the pie for at least 4 hours before enjoying. This allows each layer to meld beautifully, ensuring every bite is just as delicious as if made fresh!
Expert Tips for Hershey Pie
-
Room Temperature Cream Cheese: Ensure your cream cheese is at room temperature before mixing. This prevents lumps and creates a smoother filling in your Hershey Pie – No-Bake Chocolate Dessert.
-
Don't Overheat Chocolate: Melt the Hershey’s chocolate in short bursts, stirring constantly. Overheating can cause it to seize, resulting in a grainy texture.
-
Chill for Best Results: For optimal flavor and texture, refrigerate the pie overnight. This allows the layers to meld beautifully and makes slicing easier.
-
Use Fresh Whipped Topping: Always use thawed, fresh whipped topping for the lightest texture. Check the expiration date to avoid any off-flavors.
-
Customize Your Garnish: Get creative with toppings! Fresh berries, chopped nuts, or even a sprinkle of sea salt can elevate your Hershey Pie experience.
What to Serve with Hershey Pie
Indulging in a slice of Hershey Pie creates a cozy dessert experience perfect for sharing with loved ones.
- Fresh Berries: The tartness of strawberries or raspberries perfectly contrasts the rich chocolate, adding a refreshing twist.
- Vanilla Ice Cream: A scoop of vanilla ice cream brings a delightful creaminess that elevates each bite of the chocolatey goodness.
- Chocolate Drizzle: Enhance the chocolate experience with an extra drizzle of chocolate syrup atop the pie for a beautiful presentation and extra sweetness.
- Nutty Topping: Chopped pecans or walnuts add a complementing crunch that contrasts the smooth filling and enhances texture.
- Coffee or Espresso: A warm cup of coffee or espresso cuts through the richness of the pie, making every mouthful even more enjoyable.
- Mint Sprigs: Garnishing with fresh mint not only adds a pop of color but also a refreshing flavor that livens up the dessert.
Creating a captivating dessert spread is easy when you think beyond the pie alone—let your imagination run wild!
Hershey Pie Recipe FAQs
How do I choose ripe ingredients for my Hershey Pie?
Absolutely! For the best flavor, ensure your cream cheese is fully softened at room temperature to create a smooth texture. The whipped topping should be fresh and fully thawed—check the expiration date to avoid off flavors. As the Hershey chocolate bars are the star of the show, opt for the freshest ones available for that melty goodness!
What’s the best way to store leftovers of my Hershey Pie?
Very! Simply keep the Hershey Pie in an airtight container in the refrigerator, where it will last for up to 3 days. This helps preserve its creamy texture and rich chocolate flavor. If you notice it starting to lose its vibrant taste, it might be time to enjoy the leftovers!
Can I freeze my Hershey Pie for later enjoyment?
Absolutely! If you want to store your Hershey Pie for longer, wrap it tightly in plastic wrap and then in aluminum foil to avoid freezer burn. You can freeze it for up to 2 months. When ready to enjoy, simply transfer it to the fridge to thaw for several hours or overnight.
What if my chocolate mixture seizes when melting?
Ah, that can happen! If your chocolate mixture seizes up while melting, it’s likely been overheated. To fix this, try mixing in a small amount of vegetable oil or butter, which can help smooth it out. Next time, remember to melt it in shorter bursts and stir well between each to ensure even melting!
Are there any dietary considerations I should keep in mind?
Very! If you’re making this Hershey Pie for a gathering, remember that it contains dairy products, so keep potential allergies in mind. For those with gluten sensitivities, choose a gluten-free pie crust option, such as a gluten-free graham cracker crust. As for pets, chocolate is toxic to dogs and other pets, so keep this delicious dessert away from them!
Indulgent Hershey Pie – No-Bake Chocolate Dessert Bliss
Ingredients
Equipment
Method
- Melt the Hershey’s milk chocolate bars in a microwave-safe bowl in 30-second bursts until smooth, about 2 minutes.
- Spread the fluffy chocolate mixture into the bottom of the pie crust, smoothing it out evenly.
- In a mixing bowl, beat the softened cream cheese until smooth, then mix in sifted confectioners’ sugar and vanilla extract.
- Fold in the remaining thawed whipped topping gently to maintain texture.
- Spread the cream cheese mixture over the chocolate layer in the crust.
- Top with the remaining whipped topping to create an airy finish.
- Cover with plastic wrap and refrigerate for at least 4 hours, preferably overnight.
- Before serving, drizzle chocolate syrup and sprinkle crushed graham crackers on top.