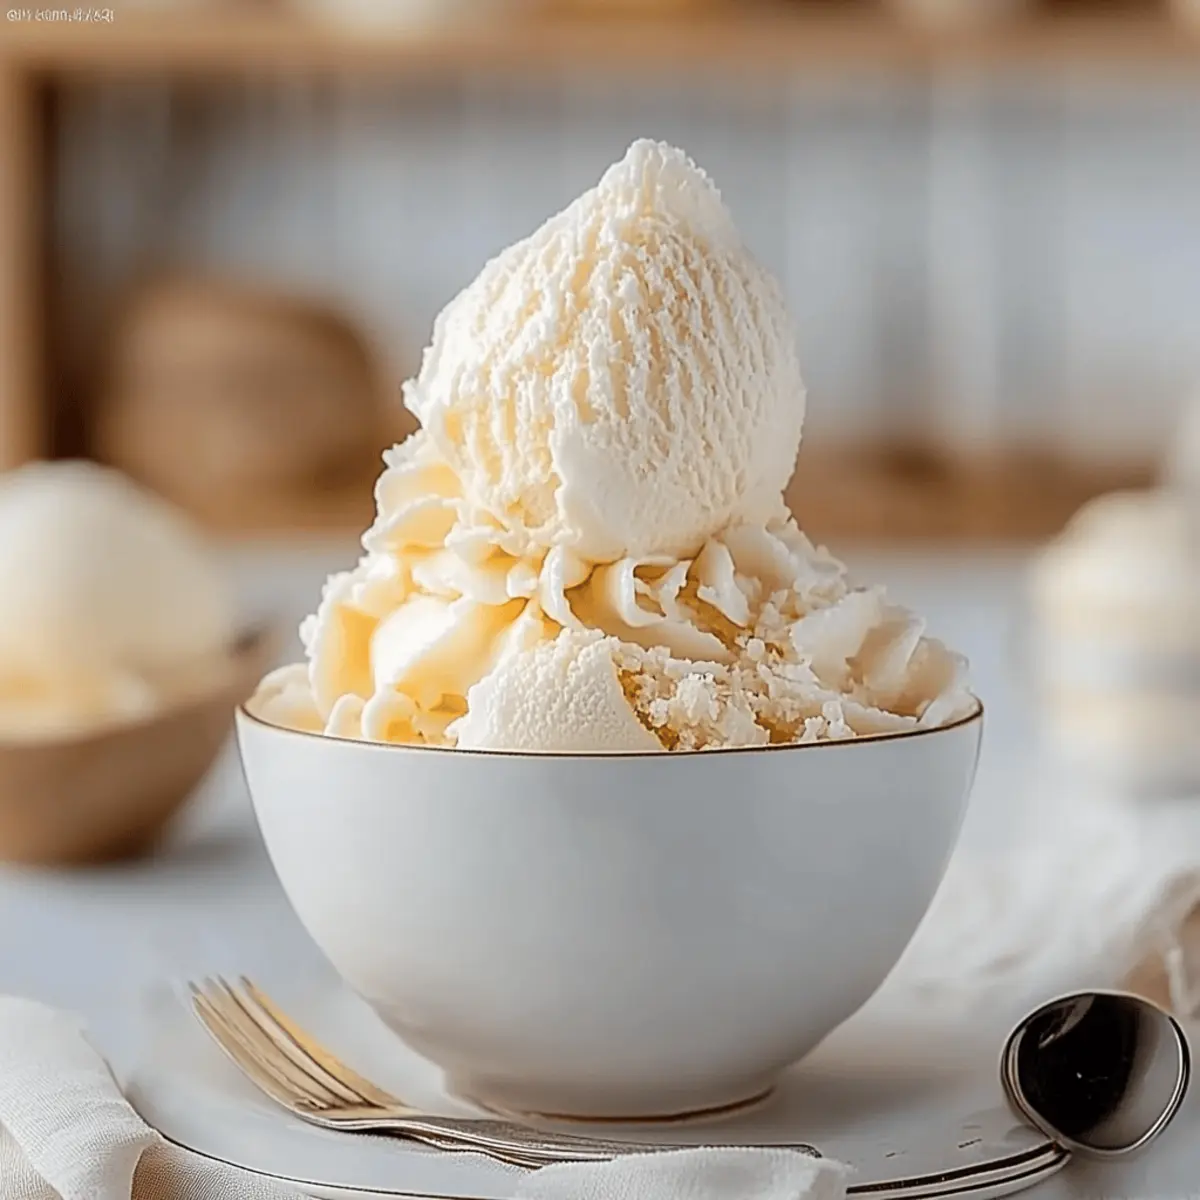
As the summer sun blazes down, the heat can often feel relentless, but nothing beats the refreshing joy of indulging in a homemade dessert. That’s why I’m thrilled to share my Sugar Free Vanilla Ice Cream recipe, perfect for satisfying that sweet tooth without the guilt! With just a handful of simple ingredients like heavy cream and almond milk, this delightful treat is not only easy to whip up but also tailor-made for those who want to embrace healthier choices. Imagine serving up a crowd-pleasing dessert that’s rich and creamy yet completely sugar-free! It’s a fantastic way to enjoy a classic favorite while keeping your health in mind. Are you curious about how a smooth, delicious scoop can be yours in just a few steps? Let's dive into this delightful recipe!

Why choose sugar-free ice cream?
Indulgent, this creamy sugar-free vanilla ice cream delivers all the lusciousness of traditional recipes without any guilt. Tailored for you, it offers a delightful alternative for those watching their sugar intake. Versatile, feel free to personalize it with your favorite mix-ins or toppings! Quick preparation means you’ll be savoring a refreshing treat in no time. Plus, crowd-pleasing and perfect for summer gatherings, it's a simple way to impress friends and family with a homemade delight.
Vanilla Ice Cream Ingredients
For the Ice Cream Base
• 2 cups heavy cream – Fuels the creaminess, making every scoop irresistible!
• 1 cup unsweetened almond milk – A lighter option that balances the richness of cream; feel free to swap with another milk alternative.
• 1 cup erythritol – A fantastic sugar-free sweetener that brings just the right touch of sweetness; adjust to your taste!
• 1 tablespoon vanilla extract – Enhances flavor and brings warm notes of vanilla; never skip this for perfect vanilla ice cream.
• ¼ teaspoon sea salt – Elevates all the flavors and adds a touch of balance to the sweetness.
• Optional: ¼ teaspoon xanthan gum – Ideal for achieving an extra smooth texture, it helps prevent ice crystals from forming.
Step‑by‑Step Instructions for Vanilla Ice Cream
Step 1: Combine Cream and Milk
In a medium saucepan, pour 2 cups of heavy cream and 1 cup of unsweetened almond milk. Over medium heat, blend the two together until they’re well combined, making sure to see a gentle steam rising from the mixture. Stir frequently, keeping an eye on it to prevent boiling, which can alter the texture of your Vanilla Ice Cream.
Step 2: Add Sweetener and Salt
Next, introduce 1 cup of erythritol and ¼ teaspoon of sea salt into the saucepan. Stir the mixture continuously for about 5-7 minutes or until the sweetener has completely dissolved. You’ll know it’s ready when the cream mixture looks smooth and glossy, with all granules melted away.
Step 3: Infuse with Vanilla
Once your mixture is off the heat, add 1 tablespoon of vanilla extract, giving it a lovely aroma and flavor. Stir well to ensure that the vanilla is evenly distributed throughout the warm base, creating the delicious foundation for your Vanilla Ice Cream.
Step 4: Incorporate Xanthan Gum (Optional)
If you prefer a creamier texture, whisk in ¼ teaspoon of xanthan gum until fully dissolved. This step is optional, but it helps prevent ice crystals, ensuring your ice cream remains smooth and decadent. Keep stirring until it’s completely blended into the mixture.
Step 5: Chill the Ice Cream Base
Pour the ice cream base into a container and allow it to cool at room temperature for about 30 minutes. Once it’s at room temperature, cover the container and place it in the refrigerator for at least 4 hours or, even better, overnight. This chilling step is key for developing the flavors of your Vanilla Ice Cream.
Step 6: Prepare the Ice Cream Maker
Before you begin churning, make sure your ice cream maker bowl has been frozen according to the manufacturer’s instructions, usually for 15-24 hours. This step ensures your Vanilla Ice Cream achieves the right consistency as you churn it.
Step 7: Pour and Stir the Base
After the chilling time, take the ice cream base out of the refrigerator. Give it a good stir to combine everything again, ensuring that any settled ingredients are mixed back in. This smooth mixture is now ready to be poured into the ice cream maker bowl.
Step 8: Churn the Ice Cream
Turn on your ice cream maker and pour in the chilled mixture. Churn according to the manufacturer's instructions, typically for about 20-30 minutes, until the ice cream reaches a soft-serve consistency. Keep an eye on it; the mixture will start to thicken and expand as it freezes.
Step 9: Freeze for Firmness
Transfer your freshly churned Vanilla Ice Cream into a freezer-safe container, smoothing the top with a spatula. Place the container in the freezer and let it set for at least 2-3 hours, or longer for a firmer texture. This final freezing step is essential for achieving that perfect scoop.
Step 10: Serve and Store
When ready to serve, let the ice cream sit at room temperature for a few minutes to soften slightly, making it easier to scoop. Remember, if you have any leftovers, store them in the freezer for up to 2 weeks, so you can keep enjoying your homemade Vanilla Ice Cream whenever the craving strikes.
Expert Tips for Vanilla Ice Cream
Perfect Consistency: Make sure your ice cream maker bowl is fully frozen before churning; this ensures creamy Vanilla Ice Cream rather than icy chunks.
Sweetener Balance: Adjust the erythritol to your taste preference, remembering it’s less sweet than sugar. Don’t hesitate to taste as you go!
Chill Time Matters: Allow enough chilling time for the base—overnight is best. This patience enhances the flavors and smoothness of your Vanilla Ice Cream.
Xanthan Gum Bonus: If you include xanthan gum, dissolve it fully to avoid clumps. It helps create a luscious, creamy texture that everyone will love.
Gentle Serving: Let the ice cream sit at room temperature for a few minutes before serving. This small step makes scooping easier and elevates the experience!
Vanilla Ice Cream Variations
Feel free to explore these delightful twists to make your homemade vanilla ice cream even more special!
- Dairy-Free: Substitute heavy cream with coconut cream for a rich, non-dairy delight that adds a hint of tropical flavor.
- Low-Calorie: Swap erythritol with monk fruit sweetener for a naturally sweet option that won’t compromise taste.
- Chocolate Swirl: Drizzle in unsweetened cocoa or melted dark chocolate while churning for a rich, chocolatey treat that kids will adore.
- Fruit Infusion: Blend in pureed strawberries or mango before churning to create a fresh fruit ice cream that bursts with flavor.
- Nutty Crunch: Stir in crushed almonds or walnuts just before freezing for added texture and a delightful bite!
- Coffee Kick: Add 1-2 teaspoons of espresso or strong brewed coffee to the base for a delicious coffee-infused dessert that’s perfect for adults.
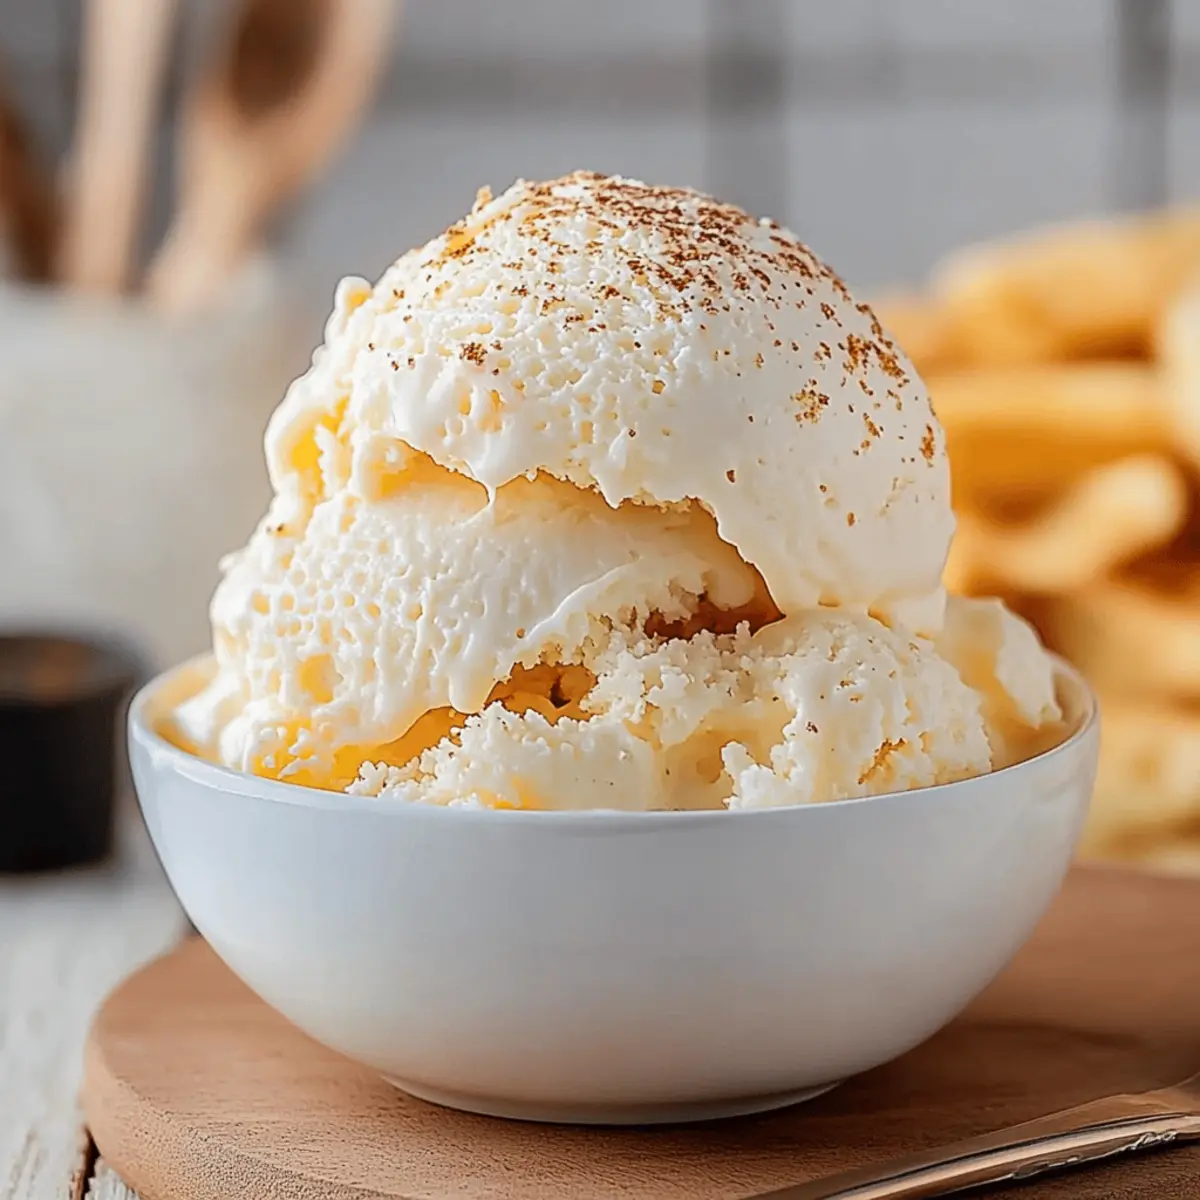
- Spiced Vanilla: Incorporate a pinch of cinnamon or nutmeg for a warm, cozy twist, creating an ice cream that pairs beautifully with fall desserts.
- Chili Chocolate: For the adventurous, mix in a touch of cayenne pepper with chocolate for a delightful sweet heat that will surprise your taste buds!
Make Ahead Options
These Sugar Free Vanilla Ice Cream recipes are perfect for busy home cooks looking to save time! You can prepare the ice cream base up to 24 hours in advance; just follow steps 1 through 5, then cover the mixture and refrigerate it overnight. This chilling step not only deepens the flavors but also makes the ice cream just as delicious when you churn it. When you're ready to enjoy, simply proceed with whipping out your ice cream maker (after ensuring it's properly frozen) and churn for 20-30 minutes. This way, you’ll be serving creamy, homemade Vanilla Ice Cream with minimal effort and maximum flavor!
What to Serve with Sugar Free Vanilla Ice Cream
Imagine the sweet aroma of vanilla wafting through your home, complemented by an array of delicious pairings that elevate your dessert experience.
-
Fresh Berries: The tartness of strawberries or raspberries adds a vibrant contrast to the creamy vanilla ice cream, making each bite a delightful explosion of flavor.
-
Chocolate Sauce: Drizzling warm, sugar-free chocolate sauce over your ice cream creates a rich experience that enhances the overall indulgence. It’s a classic touch that everyone loves.
-
Nutty Granola: A sprinkle of crunchy granola introduces a satisfying texture that enhances every scoop, while also adding a wholesome touch to your dessert.
-
Banana Slices: Sweet banana slices harmonize beautifully with the vanilla ice cream, creating a creamy, dreamy combination that's both satisfying and refreshing.
-
Coconut Flakes: Toasted coconut flakes bring a tropical twist and a satisfying crunch that pairs perfectly with the richness of the ice cream, sparking a mini-vacation in every scoop.
-
Mint Leaves: Garnishing with fresh mint leaves adds a pop of color and a refreshing element, beautifully balancing the sweet and creamy richness of your treat.
-
Cold Brew Coffee: Pairing a cup of smooth, cold brew coffee brings a warming depth to the sugary creaminess of your ice cream, perfect for those cozy evenings after dinner.
-
Sugar-Free Cookies: Enjoy this ice cream alongside crunchy sugar-free cookies for a delightful snack combo that truly satisfies your sweet cravings without the guilt.
-
Warm Cinnamon Apples: Sweet and spiced warm cinnamon apples juxtapose beautifully with the coldness of the ice cream, creating an unforgettable dessert experience.
-
Sparkling Water: Refreshing sparkling water or a light, fruity spritzer serves as a lovely drink option that cleanses the palate between delectable bites.
How to Store and Freeze Vanilla Ice Cream
Fridge: Store homemade vanilla ice cream in the fridge for up to 2 weeks, but for the best texture, it’s recommended to keep it in the freezer.
Freezer: Keep your vanilla ice cream in an airtight container to prevent freezer burn. It can last up to 2 weeks, but for optimal freshness, enjoy it within the first week.
Reheating: If your ice cream becomes too hard to scoop, let it sit at room temperature for about 5-10 minutes before serving. This helps achieve that creamy consistency you love.
Serving Tips: For the perfect scoop, use a warm ice cream scoop. The heat will help the vanilla ice cream glide out smoothly, making serving a delight!
Sugar Free Vanilla Ice Cream Recipe FAQs
What type of milk is best for sugar-free vanilla ice cream?
Absolutely! Unsweetened almond milk is a fantastic option, lending a light, nutty flavor. However, you can also use coconut milk, cashew milk, or even regular dairy milk if you’re not strictly avoiding animal products. Each variety will give your ice cream a unique taste, so feel free to experiment!
How long can I store sugar-free vanilla ice cream?
You can store your homemade sugar-free vanilla ice cream in the freezer for up to 2 weeks. Just make sure to keep it in an airtight container to prevent freezer burn. For the best texture and flavor, I recommend enjoying it within the first week!
Can I freeze sugar-free vanilla ice cream?
Yes, of course! After churning, transfer your ice cream to a freezer-safe container and let it firm up in the freezer for at least 2-3 hours. For a firmer texture, you might want to leave it longer, up to 4-6 hours. Just remember to let it sit at room temperature for a few minutes before serving!
What should I do if my ice cream is too hard to scoop?
If your sugar-free vanilla ice cream turns out too hard, don't worry! Simply leave it out at room temperature for about 5-10 minutes before scooping. This warming will make it easier to serve and restore its creamy, luscious texture that you crave!
Can I add mix-ins to sugar-free vanilla ice cream?
Very! Mix-ins like sugar-free chocolate chips, nuts, or fresh fruit can elevate your vanilla ice cream to a whole new level. Just add them during the last few minutes of churning to ensure they're evenly distributed without clumping together.
Is this ice cream safe for pets or those with allergies?
It's always best to be cautious! While sugar-free vanilla ice cream contains no sugar, it does use erythritol, which may cause upset stomachs in some pets. If you have allergies, check that all your ingredients, especially flavorings or substitutes, are safe for your needs. Always consult your vet if uncertain!
Indulge in Creamy Sugar-Free Vanilla Ice Cream Bliss
Ingredients
Equipment
Method
- In a medium saucepan, pour 2 cups of heavy cream and 1 cup of unsweetened almond milk. Over medium heat, blend until well combined.
- Introduce 1 cup of erythritol and ¼ teaspoon of sea salt. Stir continuously for about 5-7 minutes until the sweetener is completely dissolved.
- Once off heat, add 1 tablespoon of vanilla extract. Stir well to distribute evenly throughout the warm base.
- If using xanthan gum, whisk in ¼ teaspoon until fully dissolved for smoother texture.
- Pour the ice cream base into a container and let cool at room temperature for 30 minutes. Then refrigerate for at least 4 hours or overnight.
- Ensure your ice cream maker bowl is frozen according to the manufacturer’s instructions, about 15-24 hours.
- After chilling, stir the ice cream base again and pour it into the ice cream maker bowl.
- Churn according to manufacturer’s instructions for 20-30 minutes until it reaches a soft-serve consistency.
- Transfer to a freezer-safe container and freeze for at least 2-3 hours for firmness.
- Before serving, let sit at room temperature for a few minutes to soften slightly.