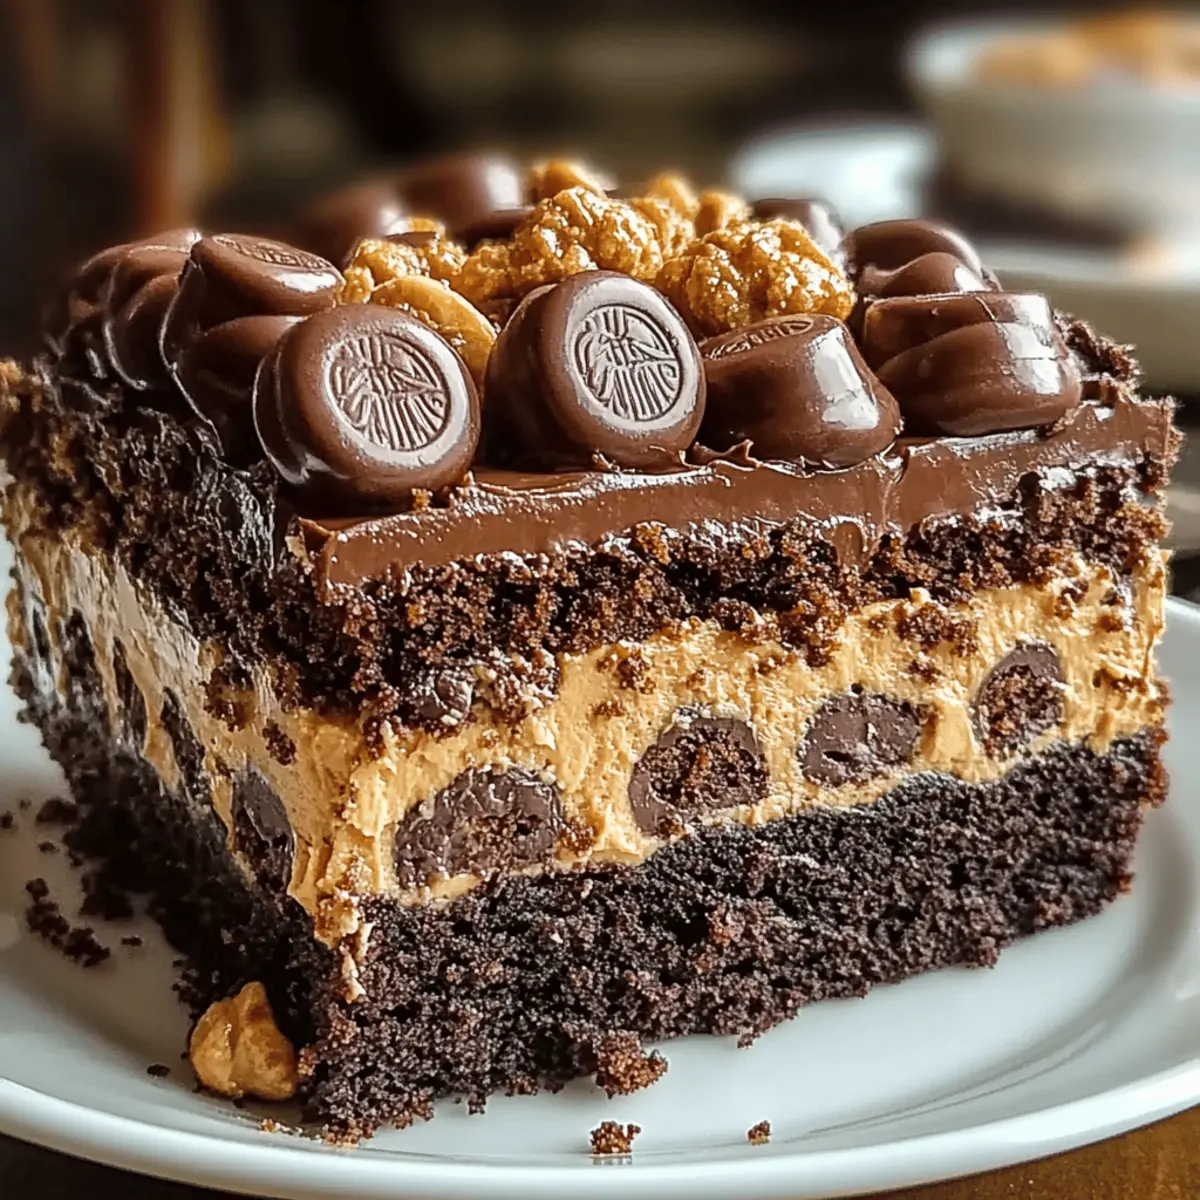
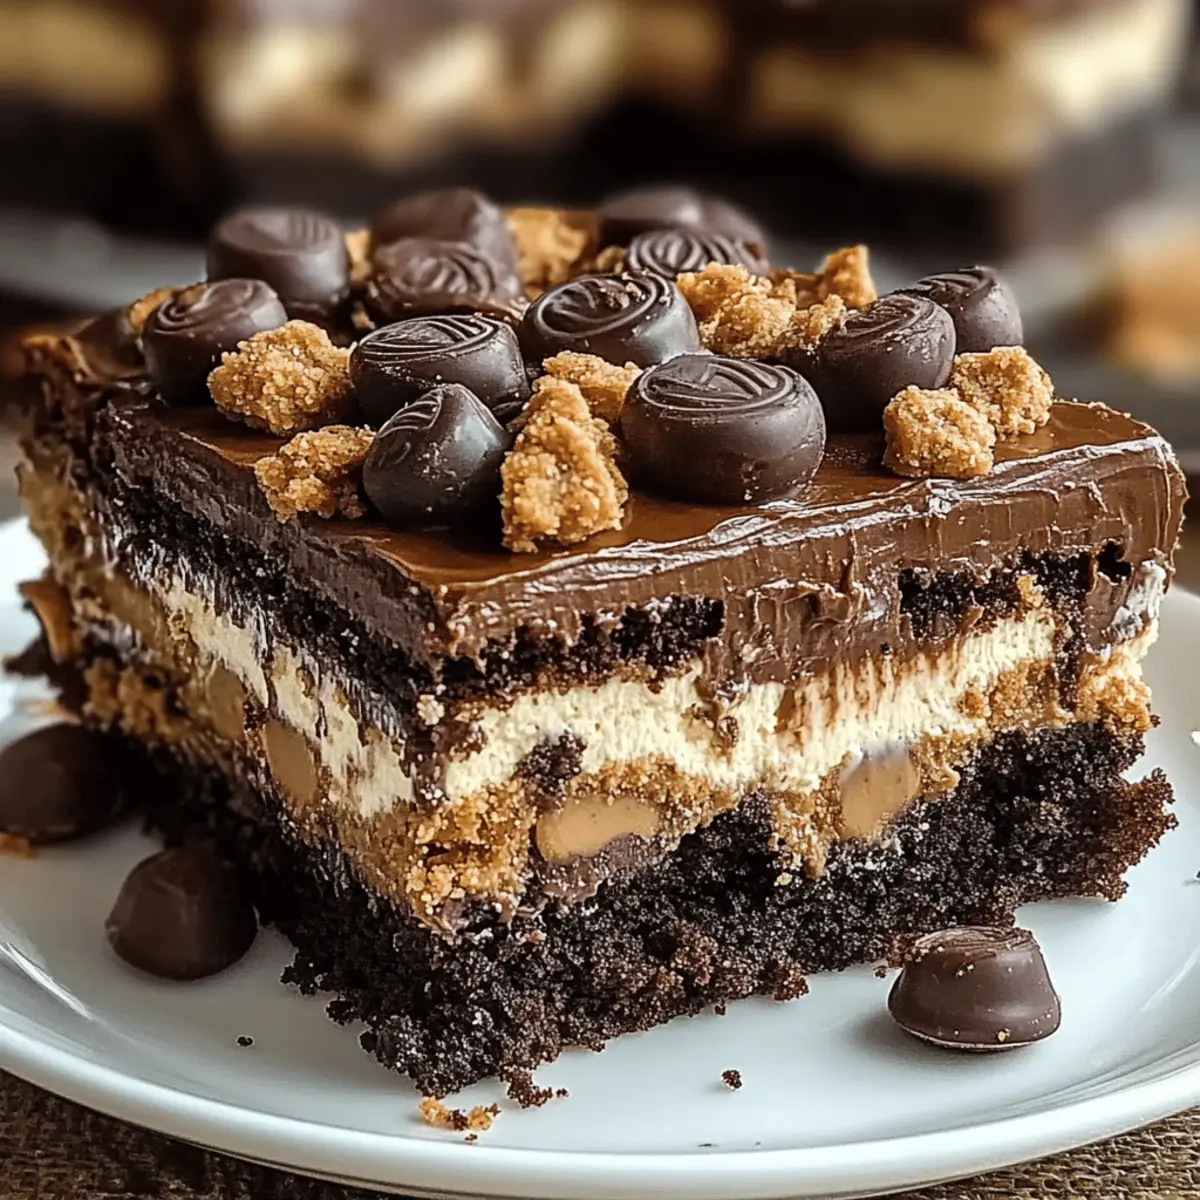
As the aroma of melting chocolate and creamy peanut butter wafts through the kitchen, you can’t help but feel a wave of nostalgia wash over you. That’s the magic of my Reese’s Peanut Butter Earthquake Cake. This delightful dessert is not just another cake; it’s a sweet, rich experience that combines a fudgy chocolate base with pockets of luscious peanut butter goodness. Plus, you'll love how easy it is to make, perfect for a casual hangout or a cozy night in! With just 15 minutes of prep, you’ll have everyone begging for seconds, and the best part? It’s vegetarian-friendly! So, are you ready to dive into a slice of heavenly indulgence that will take your taste buds on a sweet rollercoaster ride?
Why is This Cake so Irresistible?
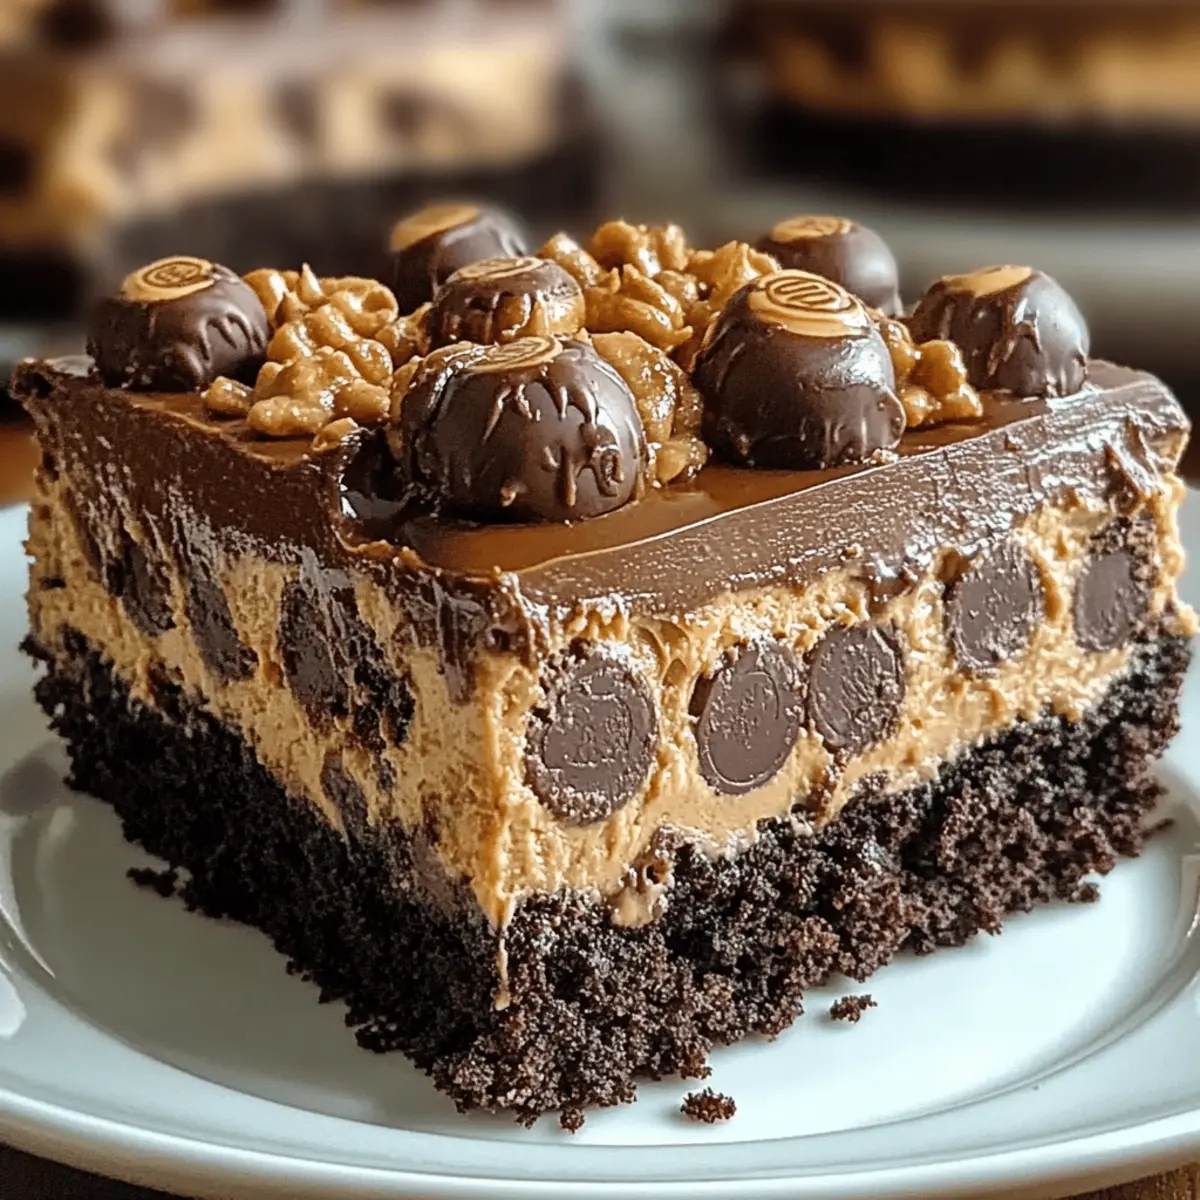
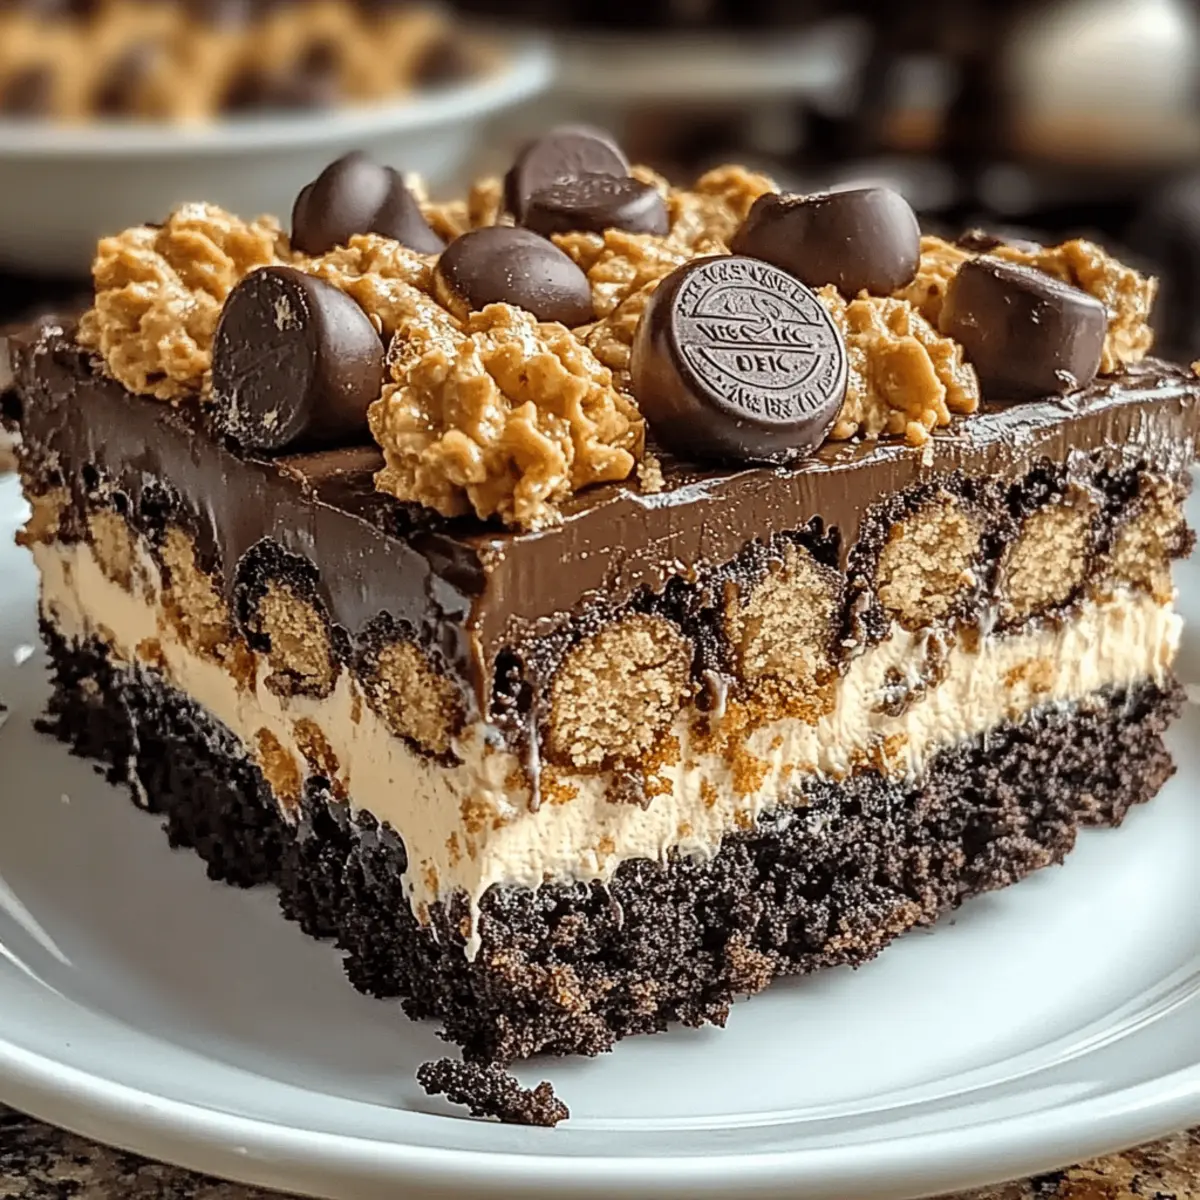
Decadent flavors come together in this Reese’s Peanut Butter Earthquake Cake, balancing rich chocolate with creamy peanut butter for a delightful treat. Easy to make, you’ll whip up this masterpiece in just 15 minutes, making it perfect for any occasion. Perfect for sharing, this cake is bound to be a crowd-pleaser at parties or family gatherings. Vegetarian-friendly, it allows everyone to enjoy the sweet goodness, and best of all, it’s got the nostalgic charm of everyone’s favorite candy. Satisfaction guaranteed with every gooey, mouthwatering bite!
Reese’s Peanut Butter Earthquake Cake Ingredients
Get ready to whip up a chocolate-lovers’ dream!
For the Cake
• Chocolate cake mix – the foundation that gives this cake its fudgy goodness.
• Water – helps to activate the cake mix and keep it moist.
• Vegetable oil – adds richness and keeps the cake tender.
• Large eggs – bind the ingredients together for a fluffy texture.
For the Peanut Butter Filling
• Creamy peanut butter – contributes that irresistible nutty flavor everyone loves.
• Softened cream cheese – brings creaminess and helps create that luscious filling.
• Melted butter – enhances the richness of the filling while making it smoother.
• Powdered sugar – sweetens the filling and balances the savory peanut butter.
• Vanilla extract – elevates the flavor with its warm, aromatic notes.
For Topping
• Chopped Reese’s Peanut Butter Cups – the perfect finishing touch for extra decadence!
This Reese’s Peanut Butter Earthquake Cake is sure to be a hit, delighting everyone with its layers of flavor!
Step‑by‑Step Instructions for Reese’s Peanut Butter Earthquake Cake
Step 1: Preheat and Prepare
Begin by preheating your oven to 350°F (175°C). While it heats up, generously grease a 9x13-inch baking dish with butter or non-stick spray to ensure easy release after baking. You’ll want to make sure the dish is well-coated so every delicious slice of your Reese’s Peanut Butter Earthquake Cake comes out perfectly.
Step 2: Mix the Cake Batter
In a large mixing bowl, combine one package of chocolate cake mix, 1 cup of water, ½ cup of vegetable oil, and 3 large eggs. With a whisk, mix these ingredients thoroughly until you achieve a smooth and lump-free batter, which should take about 2–3 minutes. The rich aroma of chocolate will start to fill your kitchen as you prepare this delightful base.
Step 3: Pour into Baking Dish
Carefully pour the chocolate cake batter into the prepared baking dish. Use a spatula to spread the batter evenly into the corners, ensuring it’s level. This layer will create a delicious foundation for your Reese’s Peanut Butter Earthquake Cake. Pop it into the preheated oven and get ready for the magic to happen!
Step 4: Prepare the Peanut Butter Filling
In a separate bowl, blend together 1 cup of creamy peanut butter, 8 ounces of softened cream cheese, ½ cup of melted butter, 4 cups of powdered sugar, and 1 teaspoon of vanilla extract. Use an electric mixer on medium speed for about 2–3 minutes, until the mixture is smooth and creamy, with a delightful peanut butter aroma wafting through the air.
Step 5: Swirl the Filling
Once the chocolate cake layer is ready (about 15 minutes into baking), remove it from the oven. Drop dollops of the peanut butter mixture over the top of the chocolate batter. With a knife, gently swirl the peanut butter filling into the cake batter, creating a marbled effect that promises an explosion of flavors in every slice of your Reese’s Peanut Butter Earthquake Cake.
Step 6: Add the Topping
Sprinkle ½ cup of chopped Reese’s Peanut Butter Cups generously over the top of the batter. The chocolatey goodness of the cups will melt slightly during baking, adding gooey pockets of joy throughout the cake. Make sure the pieces are evenly distributed to ensure each bite is as indulgent as the last.
Step 7: Bake to Perfection
Carefully return the dish to the oven and bake for 35 to 40 minutes. Keep an eye on it as it bakes! The cake is done when the edges are firm and a toothpick inserted into the center comes out mostly clean, with a few moist crumbs clinging on—a sign of the deliciousness to come.
Step 8: Cool and Serve
Once baked, allow the cake to cool in the baking dish for about 10–15 minutes. This will help it firm up slightly for easier slicing. Serve warm for a delightful treat or let it cool completely for a more decadent dessert. Either way, your Reese’s Peanut Butter Earthquake Cake will leave everyone wanting more!
Make Ahead Options
These Reese’s Peanut Butter Earthquake Cakes are perfect for meal prep enthusiasts! You can prepare the chocolate cake batter up to 24 hours in advance; just cover and refrigerate it before baking. The peanut butter filling can also be made ahead and stored in an airtight container for up to 3 days. When you're ready to bake, simply spoon the filling onto the cake batter and swirl as directed, then bake until golden. To maintain quality, avoid mixing the filling with the batter until just before baking to ensure that it stays creamy and delicious. This way, you’ll have an irresistible dessert ready with minimal effort—perfect for busy weeknights or surprise guests!
Reese’s Peanut Butter Earthquake Cake Variations
Feel free to play around with flavors and ingredients to make this cake even more personalized and exciting!
-
Gluten-Free: Use a gluten-free chocolate cake mix to create a delicious cake for those avoiding gluten. It still delivers all the indulgent flavors!
-
Nut Butter Swap: Try almond or cashew butter in place of peanut butter for a different, yet just as delightful flavor twist. Each nut brings its unique character to this enchanting cake.
-
Lower Sugar: Substitute powdered sugar with a sugar alternative like erythritol or coconut sugar for a lighter treat. This is a great way to enjoy decadence without the extra guilt.
-
Add Ins: Fold in chopped nuts like walnuts or pecans into the chocolate batter for a delightful crunch. The nutty bites create an irresistible contrast to the soft layers.
-
Syrup Bliss: Drizzle caramel or chocolate syrup over the top before serving for an extra touch of decadence. The gooeyness will elevate your cake beautifully!
-
Fruit Infusion: Incorporate mashed ripe bananas or applesauce in the batter for a subtle fruity flavor boost. Fruit adds natural sweetness and keeps the cake moist.
-
Heat It Up: Mix in a pinch of cayenne pepper or cinnamon to the chocolate batter for a surprising kick! It’s a magical contrast to the sweetness that will leave guests talking.
-
Vegan Twist: Replace eggs with flaxseed meal mixed with water and use a plant-based butter substitute to create a vegan version of this delightful cake. Enjoy all the flavors while keeping it plant-friendly!
How to Store and Freeze Reese’s Peanut Butter Earthquake Cake
Room Temperature: Keep the cake covered at room temperature for up to 2 days to maintain its moistness and flavor.
Fridge: Store any leftover slices in an airtight container in the fridge for up to 5 days. This helps preserve the creamy peanut butter filling and prevents drying out.
Freezer: To freeze, wrap the cake tightly in plastic wrap and then in aluminum foil. It can be stored in the freezer for up to 3 months. Thaw in the fridge overnight before enjoying.
Reheating: Warm individual slices in the microwave for about 10–15 seconds to enjoy a gooey experience with your Reese’s Peanut Butter Earthquake Cake!
Expert Tips for Reese’s Peanut Butter Earthquake Cake
• Use Fresh Ingredients: Ensure your eggs and cream cheese are fresh for the best texture and flavor. Stale ingredients may lead to uneven baking.
• Don’t Over-Mix: After combining the cake mix, eggs, oil, and water, mix just until combined. Over-mixing can lead to a dense cake that won't rise properly.
• Swirling Technique: When adding the peanut butter filling, use a knife to gently swirl it into the batter. Avoid mixing it in completely to retain those lovely pockets of peanut butter in your Reese’s Peanut Butter Earthquake Cake.
• Check for Doneness: Use the toothpick test! Insert it into the center, and if it comes out with a few moist crumbs, it’s perfectly baked. Overbaking can dry out your cake.
• Cool Before Serving: Let the cake cool slightly after baking. This helps it set up for better slicing and enhances the flavors, making your dessert even more decadent.
What to Serve with Reese’s Peanut Butter Earthquake Cake
Indulging in a slice of this cake is just the beginning; let’s elevate your dessert experience by pairing it with complementary delights.
- Vanilla Ice Cream: The creamy sweetness of vanilla ice cream provides a refreshing contrast to the rich chocolate and peanut butter flavors.
- Whipped Cream: Light and airy, whipped cream adds a delightful cloud of sweetness that enhances each decadent bite.
- Coffee: A warm cup of coffee’s rich bitterness will balance the cake's sweetness, making each spoonful even more satisfying.
- Fresh Berries: Juicy strawberries or raspberries add a burst of freshness and acidity, cutting through the richness of the cake beautifully.
- Caramel Sauce: A drizzle of warm caramel sauce will not only look appealing but will add an extra layer of indulgence and flavor.
- Peanut Butter Drizzle: For the ultimate peanut butter lover, a simple drizzle of creamy peanut butter takes your cake to an entirely new level of deliciousness.
- Chocolate Milkshake: Pairing this cake with a thick, chocolatey milkshake creates an indulgent treat, perfect for special occasions!
- Coconut Macaroons: These chewy cookies will bring a delightful chewiness alongside the cake’s fudgy goodness, creating a delightful texture contrast.
- Mint Tea: A refreshing mint tea can cleanse the palate and bring a lightness to your dessert experience, balancing the rich cake flavors.
Reese’s Peanut Butter Earthquake Cake Recipe FAQs
What ingredients should I use for the best flavor?
Absolutely! For the best flavor and texture, be sure to use fresh eggs and high-quality creamy peanut butter. Look for a peanut butter that doesn’t contain added sugar or preservatives for a more natural taste. Fresh cream cheese also enhances the creaminess and richness of the filling, ensuring a delightful experience in every bite.
How long can I store Reese’s Peanut Butter Earthquake Cake?
You can keep the cake covered at room temperature for about 2 days. If you want to extend its life, a fridge is a great option—just store slices in an airtight container, and they’ll stay delicious for up to 5 days. This helps preserve that creamy peanut butter filling and prevents any drying out!
Can I freeze Reese’s Peanut Butter Earthquake Cake?
Yes, you can! To freeze, wrap the cake tightly in plastic wrap and then in aluminum foil to protect it from freezer burn. It will last up to 3 months in the freezer. When you're ready to enjoy, just thaw it in the fridge overnight for the best results.
What are some common troubleshooting tips?
If your cake doesn’t rise as expected, check that you’ve properly followed the mixing instructions. Don’t over-mix the cake batter; stirring just until combined allows for a fluffier result. For doneness, the toothpick test is key—if it comes out with some moist crumbs, it’s perfectly baked. If you see dark spots on top, it may have baked too long or might need to bake at a lower temperature next time.
Is this cake suitable for people with allergies?
While this delicious cake is vegetarian, it contains common allergens like eggs, dairy (cream cheese and butter), and peanuts. If you’re serving someone with a specific food allergy, consider using allergy-friendly substitutes—like vegan butter and allergy-safe peanut butter. Always double-check the labels to ensure it's safe for your guests!
How can I achieve better swirls with the peanut butter mixture?
To create those beautiful swirls, use a knife or a skewer to gently swirl the peanut butter mixture into the batter. It’s important not to blend it completely; you want distinct pockets of peanut butter throughout the cake. The swirling technique adds an attractive marbled effect, enhancing both the presentation and flavor. Enjoy!
Indulgent Reese’s Peanut Butter Earthquake Cake You’ll Love
Ingredients
Equipment
Method
- Preheat your oven to 350°F (175°C) and grease a 9x13-inch baking dish.

- In a mixing bowl, combine chocolate cake mix, water, vegetable oil, and eggs. Mix until lump-free.
- Pour the chocolate batter into the prepared baking dish and spread evenly.
- In a separate bowl, blend together peanut butter, cream cheese, melted butter, powdered sugar, and vanilla until smooth.
- Remove cake from oven after 15 minutes, drop peanut butter mixture over the top, and swirl gently.
- Sprinkle chopped Reese’s Peanut Butter Cups over the batter.
- Bake for 35 to 40 minutes until edges are firm and a toothpick comes out mostly clean.
- Allow to cool for 10–15 minutes before slicing and serving.