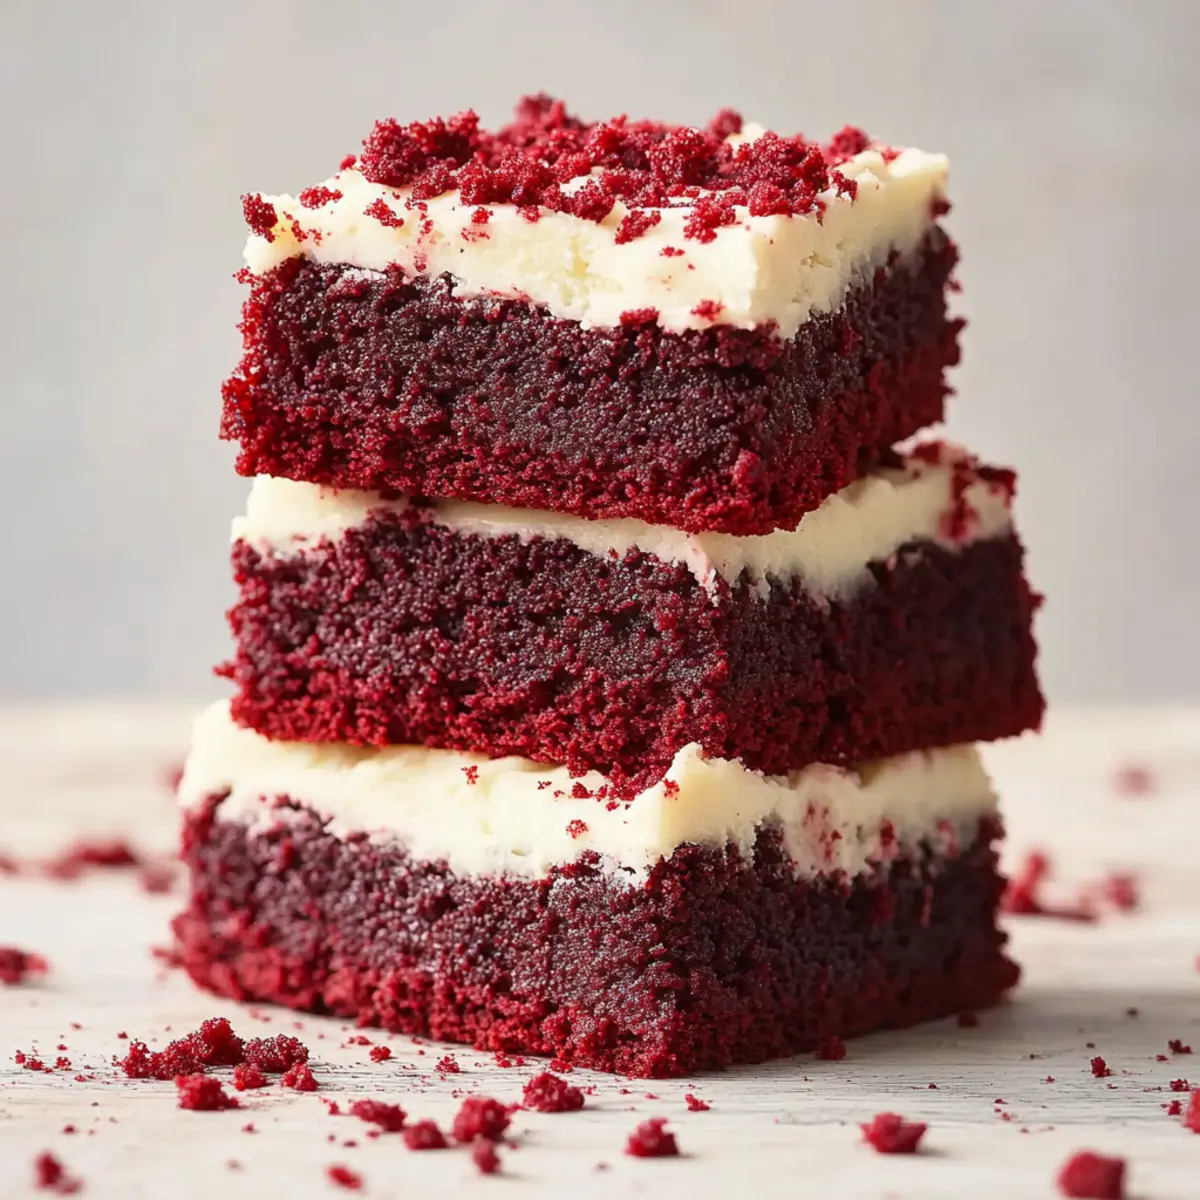
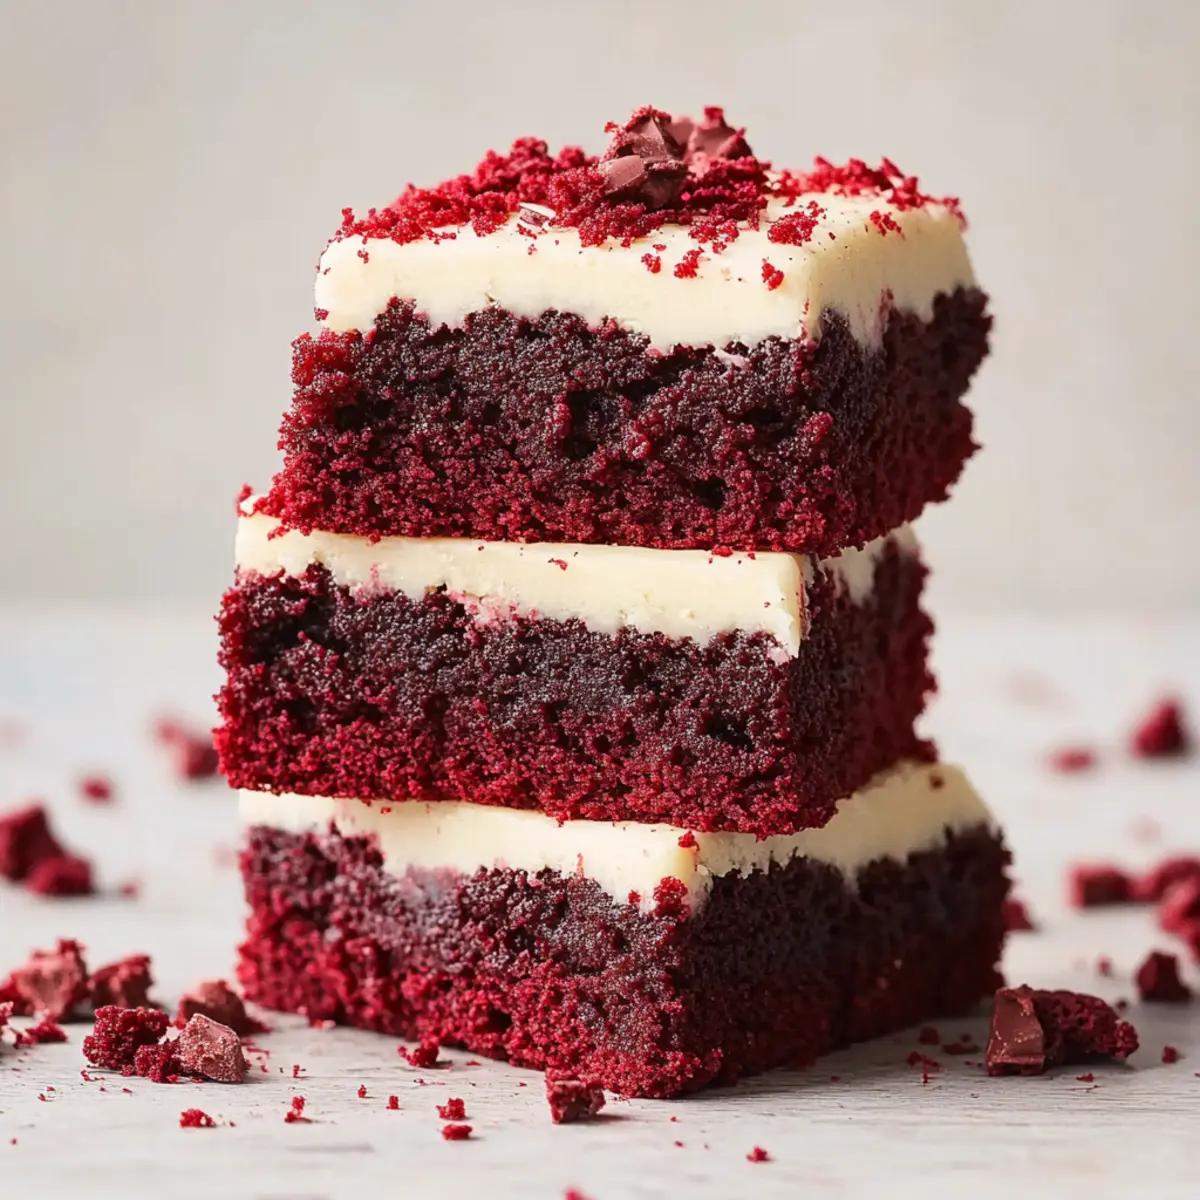
Did you know that red velvet isn’t just for cakes? The vibrant crimson hue and subtle cocoa flavor come together beautifully in my fudge-rich Red Velvet Brownies. With an irresistible cream cheese frosting that sings "indulgence," these brownies are a departure from the standard dessert world, offering a sweet twist that will leave your taste buds craving more.
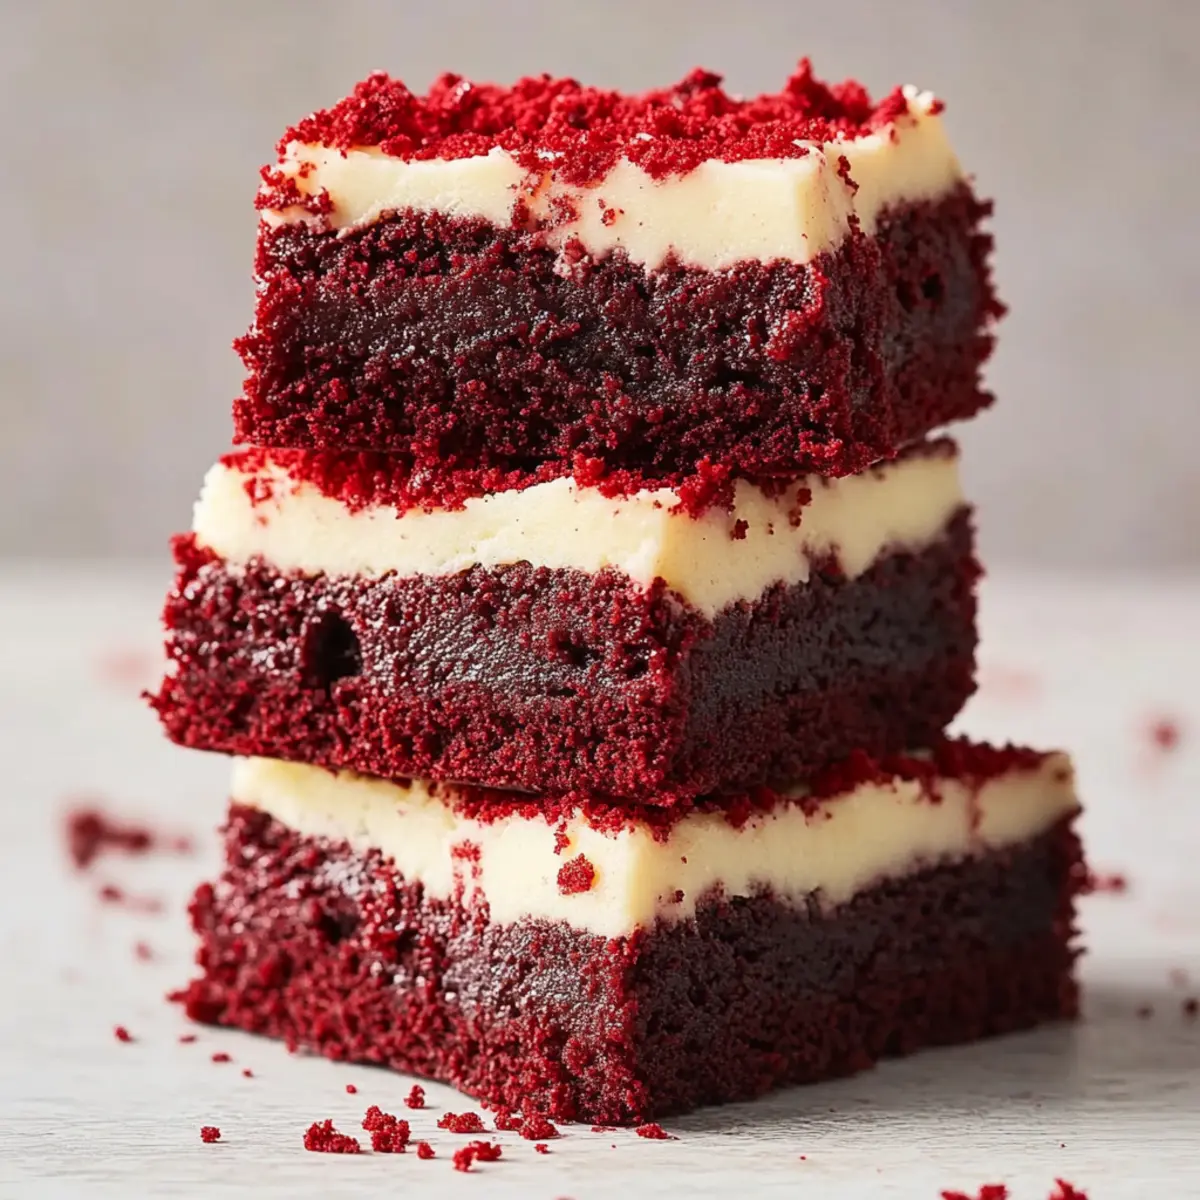
This recipe combines the best of two worlds—the gooey texture of brownies married with the classic essence of red velvet cake. What makes them even better? They’re a crowd-pleaser that can be whipped up in no time, making it perfect for both casual get-togethers and special celebrations. Plus, they are freezer-friendly, so you can stash some away for those moments when only a sweet treat will do.
Are you ready to dive into this deliciously fudgy masterpiece? Let’s not waste any more time—scroll down to discover the magic of making these stunning Red Velvet Brownies!
Why are Red Velvet Brownies irresistible?
Irresistibility of flavor: The buttery cocoa and sweet cream cheese frosting create a decadent treat you can’t resist.
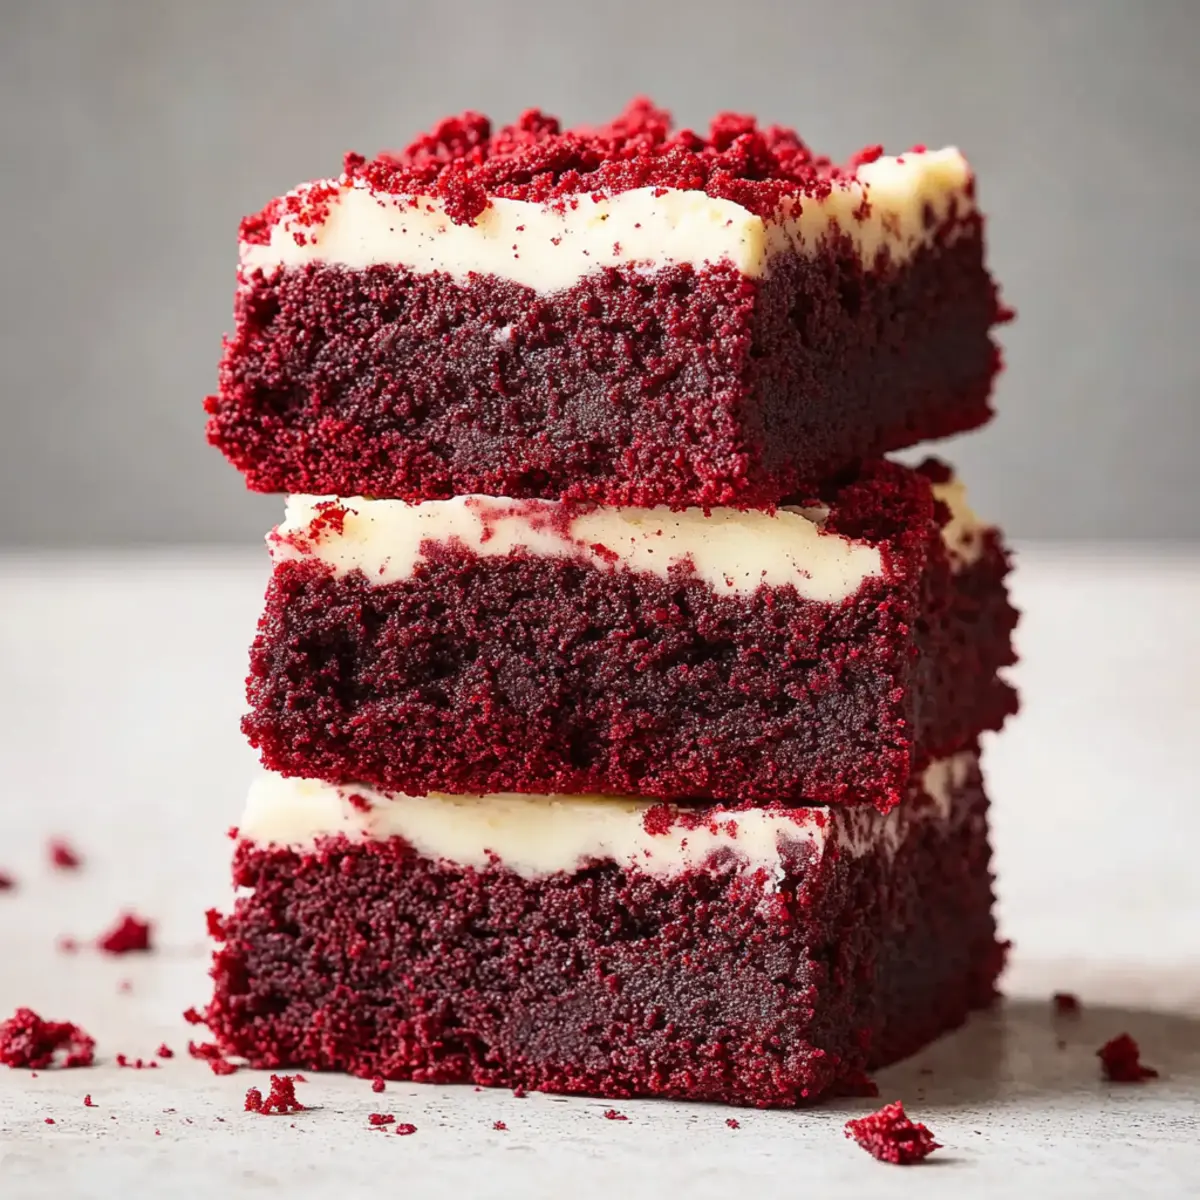
Perfectly fudgy texture: Expect brownie bliss that strikes a balance between gooey and cakey.
Quick to prepare: Whip these up in just over 30 minutes, making them a great last-minute dessert option.
Crowd-pleasing delight: Whether it’s a party or family dinner, these brownies are bound to impress everyone.
Freezer-friendly: Bake a batch, freeze some, and satisfy your sweet cravings at a moment's notice.
If you love brownies as much as I do, you’ll want to check out my delicious Better Than Box Mix Brownies for another great recipe!
Red Velvet Brownies Ingredients
• Get ready to create delightful gooeyness!
For the Red Velvet Brownies:
- Unsalted Butter – Provides fat for richness and moisture.
- Granulated Sugar – Adds sweetness and helps with browning.
- Light Brown Sugar – Contributes moisture and a hint of molasses flavor.
- Large Eggs – Binds ingredients and adds structure for that perfect bite.
- Large Egg Yolk – Enriches the brownie batter, adding extra decadence.
- Vanilla Extract – Enhances the overall flavor profile deliciously.
- Vegetable Oil – Keeps the brownies moist and tender.
- Cocoa Powder – Imparts a rich chocolate flavor and deep color.
- Tip: For best results, use a scale for precise ingredient measurements.
- All-purpose Flour – Provides the structure needed for these fudgy red velvet brownies.
- Vinegar – Reacts with baking soda for a slight rise and boosts that red color.
- Cornstarch – Ensures your brownies are beautifully chewy.
- Salt – Balances sweetness while enhancing flavors.
- Red Food Coloring – Gives these brownies their classic and vibrant red hue.
- White Chocolate Chips (optional) – Adds irresistible sweetness and flavor bursts.
For the Cream Cheese Frosting:
- Cream Cheese – Adds a tangy flavor and creamy texture; be sure it’s at room temperature.
- Unsalted Butter – Creates a smooth, rich frosting; also at room temperature for easy blending.
- Powdered Sugar – Sweetens and thickens the frosting to perfection.
- Vanilla Extract – Elevates the taste of the frosting, providing harmony with the brownies.
Step-by-Step Instructions for Fudgy Red Velvet Brownies
Step 1
Start by preheating your oven to 350°F (180°C) and preparing the baking pan. Line a 9-inch square cake pan with parchment paper, allowing some overhang for easy brownie removal later. This step ensures the brownies bake evenly without sticking. The parchment paper serves as a protective layer, creating that perfect fudgy crust we all love in Red Velvet Brownies.
Step 2
Melt the unsalted butter in a microwave-safe bowl for about 30 seconds, or until fully melted. Make sure to check every 10 seconds to avoid any bubbling over. Once melted, let it cool slightly. This melted butter will contribute to the rich, fudgy texture of your brownies, so pay attention here!
Step 3
In a mixing bowl, combine the melted butter with granulated sugar and light brown sugar. Whisk them together until the mixture is smooth and fully combined, which should take about 1-2 minutes. The sugars will dissolve into the warm butter, helping to create that beautifully moist texture in your Red Velvet Brownies.
Step 4
Now, gently incorporate the large eggs, egg yolk, and vanilla extract into the sugar-butter mixture. Mix on low speed or by hand to avoid incorporating too much air, about 1 minute. The addition of the extra yolk makes these brownies even richer and enhances their fudginess, ensuring every bite is a delight!
Step 5
Next, add the vegetable oil and cocoa powder to the egg mixture. Using a whisk, mix until well combined, ensuring there are no dry clumps of cocoa left. This mixture should be glossy and chocolatey! The oil adds even more moisture, contributing to the melt-in-your-mouth goodness of the brownies.
Step 6
In a small bowl, combine red food coloring with a couple of tablespoons of the brownie batter. Stir until there are no lumps, then mix this vibrant concoction back into the main batter until evenly blended. This step is crucial for achieving that signature crimson hue of Red Velvet Brownies, making them as stunning visually as they are delicious.
Step 7
Using a rubber spatula, gently fold in the dry ingredients: all-purpose flour, cornstarch, and salt. Take about 30 seconds to combine until no lumps remain. The cornstarch contributes chewiness, while the flour provides the necessary structure, ensuring your brownies have the perfect fudgy consistency.
Step 8
Pour in the vinegar, mixing well to combine. The vinegar reacts with the baking soda you’ll add later, creating a slight rise that helps those heavenly brownies set up just right. This adds to the depth of flavor while enhancing that vibrant color of your fudgy Red Velvet Brownies.
Step 9
If you’re using them, now’s the time to fold in white chocolate chips for an extra layer of sweetness! Just a gentle mix is needed to distribute them throughout the batter. These optional chips not only add delightful bursts of flavor but also a creamy contrast against the delicious cocoa-rich base.
Step 10
Transfer your brownie batter into the prepared pan, spreading it evenly using a spatula. Bake in your preheated oven for about 20-25 minutes. You'll know they’re done when a skewer inserted in the center comes out with moist crumbs (but not wet batter). This is key to achieving that perfectly fudgy brownie texture.
Step 11
Once baked, allow the Red Velvet Brownies to cool completely in the pan. This may take about 30 minutes. Cooling them entirely ensures they set properly and makes frosting easier. Patience is key here, as the flavors meld together beautifully during this time!
Step 12
While your brownies are cooling, prepare the cream cheese frosting. In a mixing bowl, beat together room-temperature cream cheese and unsalted butter on medium speed until smooth and creamy, which should take about 2-3 minutes. A smooth base is essential for the rich, tangy frosting that will complement the brownies perfectly.
Step 13
Gradually add the powdered sugar, mixing on low speed to prevent a sugary cloud. Once fully incorporated, increase the speed to high and beat until light and fluffy, approximately 2 minutes. This frothy state creates that luxurious cream cheese frosting that’s oh-so-essential for your Red Velvet Brownies.
Step 14
Lastly, add the vanilla extract to the frosting, beating briefly just to combine. This final touch elevates the flavor of the cream cheese frosting and ties all the elements together beautifully. The fragrant aroma will have you dreaming of your completed dessert!
Step 15
Spread the cream cheese frosting generously over the completely cooled brownies. Use an offset spatula to create smooth, even coverage. If desired, sprinkle some red brownie crumbs on top for a decorative touch. Now the brownies are not just a treat for the taste buds, but also a feast for the eyes! Enjoy every decadent bite of your creation!
Make Ahead Options
These delightful Red Velvet Brownies are perfect for meal prep! You can prepare the brownie batter up to 24 hours in advance; simply mix all the ingredients and store it in an airtight container in the fridge. For the cream cheese frosting, you can whip it up two days ahead and refrigerate it as well. Just be sure to bring everything back to room temperature before baking or frosting to maintain that luscious texture. When ready to bake, pour the chilled batter into the prepared pan and follow the baking instructions. You'll have fresh, fudgy brownies with minimal effort, perfect for busy weeknights!
What to Serve with Red Velvet Brownies?
Pair your delightful brownies with these charming accompaniments for an indulgent experience.
-
Vanilla Ice Cream: A classic pairing that offers a creamy, cool contrast to the rich fudginess of the brownies. The melt-in-your-mouth texture enhances every bite!
-
Fresh Berries: Juicy strawberries or raspberries add a vibrant freshness that balances the decadent sweetness of the brownies, making them perfect for a summer gathering.
-
Espresso or Coffee: Brewed espresso or a smooth cup of coffee elevates the chocolate notes in your brownies, creating a rich and comforting dessert experience.
-
Chocolate Sauce: Drizzling warm chocolate sauce over the brownies intensifies the chocolatey goodness, creating a luxurious dessert that's sure to impress your guests.
-
Whipped Cream: Light and airy whipped cream adds a luscious touch of texture and flavor, making each bite a delightful adventure in taste.
-
Nutty Crumble: Top your brownies with chopped nuts, like pecans or walnuts, for a crunchy contrast that adds an exciting dimension to the smoothness of the brownies.
-
Red Wine: Pair these brownies with a glass of red wine to complement their rich, chocolatey flavors, creating a sophisticated treat that’s perfect for date night.
Red Velvet Brownies Variations
Get ready to explore delightful twists on your brownie masterpiece!
- Dairy-Free: Substitute cream cheese with dairy-free cream cheese and use coconut oil instead of butter for a vegan-friendly treat.
- Nutty Addition: Mix in a handful of finely chopped walnuts or pecans for a crunchy texture that contrasts beautifully with the fudgy brownies.
- Minty Fresh: Add a few drops of peppermint extract to the brownie batter and garnish with crushed peppermint candies on top of the frosting for a refreshing twist.
- Spicy Kick: Incorporate a pinch of cayenne pepper or a dash of chili powder into the batter for a surprising heat that beautifully balances the sweetness.
- Mocha Flavor: Swap half the cocoa powder for espresso powder, giving the brownies a rich coffee flavor that complements the chocolate perfectly.
- Fruit Fusion: Fold in some raspberries or chopped strawberries into the brownie batter for a fruity burst of flavor that contrasts with the creamy frosting.
- Chocolate Chips: Enhance the sweetness by folding in semi-sweet or dark chocolate chips; this will amplify the chocolate experience in every bite.
- Zesty Lemon: Add lemon zest into the cream cheese frosting for a zingy twist that refreshes the rich flavors of the brownies.
Let your creativity run wild and make these brownies truly your own!
Helpful Tricks for Red Velvet Brownies
-
Precise Measurements: Use a kitchen scale for accurate ingredient measurements; this ensures your Red Velvet Brownies achieve the perfect fudgy texture.
-
Gentle Mixing: Avoid overmixing when incorporating eggs; gentle mixing keeps these brownies gooey and rich, rather than turning them cakey.
-
Proper Pan Choice: Use aluminum or metal baking pans for even baking; glass and dark pans may lead to uneven texture and overbaking.
-
Cool Before Frosting: Allow the brownies to cool completely before adding cream cheese frosting; this prevents melting and helps maintain a beautiful texture.
-
Using Food Coloring: Mix red food coloring with a small portion of batter first; this guarantees a vibrant and uniform red color throughout your brownies.
How to Store and Freeze Red Velvet Brownies
Room Temperature: Keep the brownies in an airtight container at room temperature for up to 3 days. This preserves their fudgy texture while allowing easy access for those sweet cravings!
Fridge: After frosting, store the Red Velvet Brownies in the fridge for up to 5 days in an airtight container. The cream cheese frosting is dairy-based, so refrigeration helps maintain its freshness and taste.
Freezer: For longer storage, freeze the brownies without frosting in an airtight container for up to 3 months. To thaw, simply leave them at room temperature for a few hours or overnight in the fridge.
Reheating: If you prefer warm brownies, microwave them for 10-15 seconds after thawing. Enjoy the fudgy delight, especially when paired with a scoop of ice cream!
Red Velvet Brownies Recipe FAQs
What's the difference between red velvet brownies and regular brownies?
Red velvet brownies have the classic fudgy brownie texture enhanced with cocoa powder and red food coloring, giving them that vibrant crimson hue and a subtle chocolate flavor. Regular brownies, which may or may not include cocoa, typically lack that distinct red velvet essence and color that makes the former so visually appealing.
Can I mix red velvet cake mix with brownie mix?
Absolutely! Combining red velvet cake mix with brownie mix can yield a delightful dessert. Just prepare according to the cake mix instructions, possibly adding in some eggs and oil to create a fudgier texture. The resulting treats will be vibrant and have that signature red velvet flavor alongside a luscious brownie consistency.
What are red velvet brownies made of?
Red velvet brownies are composed of classic brownie ingredients, including unsalted butter, sugar, eggs, and cocoa powder, with the key addition of red food coloring and vinegar. The cream cheese frosting typically layered on top adds a tangy finish that enhances the overall dessert experience.
Why add vinegar to red velvet brownies?
Vinegar is essential in red velvet recipes as it reacts with baking soda to create a slight rise, helping achieve that unique texture. Additionally, it enhances the red color that characterizes red velvet, making your brownies not only tasty but also visually stunning!
What makes brownies cakey instead of fudgy?
Brownies turn out cakey due to the inclusion of more flour and baking powder or baking soda, which leans toward a lighter, more cake-like texture. To avoid this, keep your flour measurements precise, use less leavening agent, and be careful not to overmix your batter, ensuring that your end result remains perfectly fudgy.
How long can I store red velvet brownies?
Store unfrosted red velvet brownies in an airtight container at room temperature for up to 3 days, or in the fridge for about 5 days if frosted. For long-term storage, freeze them without frosting for up to 3 months. When you’re ready to enjoy, simply let them thaw at room temperature or reheat them in the microwave for a delightful warm treat!
Indulgent Red Velvet Brownies You Can't Resist: Creamy Bliss
Ingredients
Method
- Preheat your oven to 350°F (180°C) and prepare a 9-inch square cake pan with parchment paper.
- Melt the unsalted butter in a microwave-safe bowl until fully melted, then let it cool slightly.
- Combine the melted butter with granulated sugar and light brown sugar, whisking until smooth.
- Incorporate the large eggs, egg yolk, and vanilla extract into the sugar-butter mixture.
- Add vegetable oil and cocoa powder, mixing until well combined and glossy.
- Mix red food coloring with a couple of tablespoons of the brownie batter, then blend it back into the main batter.
- Fold in dry ingredients: all-purpose flour, cornstarch, and salt until no lumps remain.
- Pour in the vinegar and mix well to combine.
- Fold in white chocolate chips if using.
- Transfer the batter into the prepared pan and bake for 20-25 minutes.
- Cool the brownies completely in the pan for about 30 minutes.
- Prepare the cream cheese frosting by beating cream cheese and unsalted butter until smooth.
- Gradually add powdered sugar, mixing on low speed before increasing to high until light and fluffy.
- Add vanilla extract to the frosting and beat briefly.
- Spread the cream cheese frosting generously over the cooled brownies and if desired, sprinkle red brownie crumbs on top.
Nutrition
Notes
- Use a kitchen scale for accurate ingredient measurements.
- Avoid overmixing when incorporating eggs.
- Use aluminum or metal baking pans for even baking.
- Allow the brownies to cool completely before frosting.
- Mix red food coloring with a small portion of batter first.