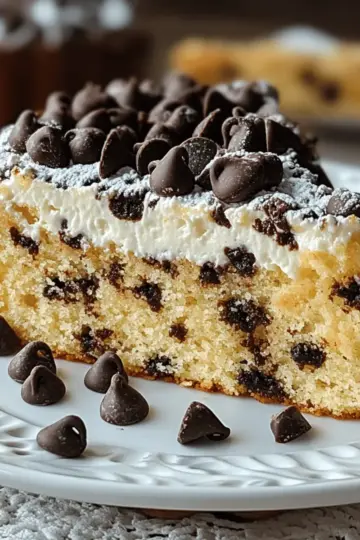
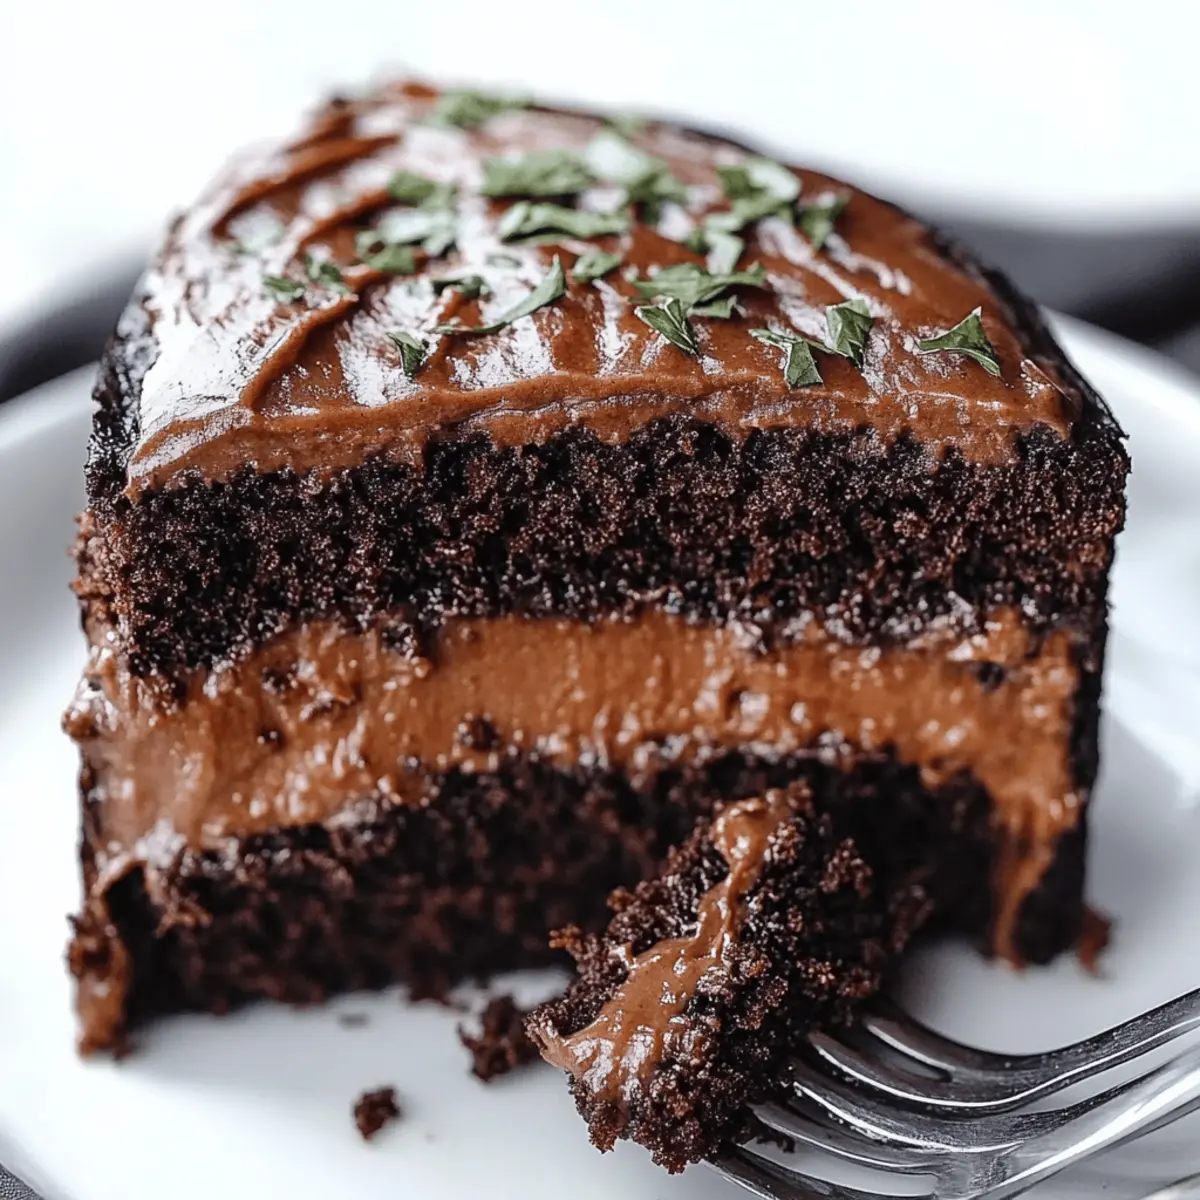
You know that moment when a rich, chocolate cake leaves your taste buds dancing? That’s exactly what you'll experience with this Brooklyn Blackout Cake—a tribute to the irresistible allure of chocolatey indulgence. This recipe promises not only a sweet reprieve from the fast food grind but also a fun and memorable baking adventure that will impress friends and family alike. With quick preparation time and the ability to transform any gathering into a celebration, this cake is as versatile as it is delicious. So, are you ready to dive into layers of luscious chocolate pudding and velvety cake that will have everyone coming back for seconds? Let’s uncover the magic of baking this classic!
Why is this cake a dessert lover's dream?
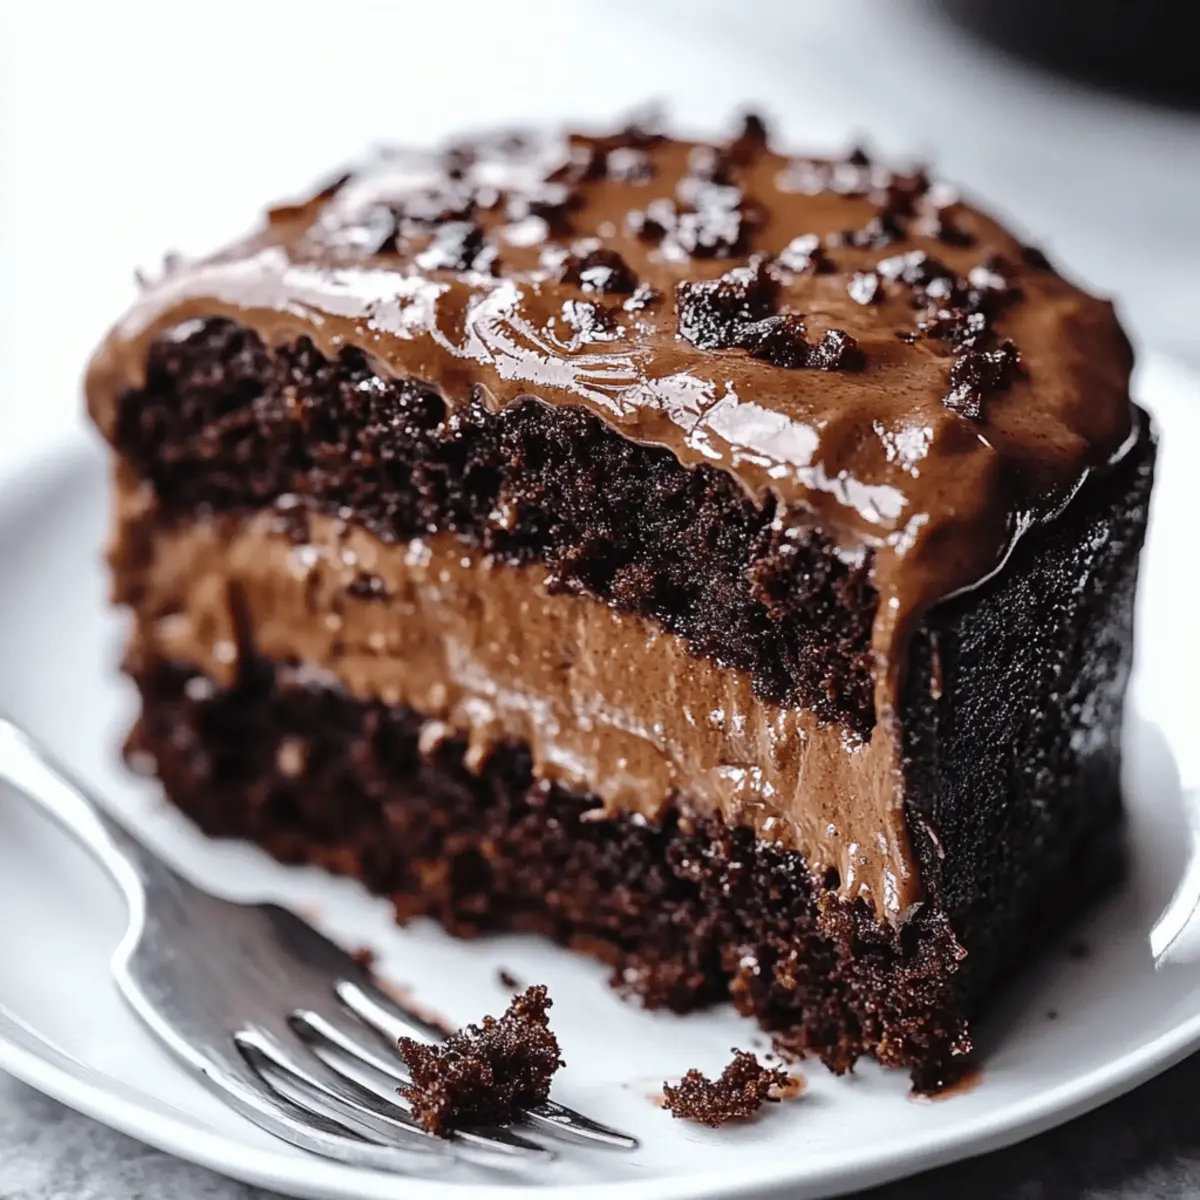
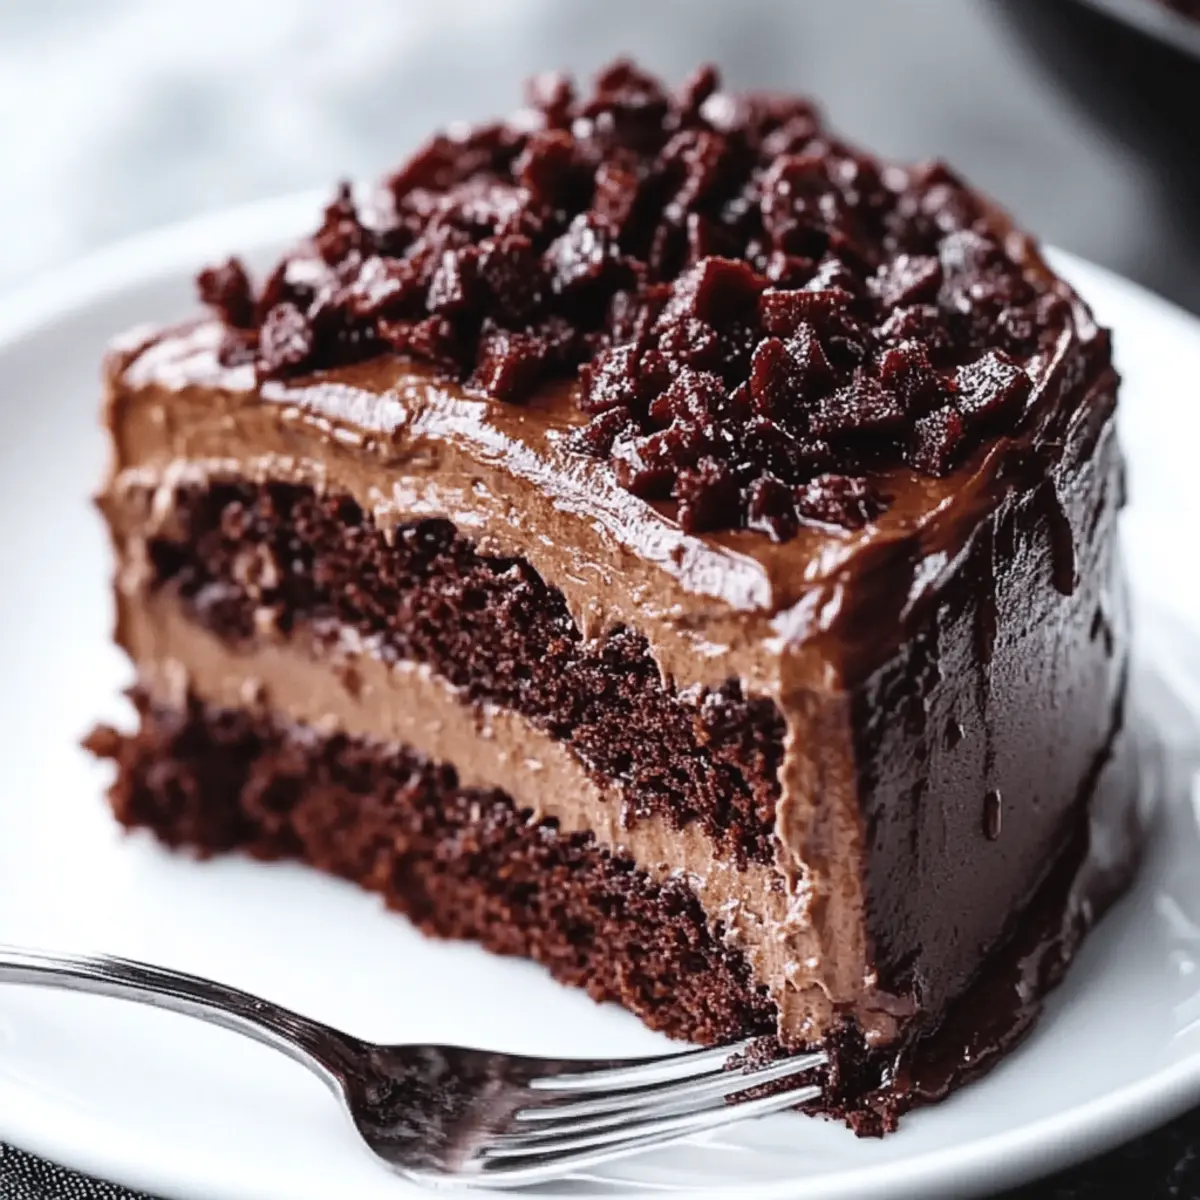
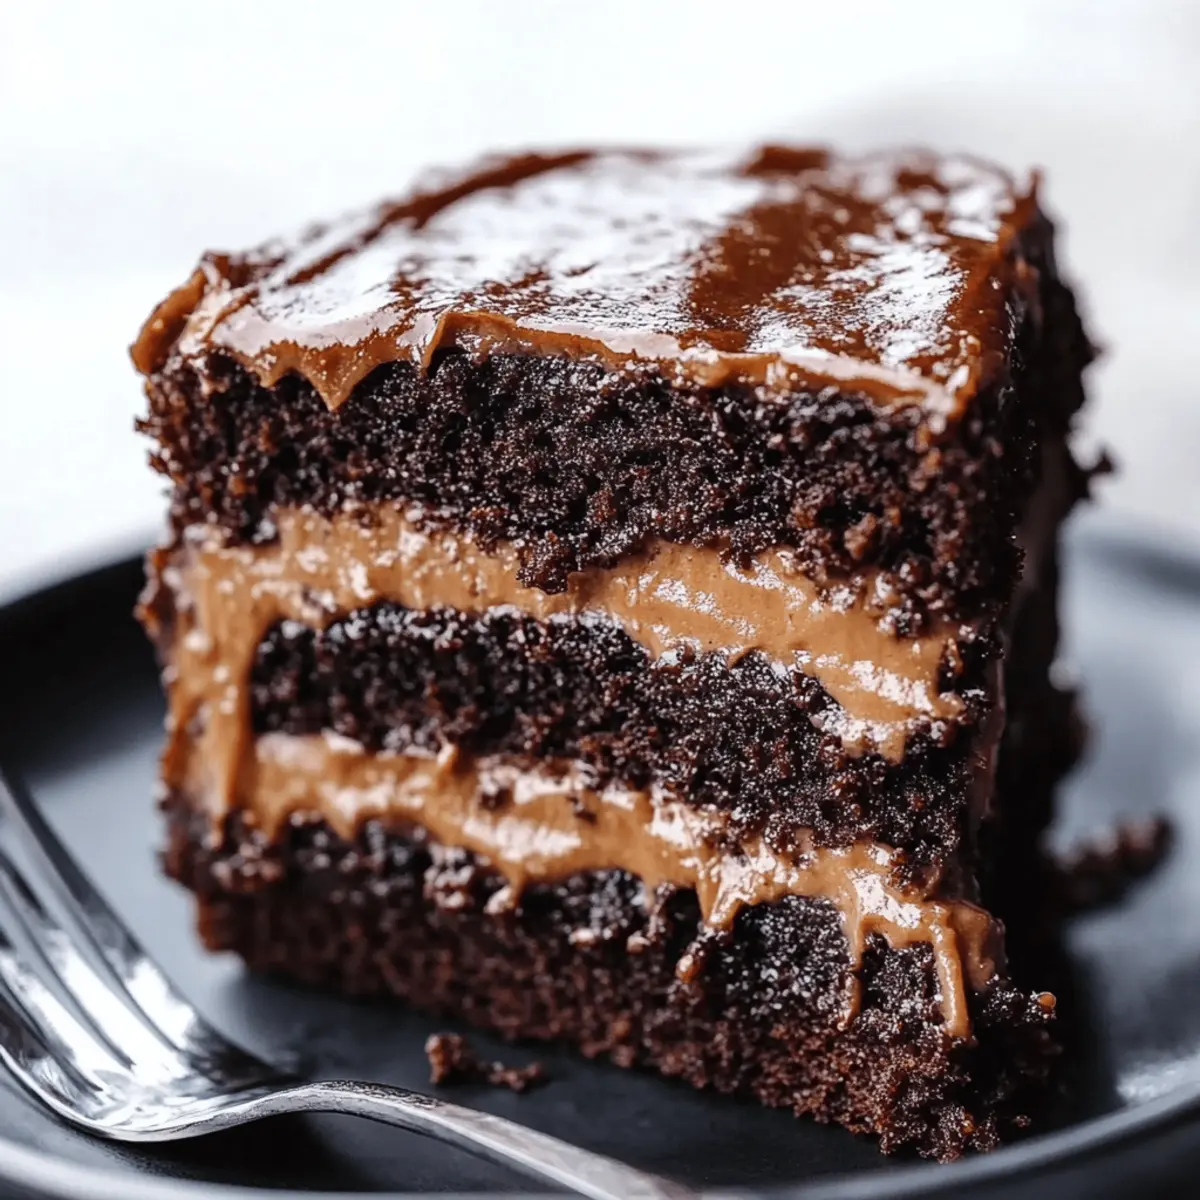
Decadent Layers: This Brooklyn Blackout Cake boasts multiple layers of both rich chocolate cake and smooth pudding, making every bite a chocolate lover's fantasy.
Quick Prep Time: With just 20 minutes of prep, you’ll have more time to enjoy the sweet rewards after baking.
Showstopper Appeal: Perfect for gatherings, this cake will impress your guests and spark conversations around your baking skills.
Versatile Delight: Whether for a birthday or a casual family dinner, it fits any occasion that calls for a special touch.
Indulgent Experience: The gooey pudding and fluffy cake create a heavenly combination that keeps everyone coming back for seconds!
Brooklyn Blackout Cake Ingredients
For the Cake
• All-purpose flour – a key component for structure in your Brooklyn Blackout Cake.
• White sugar – enhances sweetness and moisture of the cake layers.
• Unsweetened Dutch-process cocoa powder – adds a deep chocolate flavor that’s essential for a rich cake.
• Buttermilk – tenderizes the cake, giving it a moist texture perfect for chocolate lovers.
• Vegetable oil – keeps the cake moist and enhances its overall richness.
• Brewed coffee – intensifies the chocolate flavor without adding coffee taste; a must for any chocolate treat!
For the Filling
• Bittersweet chocolate – provides a deep, luxurious flavor for the chocolate pudding filling.
• Unsalted butter – helps create a smooth and rich frosting texture.
• Semisweet chocolate – balances sweetness and adds a decadent richness to the frosting.
• Water – needed to accompany the melting chocolate and create a smooth, glossy finish.
For the Pudding
• Cornstarch – thickens the chocolate pudding to create that luscious filling that contrasts with the cake layers.
• Sugar – sweetens the pudding mixture perfectly, complementing the bitter chocolate.
• Vanilla extract – enhances the overall flavor profile with a warm, comforting note.
Get ready to create an unforgettable dessert that is sure to become a family favorite!
Step‑by‑Step Instructions for Brooklyn Blackout Cake
Step 1: Preheat the Oven and Prepare Pans
Begin by preheating your oven to 350°F (175°C). While it warms up, generously butter two 8-inch round cake pans and line the bottoms with parchment paper. This will ensure your Brooklyn Blackout Cake layers release smoothly after baking, leaving them intact and ready for delicious assembly.
Step 2: Combine Dry Ingredients
In a large mixing bowl, whisk together the all-purpose flour, white sugar, unsweetened cocoa powder, baking soda, baking powder, and a pinch of salt. Make sure to blend these dry ingredients well for an even flavor throughout. This step is crucial for achieving the rich, chocolatey foundation of your cake, so take your time!
Step 3: Whisk Wet Ingredients
In a separate bowl, whisk together the buttermilk, vegetable oil, eggs, and vanilla extract. These ingredients work together to provide moisture and richness to your Brooklyn Blackout Cake. Once mixed, gradually stir in the brewed coffee—this will enhance the chocolate flavor without imparting a coffee taste.
Step 4: Mix Wet and Dry Ingredients
Carefully pour the wet mixture into the bowl of dry ingredients. Stir gently until the batter is smooth and well-combined, ensuring no lumps remain. Then, gradually add the hot brewed coffee to thin out the batter. This will give your cake a tender crumb, perfect for layering!
Step 5: Reserve Batter for Cupcakes
Before pouring the batter into the prepared pans, set aside about one cup of the mixture in a small bowl. This reserved batter will be used to fill two cupcake liners, which will create cake crumbs for decorating.
Step 6: Bake Cake Layers
Divide the remaining batter evenly between the two prepared cake pans. Place them in the preheated oven and bake for about 35 minutes. The cakes are ready when a toothpick inserted into the center comes out clean, indicating a perfectly baked layer for your Brooklyn Blackout Cake.
Step 7: Bake Cupcake Crumbs
Once the cakes are done, carefully remove them from the oven. Bake the reserved batter in cupcake liners for approximately 15 minutes, until they feel springy to the touch. This will be your delightful topping that adds texture and visual appeal to the finished cake.
Step 8: Cool the Cakes
Allow the cake layers to cool for about 10 minutes in the pans before delicately transferring them to a wire rack. Let them cool completely, as this will make the assembly easier and prevent the pudding from melting on contact with the warm cake.
Step 9: Prepare the Pudding Filling
While the cakes cool, prepare the rich chocolate pudding filling. In a saucepan, whisk the cocoa powder into boiling water or hot coffee. Stir in the sugar, chopped bittersweet chocolate, and salt until everything is melted and smooth. This step is crucial for achieving that luscious filling flavor.
Step 10: Thicken the Pudding
In a small bowl, mix cornstarch with cold water to create a slurry. Gradually whisk this into the warm pudding mixture. Continue to stir while bringing it to a boil over medium heat; cook for one minute until thickened. Remove from heat and stir in vanilla and butter for a silky finish.
Step 11: Make the Frosting
While the pudding cools, melt the remaining unsalted butter and chopped semisweet chocolate together in a saucepan over low heat until smooth. Stir in hot water, corn syrup, and vanilla extract until the mixture is glossy. This decadent frosting will encase your cake, making it undeniably rich.
Step 12: Prepare Cake Crumbs
Once the cupcakes have cooled, pulse them in a food processor until fine crumbs form. These crumbs will be used to coat the sides of your Brooklyn Blackout Cake, adding texture and a playful chocolate element to the outside.
Step 13: Assemble the Cake
To assemble, place one cake layer flat side up on a serving plate. Spread a generous layer of the chocolate pudding filling on top, followed by the second layer, flat side up. This creates a delightful surprise that guests will love when they slice into the cake.
Step 14: Frost and Decorate
Smooth the remaining chocolate pudding over the sides of the layered Brooklyn Blackout Cake, ensuring it’s evenly coated. Press the cupcake crumbs onto the sides for a rustic look that not only enhances the flavor but also adds a fun crunch.
Step 15: Chill Before Serving
Top the cake generously with the frosting and decorate with additional crumbs as desired. Place the assembled cake in the refrigerator to chill until ready to serve. Chilling allows the flavors to meld beautifully, ensuring every bite is a heavenly experience!
Tips for the Best Brooklyn Blackout Cake
Use Room Temperature Ingredients: Make sure your eggs, buttermilk, and butter are at room temperature. This helps create a smoother batter and a more even rise.
Sift Cocoa Powder: Sifting cocoa powder before measuring helps avoid lumps in the batter, ensuring a velvety texture for your Brooklyn Blackout Cake.
Don't Overmix Batter: Mix only until combined; overmixing can lead to a denser cake. You want a light and airy result, perfect for layering.
Check Cake Doneness: Use a toothpick inserted in the center; if it comes out clean, your cake is done. This prevents overbaking, which can dry out the cake.
Cooling Time Matters: Allow the cake layers to cool completely before assembling. This ensures the pudding filling doesn’t melt into the warm cake and keeps layers intact.
Save Some Cake Crumbs: Set aside a small amount of batter to make crumbs for decoration. It adds a fun textural element to your Brooklyn Blackout Cake!
Make Ahead Options
Preparing your Brooklyn Blackout Cake ahead of time is a fantastic way to save precious minutes on busy occasions! You can make the cake layers up to 24 hours in advance and store them wrapped tightly in plastic wrap in the refrigerator to retain moisture and flavor. The chocolate pudding filling can also be prepared a day ahead; just cover it with plastic wrap pressed directly onto the surface to prevent a skin from forming. When you're ready to serve, simply assemble the cake by layering the chocolate filling and frosting, and let it chill in the fridge until it's time to indulge in this chocolatey delight! This approach ensures that your cake is just as delicious and impressive when it's time to share it with family and friends.
How to Store and Freeze Brooklyn Blackout Cake
Fridge: Store leftover Brooklyn Blackout Cake in an airtight container for up to 4 days to maintain moisture and flavor.
Freezer: If you want to freeze your cake, wrap it tightly in plastic wrap and aluminum foil, and it will last up to 3 months. Thaw in the refrigerator overnight before serving.
Reheating: To enjoy slices warm, microwave each piece for 10-15 seconds. This will refresh the cake and make the pudding filling delightfully gooey again.
Decorating: If you plan to decorate the cake with crumbs, wait until just before serving to retain their crunch and visual appeal.
Brooklyn Blackout Cake Variations
Feel free to get creative with this recipe and add your personal touch to make it even more delightful!
- Gluten-Free: Substitute all-purpose flour with a gluten-free blend for a cake everyone can enjoy.
- Vegan: Replace buttermilk with almond milk mixed with vinegar and use flax eggs instead of regular eggs to create a plant-based version.
- Cocoa Boost: Add an extra tablespoon of cocoa powder to intensify that deep chocolate flavor and make it even richer!
- Nutty Surprise: Incorporate finely chopped hazelnuts or walnuts in the batter for a delightful crunch and depth of flavor.
- Spicy Twist: Add a pinch of cayenne pepper or a teaspoon of cinnamon to the batter for a warm, spicy kick that contrasts beautifully with the chocolate.
- Mocha Magic: Use espresso instead of brewed coffee for an added depth of flavor, creating a coffee lover's dream cake that pairs perfectly with the chocolate.
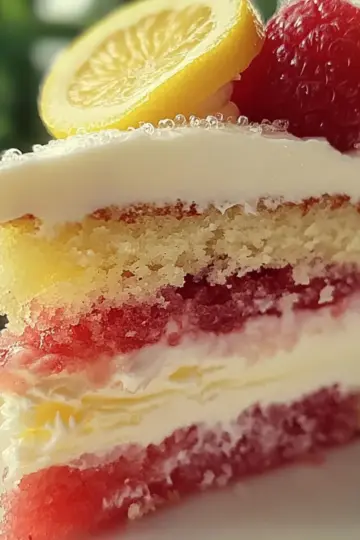
- Fruity Layer: Add a layer of raspberry or cherry preserves between the cake layers for a sweet and tart surprise that complements the rich pudding.
- Decadent Ganache: Replace the frosting with a glossy chocolate ganache made from heavy cream and chocolate for an ultra-luxurious finish.
Let your culinary imagination run wild and enjoy your very own version of the classic Brooklyn Blackout Cake!
What to Serve with Brooklyn Blackout Cake
Complete your dessert experience with delightful pairings that enhance every bite of your Brooklyn Blackout Cake.
- Fresh Berries: The acidity and freshness of strawberries or raspberries balance the rich chocolate, adding a refreshing burst of flavor.
- Vanilla Ice Cream: A scoop of creamy vanilla ice cream complements the cake's intense chocolate and enriches the overall experience, creating a beautiful contrast in texture and taste.
Indulging in a slice of cake becomes pure bliss when paired with a side of smooth, creamy ice cream which melts softly onto the warm cake, enhancing its decadent charm.
- Whipped Cream: Light, airy whipped cream offers a luscious topping that perfectly offsets the cake's density, bringing a touch of lightness to each bite.
- Espresso or Coffee: A rich cup of espresso intensifies the chocolate flavors, enhancing the experience with its robust aroma. This is a perfect match for coffee lovers!
Imagine savoring a slice of cake while sipping on a hot espresso; the synergy of flavors dances on your palate, turning every taste into an indulgent affair.
- Chocolate Sauce: Drizzle warm chocolate sauce over each slice for an extra chocolatey boost that leaves you wanting more. It's heaven on a plate!
- Mint Chocolate Chip Ice Cream: The cool mint flavor provides a refreshing contrast to the rich chocolate, making each bite an adventure for your taste buds.
- Caramel Sauce: A drizzle of caramel offers a sweet, buttery contrast that elevates the cake's chocolate notes while adding a gooey element.
With these delightful combinations, your Brooklyn Blackout Cake will transcend dessert and become a memorable experience for anyone lucky enough to taste it!
Brooklyn Blackout Cake Recipe FAQs
What type of cocoa powder should I use for Brooklyn Blackout Cake?
Absolutely, using unsweetened Dutch-process cocoa powder is essential for this recipe. It contributes to the deep chocolate flavor and ensures a rich, decadent cake. If you only have natural cocoa powder, you can use it, but adjust the baking soda and baking powder accordingly since Dutch-process cocoa doesn’t react with them the same way.
How should I store leftover Brooklyn Blackout Cake?
I recommend storing any leftovers in an airtight container, where it will stay fresh for up to 4 days in the refrigerator. This keeps your cake moist and flavorful. Just be sure to slice it carefully to avoid crumbling!
Can I freeze Brooklyn Blackout Cake? How?
Yes, you can absolutely freeze this delicious cake! Wrap it tightly in plastic wrap and then in aluminum foil to prevent freezer burn. It will maintain its quality for up to 3 months! When you're ready to enjoy it, simply thaw it overnight in the refrigerator. If you want to enjoy a warm slice, microwave for 10-15 seconds after thawing.
What if my pudding filling is too runny?
If your pudding doesn't thicken properly, don't worry! Reheat it gently on the stove while whisking constantly. To salvage it, mix a little more cornstarch (1 tablespoon) with equal parts cold water to make a slurry, and whisk it into the boiling pudding mixture. Continue to cook until it thickens, stirring frequently. This will get you back on track!
Can pets eat Brooklyn Blackout Cake?
No, it’s best to keep this cake away from pets. Chocolate is toxic to dogs and cats due to the presence of theobromine. If your furry friend accidentally sneaks a bite, contact your veterinarian immediately for advice.
Are there any common allergens in Brooklyn Blackout Cake?
Yes, this cake contains common allergens such as gluten (from flour), dairy (buttermilk and butter), and eggs. If you’re making this for someone with allergies, consider using gluten-free flour, dairy alternatives, and egg substitutes (like applesauce or a commercial egg replacer) to ensure it’s safe for everyone to enjoy!
Brooklyn Blackout Cake Recipe FAQs
Indulgent Brooklyn Blackout Cake: Layers of Pure Bliss
Ingredients
Equipment
Method
- Preheat your oven to 350°F (175°C) and prepare two 8-inch round cake pans by buttering them and lining with parchment paper.
- In a large mixing bowl, whisk together the all-purpose flour, white sugar, cocoa powder, baking soda, baking powder, and a pinch of salt.
- In a separate bowl, whisk together the buttermilk, vegetable oil, eggs, and vanilla extract. Gradually stir in the brewed coffee.
- Pour the wet mixture into the bowl of dry ingredients and stir gently until smooth. Add the hot brewed coffee to thin the batter.
- Reserve about one cup of the batter for cupcakes to create crumbs for decoration.
- Divide the remaining batter between the two prepared cake pans and bake for about 35 minutes, or until a toothpick comes out clean.
- Bake the reserved cupcake batter in liners for approximately 15 minutes.
- Allow the cake layers to cool for about 10 minutes in the pans before transferring them to a wire rack.
- Prepare the chocolate pudding filling by whisking cocoa powder into boiling water, then add sugar, bittersweet chocolate, and salt until smooth.
- Thicken the pudding by mixing cornstarch with cold water, whisking for one minute over medium heat until thickened.
- Melt the remaining butter and semisweet chocolate together for the frosting, stirring in hot water, corn syrup, and vanilla until glossy.
- Pulse the cooled cupcakes in a food processor to create fine crumbs for decoration.
- Assemble the cake by layering one cake layer with chocolate pudding filling, then the second layer on top.
- Frost the sides with remaining pudding and press cupcake crumbs onto the sides.
- Chill the cake in the refrigerator until ready to serve for enhanced flavor.