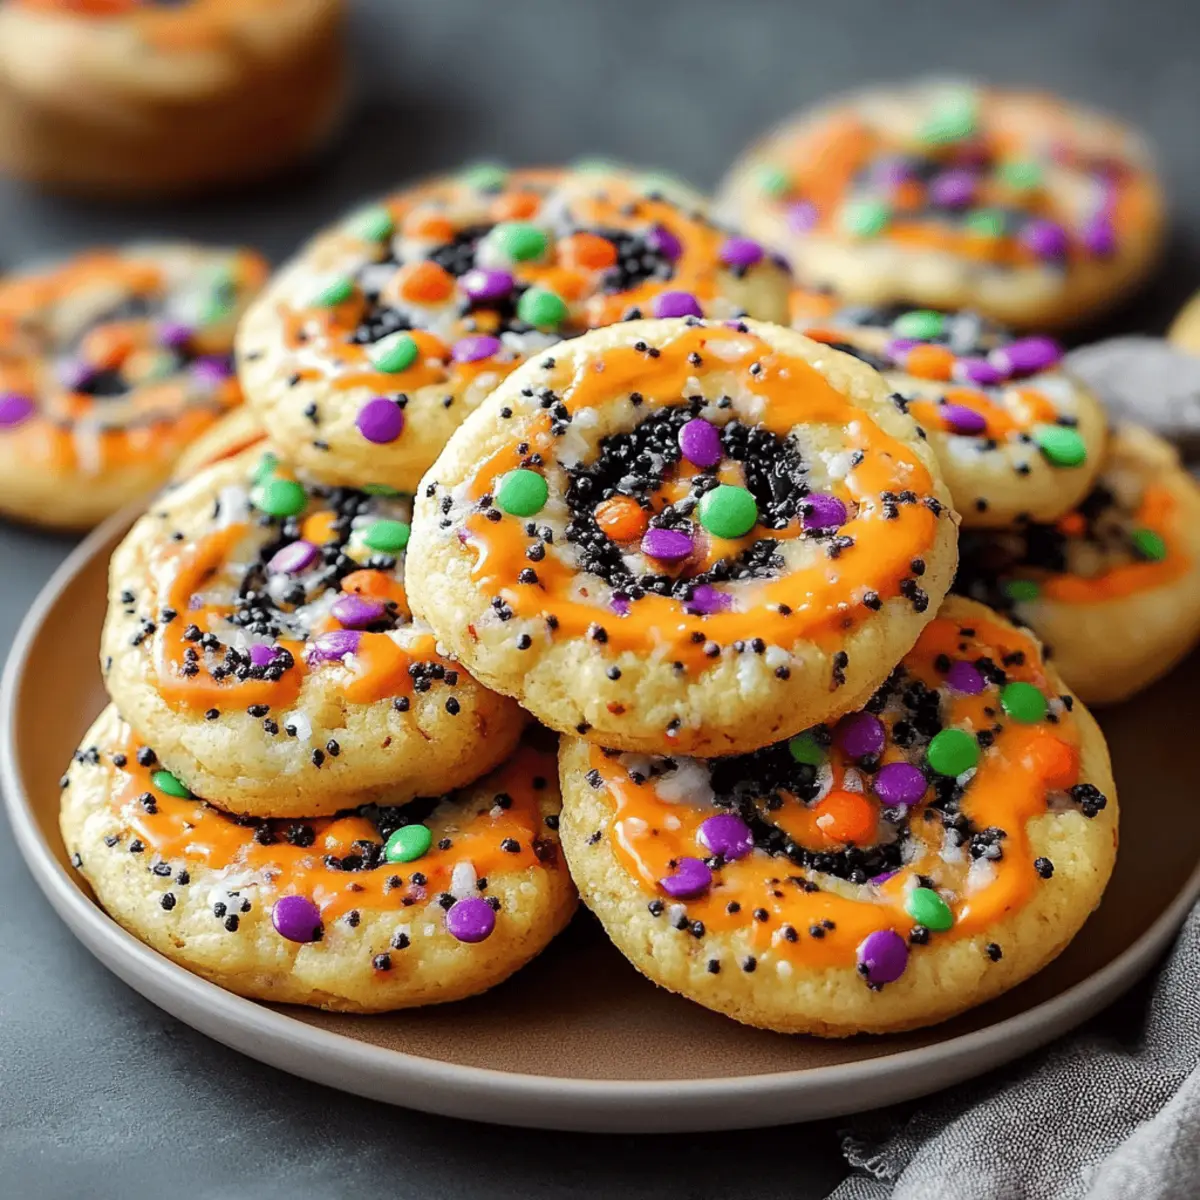
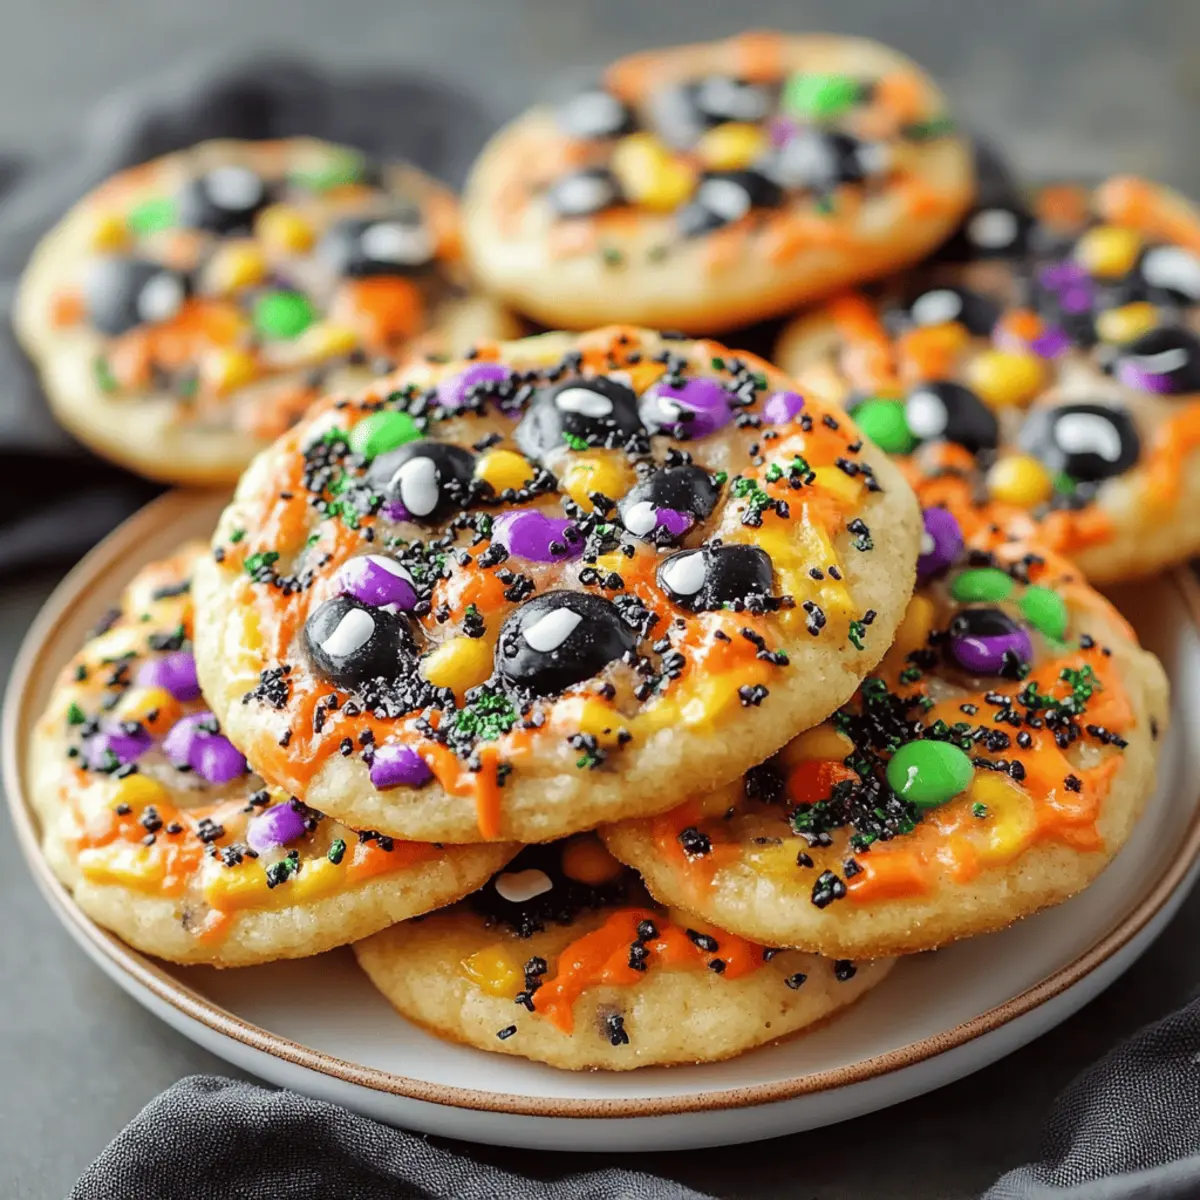
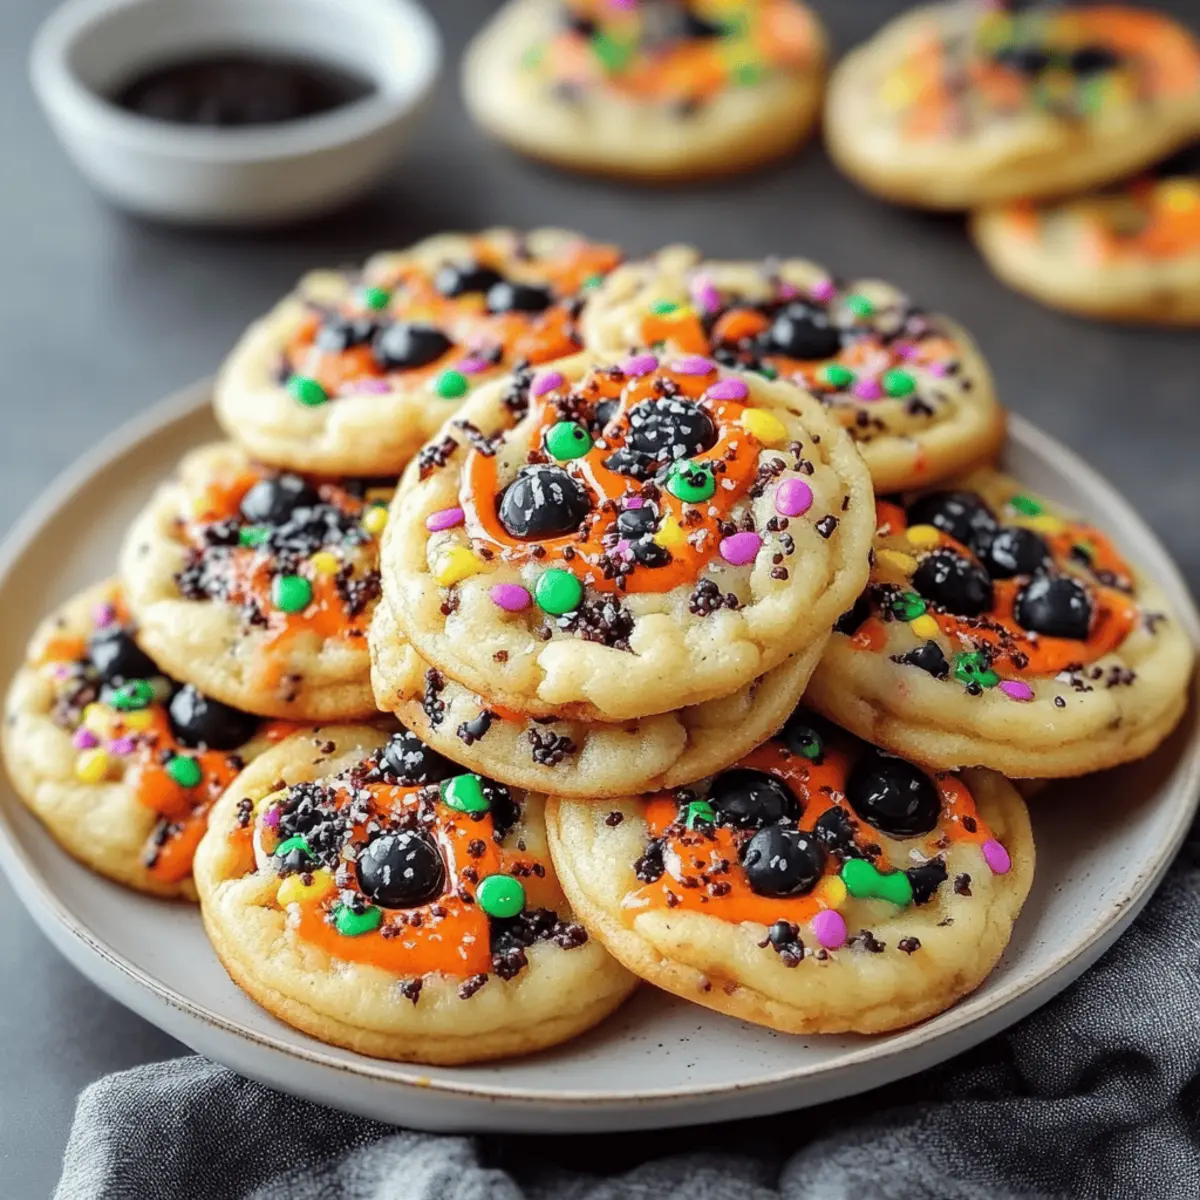
As the leaves change and the air turns crisp, there's an undeniable magic in the kitchen that calls for creativity, especially when it comes to Halloween. That's when I whip out a batch of Halloween Cookies, each one a canvas for colorful M&M's and sprinkles that embody the spirit of the season. These cookies are not only a fun way to engage the family but also a breeze to make, thanks to their quick prep time. Plus, they're a guaranteed crowd-pleaser, perfect for parties or cozy nights in. Just imagine the delight on your loved ones' faces as they reach for these delightful treats! Are you ready to turn your kitchen into a spooky baking wonderland?
Why Are These Cookies So Special?
Halloween brings out the kid in all of us! Vivid Colors: The vibrant M&M’s and sprinkles make these cookies a visual treat that will brighten any gathering. Easy to Make: With a simple process, even novice bakers can whip these up in no time. Perfect Texture: You'll love the balance of crispy edges and chewy centers. Kid-Friendly Activity: Gather the family and let everyone decorate their own cookies for some spooky fun. Incredible Aroma: The scent of these cookies baking will draw everyone to the kitchen! Make this Halloween memorable with a batch of these irresistible Halloween Cookies!
Halloween Cookies Ingredients
For the Cookie Dough
• All-purpose flour – 2 ¼ cups helps create the cookie's structure.
• Cornstarch – 1 teaspoon adds softness for that perfect texture.
• Baking soda – ½ teaspoon provides the lift for a delightful chew.
• Salt – ½ teaspoon balances the sweetness of the sugars.
• Melted butter – ¾ cup gives the cookies a rich and buttery flavor.
• Brown sugar – 1 cup contributes to that beautiful caramel depth.
• Granulated sugar – ½ cup adds a touch of sweetness and crunch.
• Large egg – 1 egg binds the ingredients together for a cohesive dough.
• Egg yolk – 1 enhances the chewiness for a better texture.
• Vanilla extract – 2 teaspoons infuse your cookies with lovely warmth.
For the Fun Twist
• Halloween M&M’s – 1 cup brings festive color and a chocolatey surprise.
• Colorful sprinkles – ¼ cup adds that playful touch that kids adore.
Step‑by‑Step Instructions for Halloween Cookies
Step 1: Mix the Dry Ingredients
In a medium bowl, whisk together 2 ¼ cups of all-purpose flour, 1 teaspoon of cornstarch, ½ teaspoon of baking soda, and ½ teaspoon of salt. This dry mixture forms the foundation of your Halloween Cookies, so make sure everything is well combined. Set aside while you prepare the wet ingredients, as ensuring evenly mixed dry ingredients will help achieve a wonderful texture in the final cookies.
Step 2: Cream the Butters and Sugars
In a stand mixer, combine ¾ cup of melted butter with 1 cup of brown sugar and ½ cup of granulated sugar. Beat on medium speed for about four minutes, or until the mixture becomes light and fluffy, showcasing a pale color. This process is crucial as it incorporates air into the dough, ensuring your Halloween Cookies have a delightful airy quality.
Step 3: Add Eggs and Vanilla
Once your butter and sugar are well mixed, add 1 large egg, 1 egg yolk, and 2 teaspoons of vanilla extract. Beat the mixture for 20 to 30 seconds until just combined, making sure to avoid overmixing. This step enriches the flavor of your Halloween Cookies, creating a beautiful harmony that will please everyone's palate.
Step 4: Incorporate the Dry Mixture
Gradually add the dry mixture into the wet ingredients while mixing on low speed. Mix gently to combine, stopping once you see no dry flour remaining. Overmixing can lead to tougher cookies, so be mindful here. Your dough should be thick and slightly sticky, embodying the essence of these delightful Halloween Cookies.
Step 5: Fold in the Treats
With a wooden spoon or rubber spatula, carefully fold in 1 cup of Halloween M&M’s and ¼ cup of colorful sprinkles. This is where the fun begins! The vibrant candies will create a festive look and enjoyable bursts of chocolate flavor throughout your Halloween Cookies. Aim for even distribution without overworking the dough.
Step 6: Chill the Dough
Cover the cookie dough with plastic wrap and chill in the refrigerator for at least two hours, or overnight for even better results. Chilling allows the flavors to meld and helps the cookies to maintain their shape while baking. When you're ready to bake, remove the dough from the fridge and prepare for the next step.
Step 7: Prepare for Baking
Preheat your oven to 350° F (175° C) and line a baking sheet with parchment paper. This ensures that your Halloween Cookies bake evenly and don’t stick. While the oven is heating, get your cookie scoop ready so that you're all set to portion out the dough.
Step 8: Portion the Dough
Using a medium cookie scoop, drop heaping tablespoons of dough onto the prepared baking sheet, ensuring they are spaced about two inches apart. This space allows for spreading while baking, helping your Halloween Cookies achieve that perfectly chewy texture with crispy edges.
Step 9: Bake the Cookies
Slide the baking sheet into the preheated oven and bake for about 12 minutes. You’ll know they’re done when the edges are golden brown but the centers still look slightly soft. This contrast is key for that delightful Halloween Cookie experience, balancing between crispy and chewy.
Step 10: Add the Finishing Touches
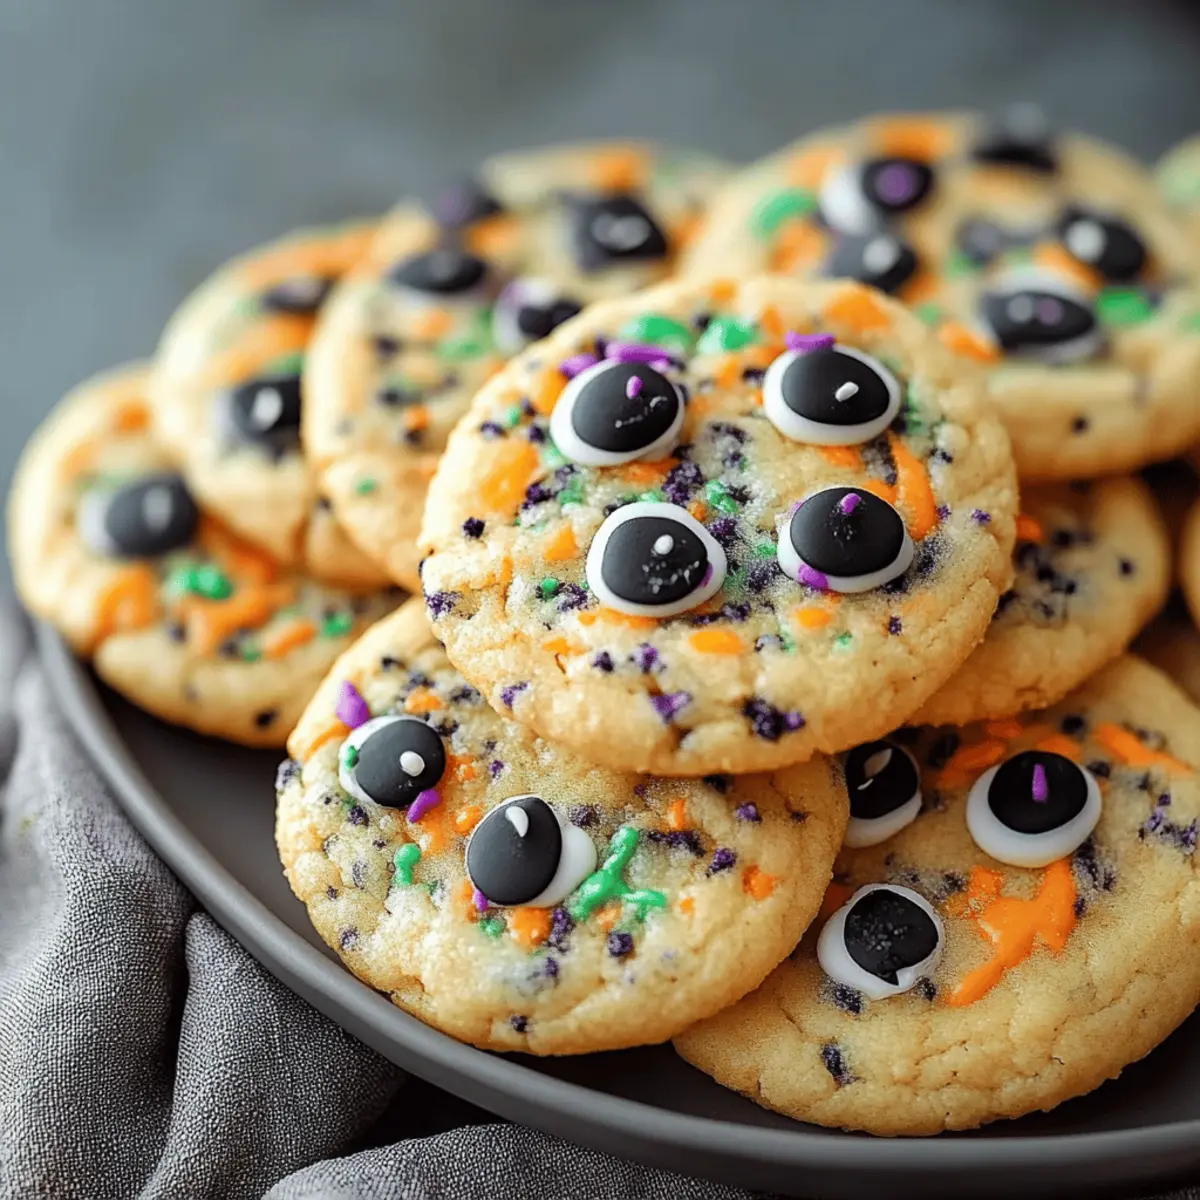
Once out of the oven, let the cookies cool on the pan for about one minute. Before transferring them to a wire rack, add candy eyes and a few extra M&M’s on top for that extra festive flair. This quick step is what makes your Halloween Cookies look extra special and spooky.
Step 11: Cool Completely
Transfer the cookies to a wire rack and allow them to cool for about five minutes. This cooling period helps them to set while retaining their delightful texture. Once cooled, feel free to indulge in your beautiful batch of Halloween Cookies, which are sure to be a hit at any gathering!
How to Store and Freeze Halloween Cookies
Room Temperature: Store cookies in an airtight container at room temperature for up to one week to keep them fresh and chewy.
Fridge: If you prefer, you can store them in the fridge for up to two weeks; however, be aware this may affect the texture slightly.
Freezer: For long-term storage, freeze Halloween Cookies in an airtight container or freezer bag for up to three months. Thaw at room temperature before enjoying.
Reheating: To revive frozen cookies, warm them in the microwave for about 10-15 seconds; they'll taste freshly baked!
Halloween Cookies Variations & Substitutions
Feel free to unleash your creativity with these fun twists on Halloween Cookies!
- Gluten-Free: Substitute all-purpose flour with a gluten-free blend for delicious cookies that everyone can enjoy.
- Maple Sweetened: Swap brown and granulated sugars for 1 cup of pure maple syrup; adjust butter to ½ cup to achieve the right texture.
- Add Nuts: Mix in ½ cup of chopped nuts, such as walnuts or pecans, for a delightful crunch that'll bring joy to the seasoned baker!
- Pumpkin Spice: Add 1 teaspoon of pumpkin spice to the dry ingredients for a cozy autumn flavor that's simply irresistible during the Halloween season.
- Dairy-Free: Use a plant-based butter substitute and replace the egg with a flax egg (1 tablespoon ground flaxseed mixed with 2.5 tablespoons water) for a dairy-free treat.
- Spicy Kick: Incorporate ½ teaspoon of cayenne pepper or a dash of cinnamon for those who love a little heat with their sweet indulgence!
- Choco-Mint Twist: Use mint-flavored M&M’s instead of Halloween M&M’s to bring a refreshing minty surprise to each bite—perfect for chocolate lovers!
- Choco-chips Instead: Feel free to swap out Halloween M&M's for 1 cup of chocolate chips for a classic twist that will melt your heart.
Tips for the Best Halloween Cookies
• Chilling Is Key: Allowing the dough to chill for at least two hours enhances the flavor and keeps the cookies from spreading too much during baking.
• Avoid Overmixing: When combining wet and dry ingredients, mix just until no flour remains; overmixing can lead to tough cookies instead of tender Halloween Cookies.
• Golden Brown Edges: Watch for those golden brown edges while the centers appear slightly soft. This ensures a perfect balance of crispy and chewy textures.
• Decorate Creatively: Let each family member add their own candy eyes and sprinkles to make decorating playful and fun, creating personalized Halloween Cookies.
• Proper Storage: Store your cookies in an airtight container at room temperature to keep them fresh for up to a week; for longer storage, freeze them for up to three months.
Make Ahead Options
These Halloween Cookies are a lifesaver for busy home cooks looking to streamline their baking experience! You can prepare the cookie dough and chill it in the refrigerator for up to 24 hours; just be sure to cover it tightly with plastic wrap to maintain its freshness. Additionally, the pre-portioned dough can be stored in the freezer for up to 3 months—simply scoop the dough onto a baking sheet, freeze until solid, and then transfer to an airtight container. When you’re ready to bake, let the dough sit at room temperature for about 10 minutes before scooping and baking. This way, you’ll enjoy delicious Halloween Cookies with minimal effort, always ready for those spontaneous gatherings!
What to Serve with Halloween Cookies
Delightful treats like these add a festive touch to any gathering, inviting everyone to enjoy the spirit of the season.
-
Warm Apple Cider: The sweet-spiced aroma complements the cookies perfectly, creating a cozy atmosphere. Enjoy this warm drink as a perfect contrast to the cookie’s sweetness.
-
Vanilla Ice Cream: A scoop of this creamy treat enhances the richness of the cookies, creating a heavenly combination that’s hard to resist. Consider drizzling warm caramel sauce over the top for an indulgent twist.
-
Pumpkin Spice Latte: Embrace the season with this comforting drink that harmonizes beautifully with the rich flavors of the cookies. The warm spices resonate, making it an ideal pairing for chillier nights.
-
Caramel Sauce: Drizzle some warm caramel over the cookies for an extra layer of sweetness. It's a decadent addition that transforms a simple cookie into a gourmet treat!
-
Chocolate Milk: This classic favorite is a fun, nostalgic pairing that makes every bite of the cookies even more enjoyable. The rich chocolate flavor complements the M&M’s flawlessly.
-
Spooky Cheese Board: An assortment of cheeses, crackers, and seasonal fruits creates a delightful contrast to sweet cookies. Add some pumpkin-flavored cheeses for a fun twist and surprise your guests!
-
Candy Corn: As a nostalgic Halloween treat, candy corn offers a crunchy, sugary contrast to the soft, chewy cookies. It’s a playful addition that will bring smiles to every face.
-
Hot Chocolate: This rich and comforting drink pairs beautifully with sweet cookies, warming both heart and soul. Top it with whipped cream and a sprinkle of chocolate for an extra treat!
Halloween Cookies Recipe FAQs
What kind of M&M’s should I use for these cookies?
Absolutely! For the best festive touch, I recommend using Halloween-themed M&M’s. They come in vibrant colors and unique seasonal designs that elevate the look of the cookies. However, any standard M&M’s will work wonderfully too if you’re in a pinch!
How do I know if my cookie dough is ready to chill?
Your cookie dough should be thick and slightly sticky but not overly wet. If you can form it into a ball without it sticking excessively to your hands, it's ready to chill. Remember, chilling the dough for at least two hours allows the flavors to meld beautifully!
How long can I store my Halloween Cookies?
You can store your cookies in an airtight container at room temperature for up to one week. If you'd like to enjoy them longer, simply freeze them in an airtight container or freezer bag for up to three months. When you’re ready to indulge, just thaw them at room temperature for a delightful treat!
What can I do if my cookies spread too much while baking?
Very good question! If that happens, it might be due to warm dough or not chilling it long enough. Next time, ensure the dough is well-chilled for at least two hours. If you've already baked them and they're too flat, you can try to reshape them before they cool completely, but this may depend on how much they’ve spread.
Can I make these cookies gluten-free?
Yes, you can! To make gluten-free Halloween Cookies, substitute the all-purpose flour with a gluten-free blend designed for baking. Ensure the blend includes xanthan gum for the best texture. Follow the rest of the recipe as is, and enjoy your festive treats without gluten!
How should I store leftover cookie dough?
If you plan to save some cookie dough for later, wrap it tightly in plastic wrap or store it in an airtight container and keep it in the refrigerator for up to 3 days. Alternatively, you can freeze the dough in portions. Just scoop out the dough balls onto a sheet, freeze until solid, then transfer to a freezer bag. They can be baked straight from the freezer, just add a minute or two to the baking time!
Irresistibly Fun Halloween Cookies to Delight Everyone
Ingredients
Equipment
Method
- In a medium bowl, whisk together 2 ¼ cups of all-purpose flour, 1 teaspoon of cornstarch, ½ teaspoon of baking soda, and ½ teaspoon of salt. Set aside.
- In a stand mixer, combine ¾ cup of melted butter with 1 cup of brown sugar and ½ cup of granulated sugar. Beat on medium speed for about four minutes until light and fluffy.
- Add 1 large egg, 1 egg yolk, and 2 teaspoons of vanilla extract. Beat for 20 to 30 seconds until just combined.
- Gradually add the dry mixture into the wet ingredients while mixing on low speed until no dry flour remains.
- Fold in 1 cup of Halloween M&M’s and ¼ cup of colorful sprinkles using a wooden spoon or rubber spatula.
- Cover the dough with plastic wrap and chill in the refrigerator for at least two hours, or overnight for better results.
- Preheat your oven to 350° F (175° C) and line a baking sheet with parchment paper.
- Using a medium cookie scoop, drop heaping tablespoons of dough onto the prepared baking sheet, spaced about two inches apart.
- Bake for about 12 minutes until the edges are golden brown but the centers are slightly soft.
- Let the cookies cool on the pan for about one minute, then add candy eyes and extra M&M’s on top before transferring to a wire rack.
- Allow the cookies to cool for about five minutes on the wire rack.