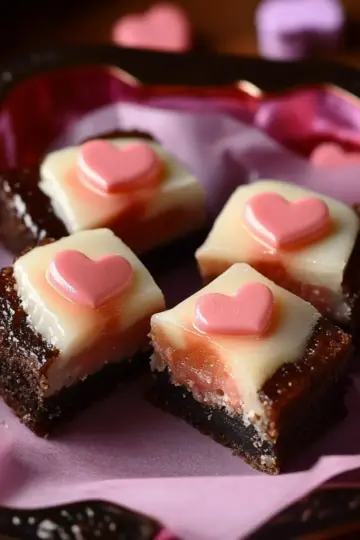
As I was rummaging through my pantry, I stumbled upon a forgotten box of vanilla wafers. The moment I saw them, I knew a sweet adventure awaited in the form of Mini Cherry Cheesecakes! These little bites of joy not only deliver creamy goodness but are also a delightful way to impress guests without spending all day in the kitchen. With just a quick prep time and simple ingredients, you'll whip up these luscious treats that bring back memories of summer picnics topped with vibrant cherry pie filling. Whether you're serving them at a gathering or sneaking a few for a midnight snack, these Mini Cherry Cheesecakes are sure to become a new favorite! Ready to dive in and create some magic?
Why are Mini Cherry Cheesecakes irresistible?
Indulgent, creamy texture: Each bite delivers the perfect balance of cream cheese and sweetness, providing a melt-in-your-mouth experience.
Quick and easy: With just 30 minutes of prep, you’ll be on your way to cheesecake bliss without the hassle.
Perfectly portioned: These mini delights are manageable for everyone, making them an ideal dessert for any gathering.
Versatile toppings: While cherry pie filling is delightful, feel free to mix it up with blueberries, strawberries, or a drizzle of chocolate for extra flair!
Crowd-pleaser: Everyone loves cheesecake, and these mini versions are sure to delight guests of all ages, ensuring your dessert table is the star of the show!
Mini Cherry Cheesecake Ingredients
• Get ready to create a delightful treat!
For the Crust
- Vanilla wafer crumbs – These add a sweet and crunchy base that perfectly complements the creamy filling.
- Unsalted butter – Helps bind the crumbs together while adding richness to the crust.
For the Filling
- Cream cheese – The star ingredient that gives these mini cherry cheesecakes their iconic creamy texture; make sure it’s softened for easy mixing.
- Granulated sugar – Sweetens the filling, balancing the tanginess of the cream cheese.
- Pure vanilla extract – Enhances the overall flavor with a warm, aromatic touch.
- Whole egg – Provides structure for the filling; don’t skip it for a perfect bake.
- Egg yolk – Adds richness and creaminess to the cheesecake filling.
- Sour cream – Contributes a lovely tang and creaminess that elevates the flavor profile.
For the Topping
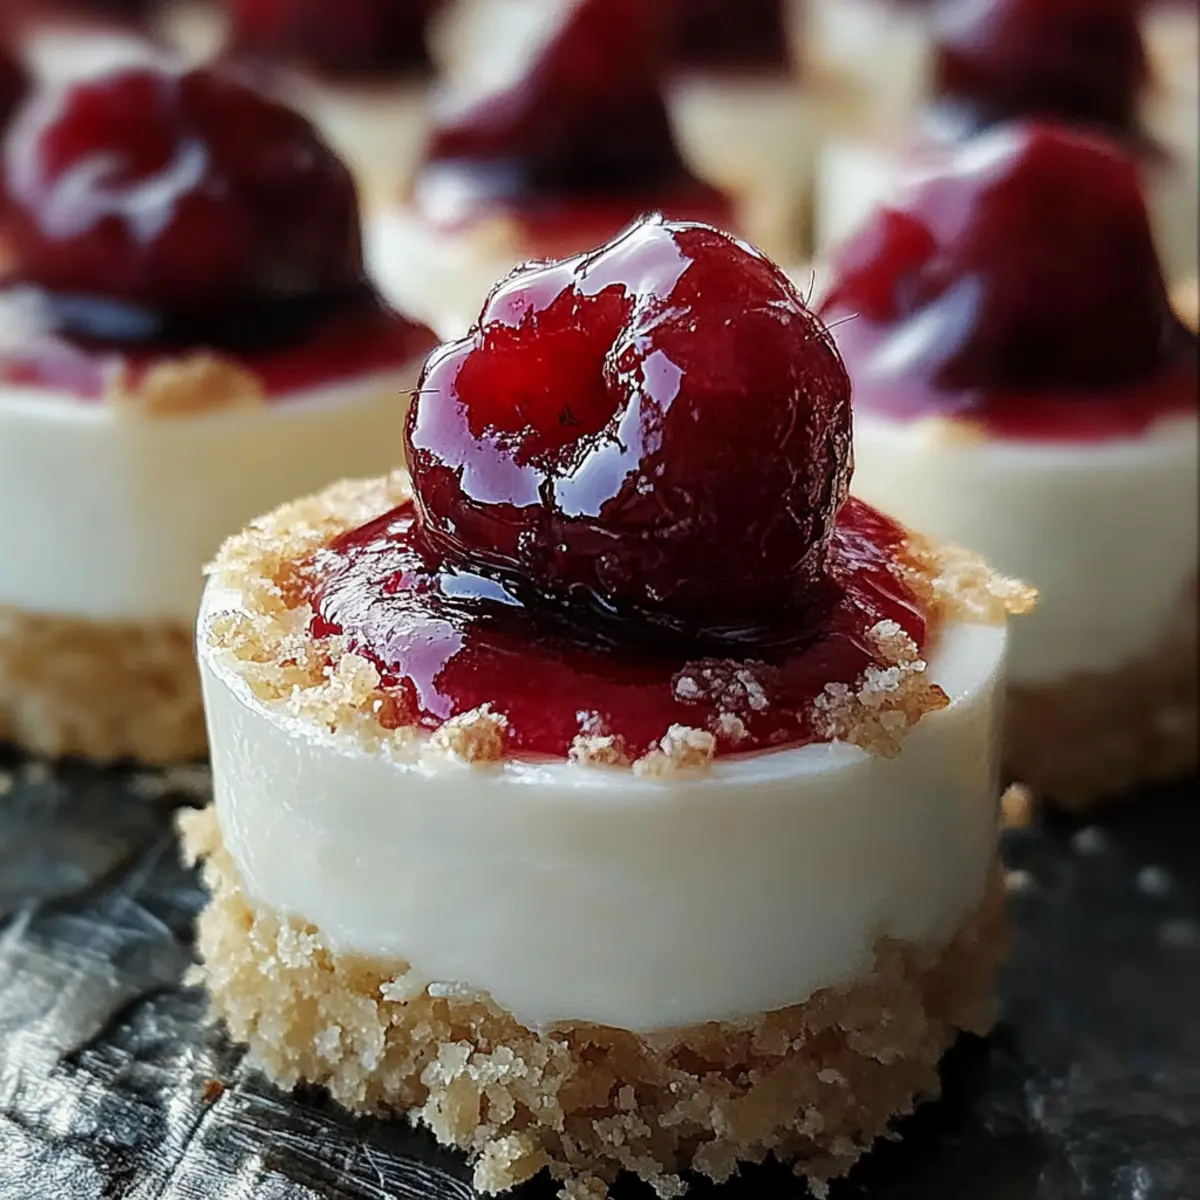
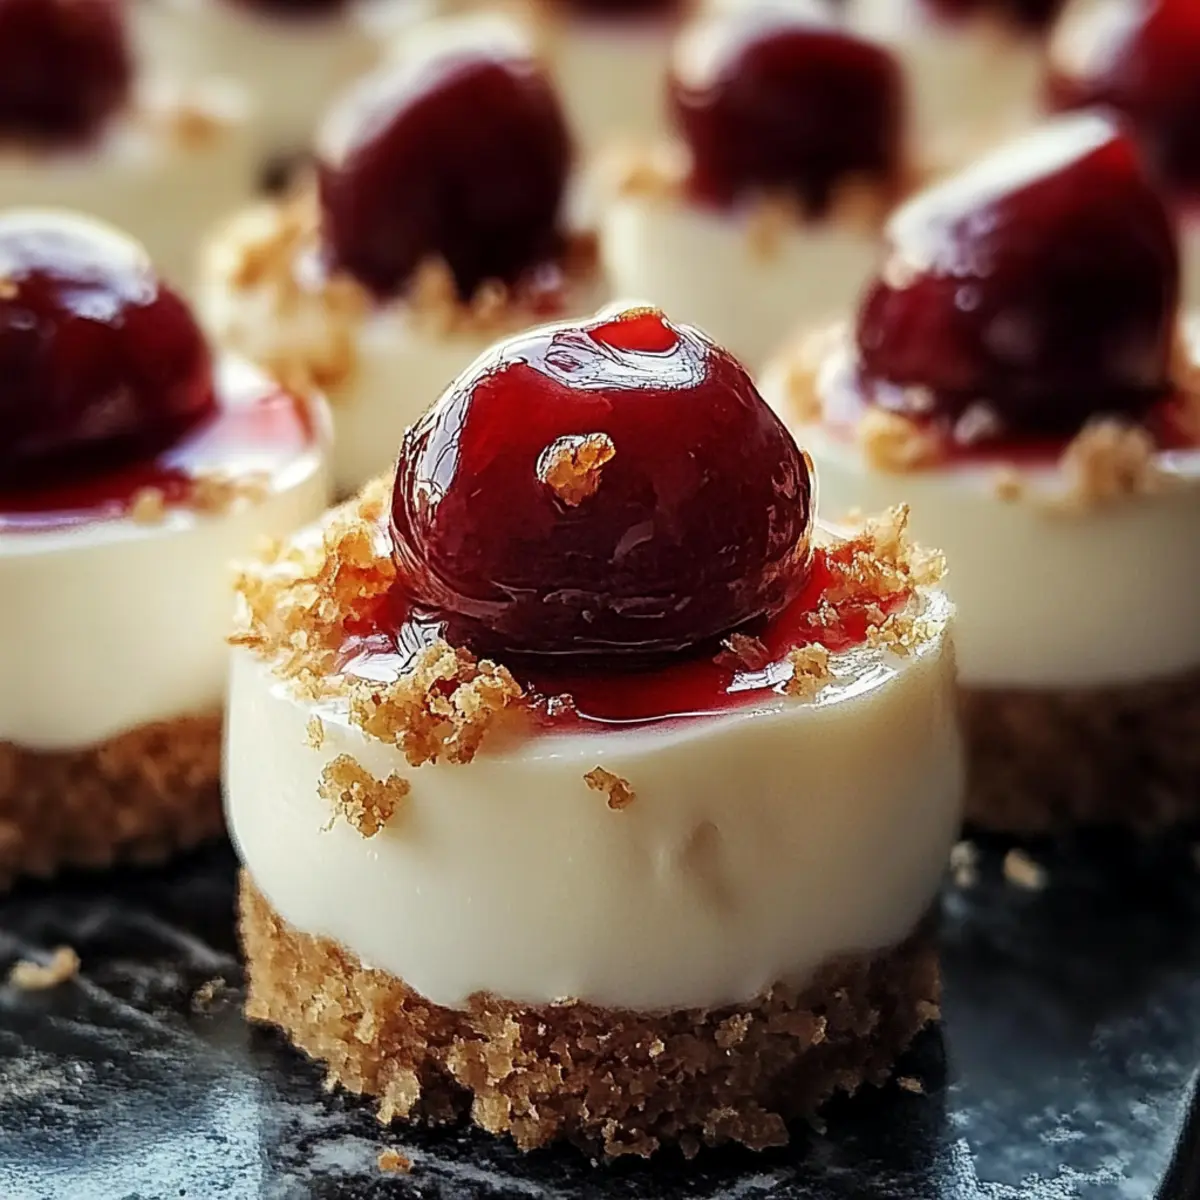
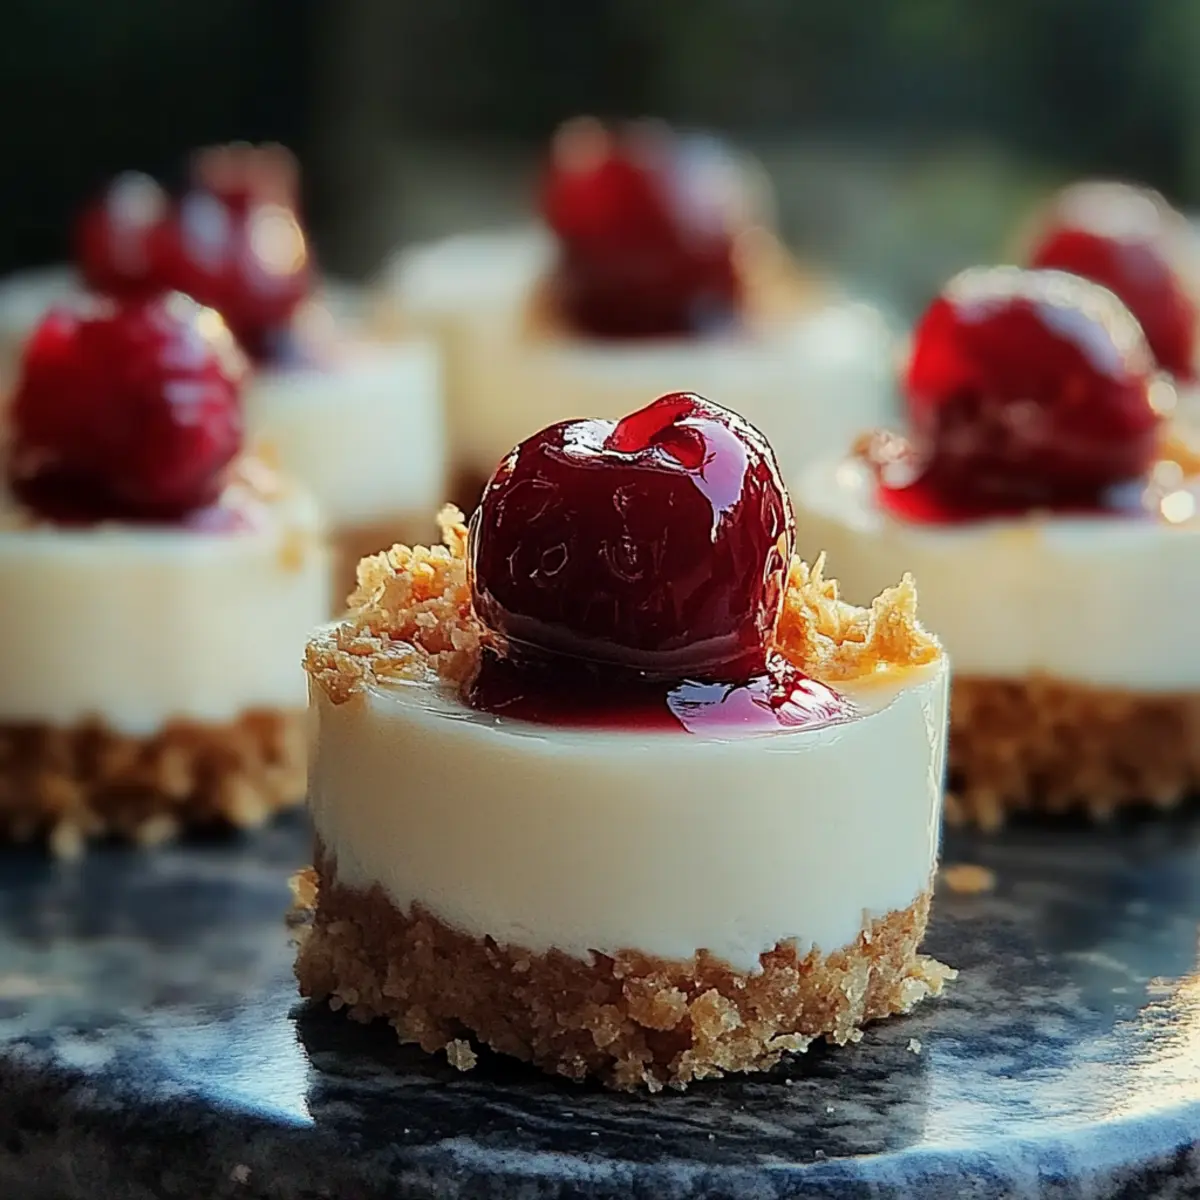
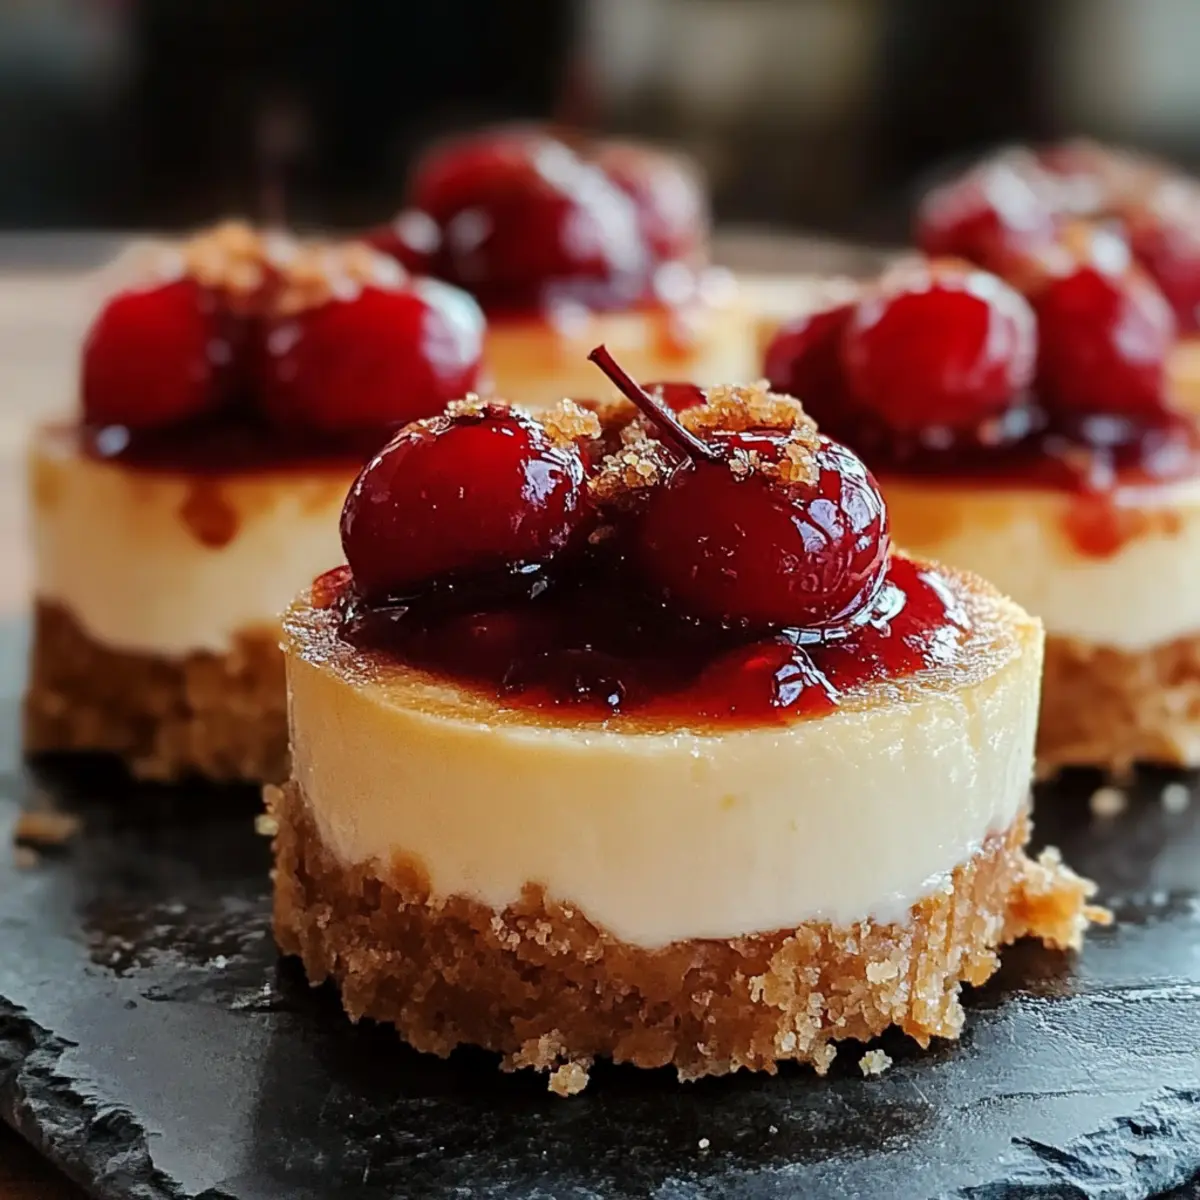
- Cherry pie filling – A classic topping that provides bright color and delicious sweetness; feel free to experiment with other fruits for variation!
Step‑by‑Step Instructions for Mini Cherry Cheesecakes
Step 1: Preheat the Oven
Begin by preheating your oven to 325°F (163°C). This temperature is perfect for baking Mini Cherry Cheesecakes, ensuring that they set beautifully. While the oven heats, prepare your muffin pan by lining it with paper muffin cups to make removing your delicious cheesecakes a breeze.
Step 2: Make the Crust
In a mixing bowl, combine the vanilla wafer crumbs with melted unsalted butter, stirring until the crumbs are evenly moistened. This mixture should resemble wet sand. Using about a tablespoon of the crumb mixture, divide it evenly among the lined muffin cups. Press the mixture firmly into the bottoms to create a sturdy crust that will hold the cheesecake filling.
Step 3: Bake the Crusts
Place the muffin pan in the preheated oven and bake the crusts for 5 to 7 minutes, or until they turn lightly golden. Keep an eye on them, as you want the crusts to firm up without burning. Once done, carefully remove the pan from the oven and set it aside to cool while you prepare the cheesecake filling.
Step 4: Prepare the Filling
In a large mixing bowl, beat the softened cream cheese and granulated sugar together using an electric mixer on medium speed. Continue mixing until the mixture is smooth and creamy, about 2 to 3 minutes. Scrape down the sides to ensure everything is well combined. This step is crucial for achieving that delightful texture in your Mini Cherry Cheesecakes.
Step 5: Add Remaining Ingredients
To the cream cheese mixture, add the pure vanilla extract, whole egg, egg yolk, and sour cream. Blend these ingredients together until the mixture is silky and lump-free, which should take about 1 to 2 minutes. This rich filling is key to the indulgent flavor of your Mini Cherry Cheesecakes.
Step 6: Fill the Crusts
Carefully spoon the prepared cheesecake filling into each pre-baked crust, filling them nearly to the top. Be gentle to avoid disturbing the crust too much. The filling should be creamy and smooth, sitting right above the crust. This ensures that each Mini Cherry Cheesecake will be delightfully rich and satisfying.
Step 7: Bake the Cheesecakes
Return the muffin pan to the oven and bake the Mini Cherry Cheesecakes for 20 to 25 minutes. You’ll know they're done when the centers are set but slightly jiggly, which gives them that perfect creamy texture. Once baked, remove the pan from the oven and allow the cheesecakes to cool on a wire rack.
Step 8: Chill Before Serving
After cooling at room temperature for about 30 minutes, transfer the Mini Cherry Cheesecakes to the refrigerator. Let them chill for at least 2 hours to firm up further and develop their flavors. This chilling time is essential for achieving a delightful, creamy bite when you're ready to enjoy them.
Step 9: Add the Topping
Before serving your Mini Cherry Cheesecakes, spoon a generous amount of cherry pie filling over each one. The bright red cherries add a pop of color and sweetness, making them visually stunning. With this final touch, your charming dessert is ready to impress!
What to Serve with Mini Cherry Cheesecakes?
Transform your delightful dessert into a full meal with these perfect pairings that enchant the senses.
-
Fresh Fruit Salad: A medley of berries and melons adds a refreshing contrast to the creamy richness of the cheesecakes, providing a balance of flavors.
-
Whipped Cream: Light and airy, a dollop of homemade whipped cream enhances the sweetness while adding an indulgent touch—perfect for those who love creamy textures.
-
Coffee or Espresso: The bold flavor of coffee complements the sweet, tangy cheesecake, making it an ideal pairing for a cozy afternoon treat or post-dinner dessert.
-
Chocolate-Covered Strawberries: Sweet and slightly tart, these treats are an exquisite addition. Their soft textures work beautifully against the creamy cheesecake, creating a delightful bite.
-
Mint Chocolate Chip Ice Cream: A scoop of this classic flavor offers a twist! The cool mint pairs wonderfully, invigorating your palate after each rich cheesecake bite.
-
Sparkling Lemonade: A fizzy drink brings a playful zest that cuts through the sweetness, making your dessert experience even more enjoyable and refreshing.
Enjoy these pairings for unforgettable moments with your Mini Cherry Cheesecakes that will have everyone asking for seconds!
Helpful Tricks for Mini Cherry Cheesecakes
Crust Binding: Use melted butter: Mixing your vanilla wafer crumbs with melted unsalted butter is essential for a firm crust that won't fall apart.
Mixing Tips: Beat thoroughly: Make sure to blend the cream cheese and sugar until smooth to avoid lumpy fillings for your Mini Cherry Cheesecakes.
Baking Time: Watch closely: Bake the cheesecakes until the centers are slightly jiggly to maintain that creamy texture without overbaking them.
Cooling Patience: Chill adequately: Allow your Mini Cherry Cheesecakes to chill for at least 2 hours to firm up properly and deepen their flavors.
Flavor Variations: Get creative: While cherry pie filling is fantastic, don’t shy away from trying other fruits or toppings for a personalized twist!
Make Ahead Options
These Mini Cherry Cheesecakes are perfect for meal prep enthusiasts! You can prepare the crusts up to 24 hours in advance by baking them, allowing them to cool, and then storing them in an airtight container at room temperature. The cheesecake filling can be mixed ahead and refrigerated for up to 3 days; just make sure to cover it tightly to prevent it from absorbing any odors. When you're ready to serve, spoon the filling into the pre-baked crusts and bake as directed. By prepping these components ahead of time, you'll save precious moments on busy weeknights, delivering just as delicious results with minimal effort!
How to Store and Freeze Mini Cherry Cheesecakes
Fridge: Keep your Mini Cherry Cheesecakes in an airtight container in the refrigerator for up to 3 days. This will maintain their creamy texture and flavor, ensuring they're as delightful as when freshly made.
Freezer: If you'd like to enjoy them later, freeze the cheesecakes for up to 2 months. Wrap each cheesecake tightly in plastic wrap, then place them in a freezer-safe bag. Thaw in the fridge before serving.
Reheating: There's no need to reheat these cheesecakes. Enjoy them cold, topped with cherry pie filling, for the best experience.
Mini Cherry Cheesecakes: Customization Ideas
Feel free to get creative and personalize your Mini Cherry Cheesecakes with these tasty variations!
- Gluten-Free: Swap the vanilla wafer crumbs for crushed gluten-free cookies or almonds for a delightful gluten-free crust.
- Dairy-Free: Use dairy-free cream cheese and coconut cream to keep the creamy texture while making it suitable for a dairy-free diet.
- Sugar-Free: Opt for a sugar substitute in place of granulated sugar to enjoy a healthier version without losing sweetness.
- Chocolate Lover's Delight: Incorporate a tablespoon of cocoa powder into the filling for a rich chocolate cheesecake experience.
- Fruit Swirls: Before baking, gently swirl in some fruit puree, like raspberry or blueberry, for a fun color and flavor twist.
- Nutty Crunch: Sprinkle crushed nuts like pecans or almonds on top before adding the cherry filling for a delightful crunch.
- Add a Splash: A tablespoon of lemon juice in the filling brightens the flavor without overpowering the classic cheesecake taste.
- Temperature Variation: Serve them warm with a drizzle of chocolate sauce for a decadent, gooey twist!
Explore these variations and find the perfect combination that makes your heart sing!
Mini Cherry Cheesecake Recipe FAQs
How do I select ripe cherries for topping?
Absolutely! When choosing cherries, look for ones that are plump, firm, and deep red in color. Avoid any with dark spots or blemishes, as they may not be fresh. If you’re using cherry pie filling, make sure to check the ingredient label for quality and sweetness to complement your Mini Cherry Cheesecakes beautifully.
What’s the best way to store Mini Cherry Cheesecakes?
Great question! Store your Mini Cherry Cheesecakes in an airtight container in the refrigerator for up to 3 days. This helps them retain their creamy texture and flavor. If you haven’t topped them with cherry filling yet, keep the topping separate until just before serving for the best presentation.
Can I freeze Mini Cherry Cheesecakes?
Yes, you can! To freeze your Mini Cherry Cheesecakes, wrap each one tightly in plastic wrap, ensuring there are no air pockets. Then, place them in a freezer-safe bag or container. They can stay fresh in the freezer for up to 2 months. When you're ready to enjoy them, simply thaw them in the fridge for a few hours before serving.
What if my cheesecake filling is lumpy?
Very common! If your cheesecake filling turns out lumpy, try mixing it at a higher speed for a bit longer. Make sure the cream cheese is at room temperature before mixing, as cold cream cheese doesn't blend as smoothly. If you still have lumps, you can strain the mixture through a fine sieve to achieve a silky texture for your Mini Cherry Cheesecakes.
Are Mini Cherry Cheesecakes suitable for those with dietary restrictions?
Absolutely! If you are making these for someone with allergies or dietary restrictions, consider using gluten-free vanilla wafers for the crust. You can also replace the sugar with a sugar substitute for a lower-calorie option. Just make sure to check the ingredients to accommodate any specific allergies, especially for dairy.
What if I want to add different toppings besides cherry pie filling?
The more the merrier! Feel free to get creative with your toppings. You can use fresh berries, chocolate ganache, or even a layer of whipped cream. Any fruit compote or caramel sauce can elevate these Mini Cherry Cheesecakes to the next level, so don't hesitate to personalize them to suit your taste!
Delicious Mini Cherry Cheesecakes to Brighten Your Day
Ingredients
Equipment
Method
- Preheat your oven to 325°F (163°C) and line muffin pan with paper muffin cups.
- Combine vanilla wafer crumbs with melted unsalted butter until moistened. Press into muffin cups.
- Bake crusts for 5 to 7 minutes until lightly golden. Remove from oven to cool.
- Beat cream cheese and granulated sugar together until smooth and creamy, about 2 to 3 minutes.
- Add pure vanilla, whole egg, egg yolk, and sour cream, mixing until silky and lump-free.
- Spoon cheesecake filling into each pre-baked crust, filling nearly to the top.
- Bake for 20 to 25 minutes until centers are set but slightly jiggly. Cool on wire rack.
- Chill for at least 2 hours before serving to firm up and develop flavors.
- Top each cheesecake with cherry pie filling before serving.