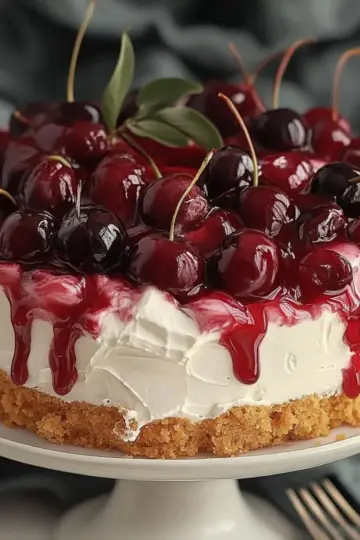
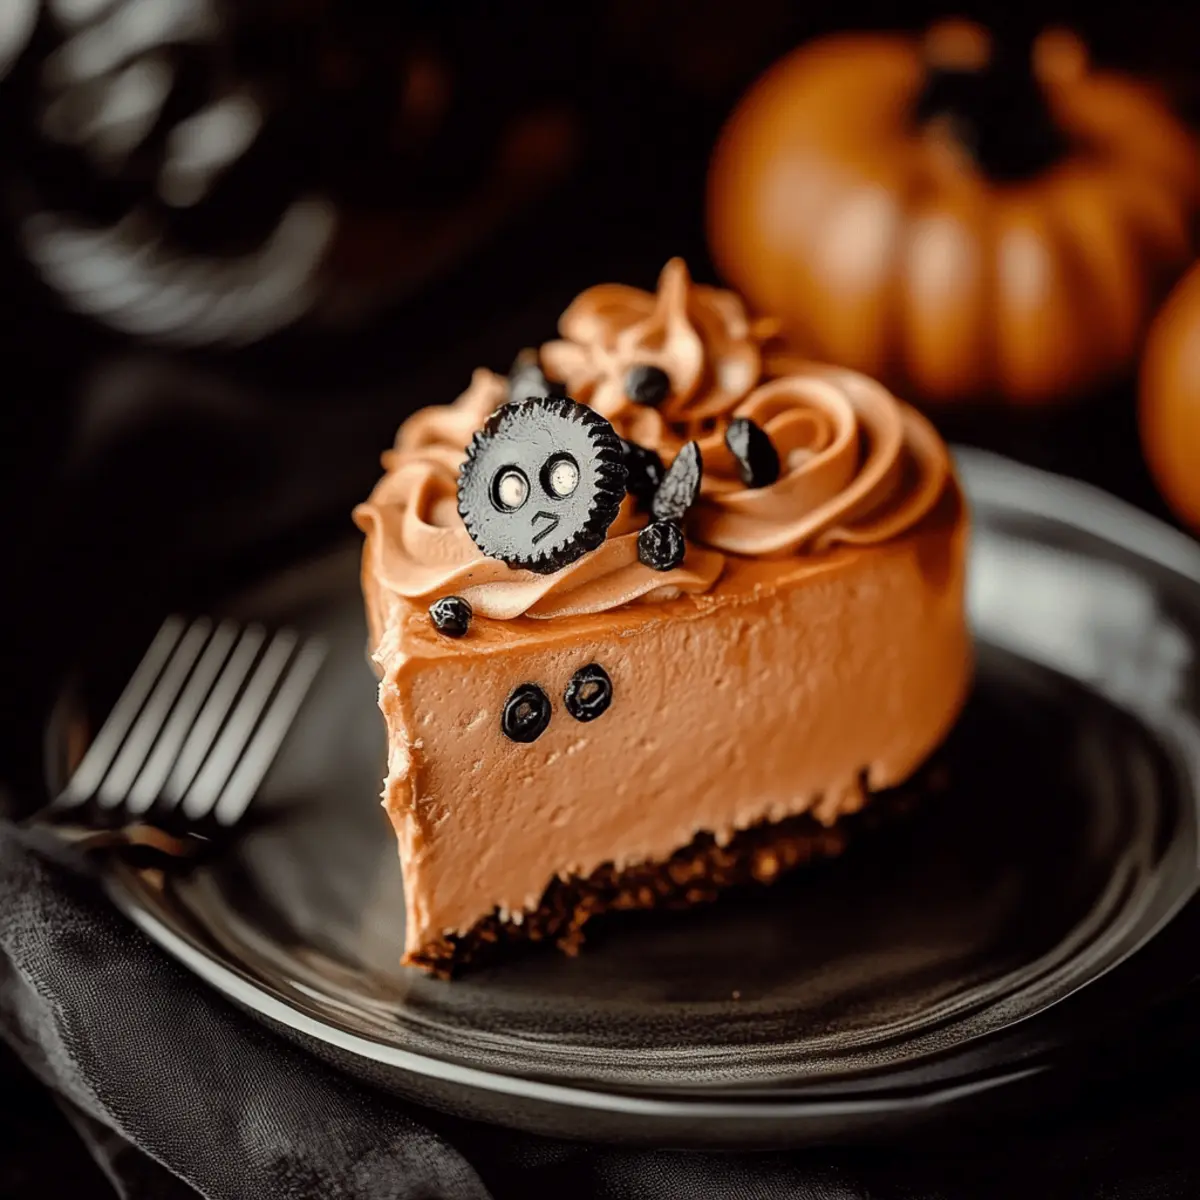
With Halloween around the corner, it’s the perfect time to conjure up something special in the kitchen. This Halloween Cheesecake blends the rich, creamy texture of traditional cheesecake with a playful twist that will captivate anyone looking for homemade goodness. Not only is this show-stopper an impressive dessert for your spooky gatherings, but it's also surprisingly simple to make, ensuring you'll spend less time stressing in the kitchen and more time enjoying the festivities. Plus, it can be prepared ahead and stored in the fridge, making it a stress-free option for your Halloween celebrations. Curious about how to create this delightful treat that’s bound to wow your friends and family? Let’s get started!
Why Is This Halloween Cheesecake Special?
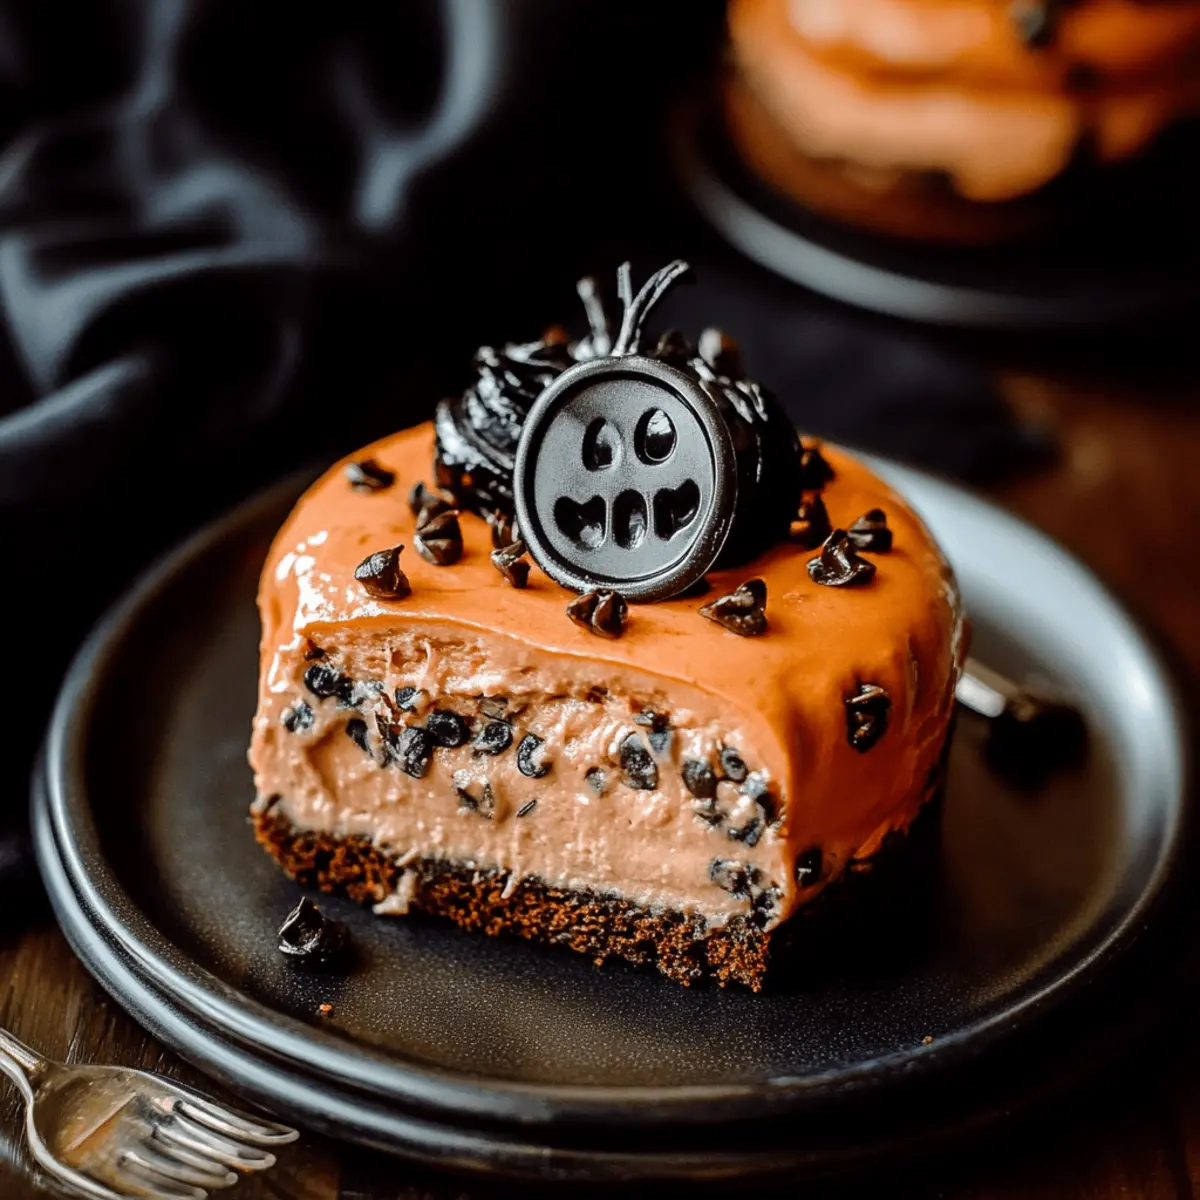
Decadent Flavor: This cheesecake combines rich creaminess with the delightful crunch of Oreos, offering an unforgettable taste that melts in your mouth.
Easy Preparation: With minimal steps, even novice bakers can whip up this show-stopping dessert without feeling overwhelmed!
Make-Ahead Magic: Perfect for busy Halloween schedules, prepare it in advance and let it chill, leaving you time for the spooky festivities.
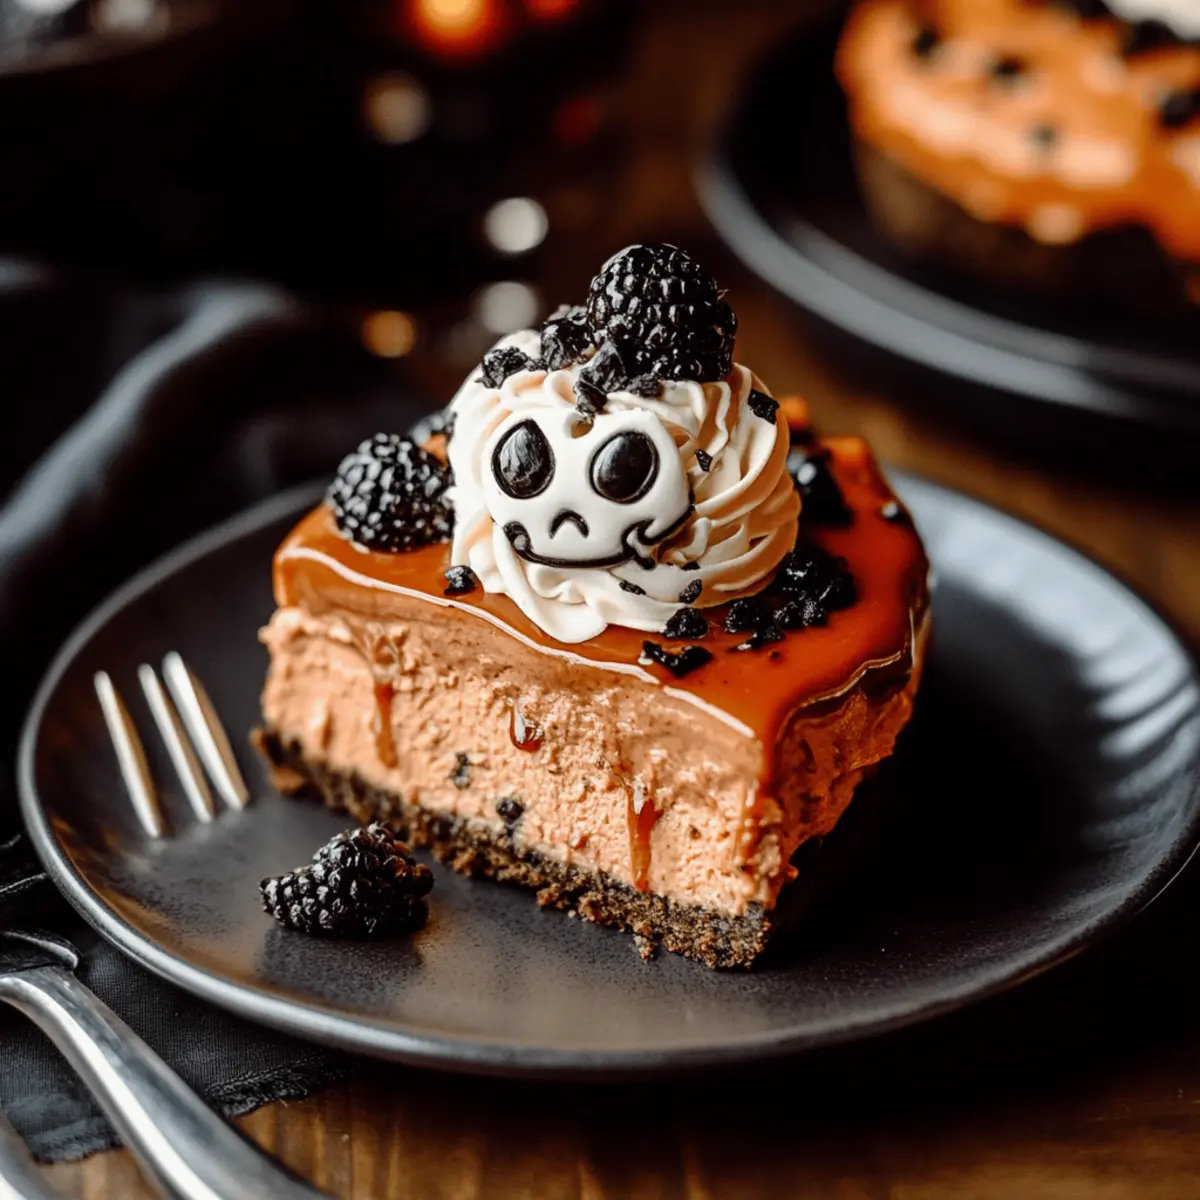
Versatile Toppings: Top it with fresh berries or a drizzle of chocolate sauce to customize it to your taste and impress your guests.
Crowd-Pleaser: This dessert not only looks festive but also appeals to all ages, making it a must-have at any Halloween gathering!
Halloween Cheesecake Ingredients
• Create your own spooky delight with these simple ingredients!
For the Crust
- 24 cookies Oreos – The perfect base, giving a rich chocolate flavor that's hard to resist.
- ½ cup Unsalted Butter, melted – Helps to bind the crust together for a delightful crunch.
For the Cheesecake Filling
- 16 oz Full Fat Cream Cheese, at room temperature – Ensures a creamy texture, essential for that luscious cheesecake experience.
- ¾ cup Granulated Sugar – Sweetens the mixture, balancing the rich cream cheese flavor.
- 1 cup Heavy Whipping Cream – Adds a heavenly lightness and fluffy texture.
- ½ cup Greek Yogurt/Sour Cream – Provides a tangy depth that elevates the overall flavor.
- 1 tablespoon Vanilla Extract – A must-add for a warm, inviting aroma.
- 1 tablespoon Orange Food Coloring (optional) – Adds a festive touch that screams Halloween!
For the Eggs and Extras
- 3 large Eggs, at room temperature – Vital for binding everything together and creating that perfect, smooth texture.
- 1 cup Chopped Oreos – A fun hidden crunch within your cheesecake, adding extra bits of yumminess!
For Garnishing
- 1 cup Fresh Berries (for garnish) – Brightens up your dessert and adds a burst of freshness.
- ½ cup Chocolate Sauce (for drizzling) – A rich finishing touch that will delight chocolate lovers and add visual appeal.
Unleash the excitement of baking with this Halloween Cheesecake recipe! Each ingredient plays a key role in crafting a memorable treat that captivates both taste buds and spirits alike.
Step‑by‑Step Instructions for Halloween Cheesecake
Step 1: Preheat the Oven
Begin by preheating your oven to 325°F (162°C). This will ensure it's hot and ready for your Halloween Cheesecake as soon as you finish preparing the crust. While the oven warms, you can gather your ingredients and prepare your springform pan for easy baking.
Step 2: Prepare the Springform Pan
Lightly coat a 9-inch springform pan with nonstick spray to prevent the cheesecake from sticking. This step is crucial for releasing your Halloween Cheesecake smoothly after baking. Set it aside as you work on making the crunchy Oreo crust.
Step 3: Make the Oreo Crust
In a food processor, crush 24 Oreo cookies until they become a fine crumb. Mix these crumbs with ½ cup of melted unsalted butter until fully combined. Press this mixture firmly into the bottom of the prepared springform pan. Bake in your preheated oven for 8-10 minutes, then let the crust cool completely.
Step 4: Blend the Cream Cheese
In a large mixing bowl, beat 16 oz of full-fat cream cheese with an electric mixer until smooth and creamy. Gradually add in ¾ cup of granulated sugar, mixing until just combined. This mixture should be creamy and free of lumps, setting the perfect base for your Halloween Cheesecake filling.
Step 5: Incorporate Remaining Ingredients
To your cream cheese mixture, add 1 cup of heavy whipping cream, ½ cup Greek yogurt or sour cream, 1 tablespoon vanilla extract, and 1 tablespoon orange food coloring (if using). Blend these ingredients together until smooth, ensuring the orange adds a lovely hue to your cheesecake for that festive touch.
Step 6: Add the Eggs & Chopped Oreos
Add 3 large eggs to the mixture, one at a time, mixing thoroughly between each addition. After all the eggs are combined, gently fold in 1 cup of chopped Oreos, leaving you with chunks throughout your filling. This creates delightful texture and flavor in your Halloween Cheesecake.
Step 7: Prepare for Water Bath
To achieve a creamy texture without cracks, you’ll use a water bath. Place the filled springform pan into a larger baking dish. Carefully add hot water to the outer dish until it reaches halfway up the sides of the springform. This creates a gentle steaming environment while the cheesecake bakes.
Step 8: Bake the Cheesecake
Transfer your setup to the preheated oven and bake for 1 hour and 35-50 minutes. Look for the edges to be firm while the center still jiggles slightly when gently shaken—it shouldn't look liquid. This indicates a perfectly baked Halloween Cheesecake ready for cooling.
Step 9: Cool Gradually
Once baking is complete, turn off the oven and let your cheesecake sit inside for an additional hour. This gradual cooling process helps prevent cracks from forming on the surface. After that hour, remove the cheesecake from the oven and let it cool to room temperature.
Step 10: Chill the Cheesecake
Once cooled, cover the cheesecake and place it in the refrigerator for at least 6 hours, but preferably overnight. This chilling time allows flavors to meld and enhances the creaminess of your Halloween Cheesecake, making it even more delicious.
Step 11: Garnish Before Serving
When ready to serve, carefully remove the cheesecake from the springform pan. Drizzle with ½ cup of chocolate sauce or top with fresh berries for a vibrant finish. This adds visual appeal and complements the rich flavors, guaranteeing your Halloween Cheesecake is a hit.
Step 12: Serve and Enjoy
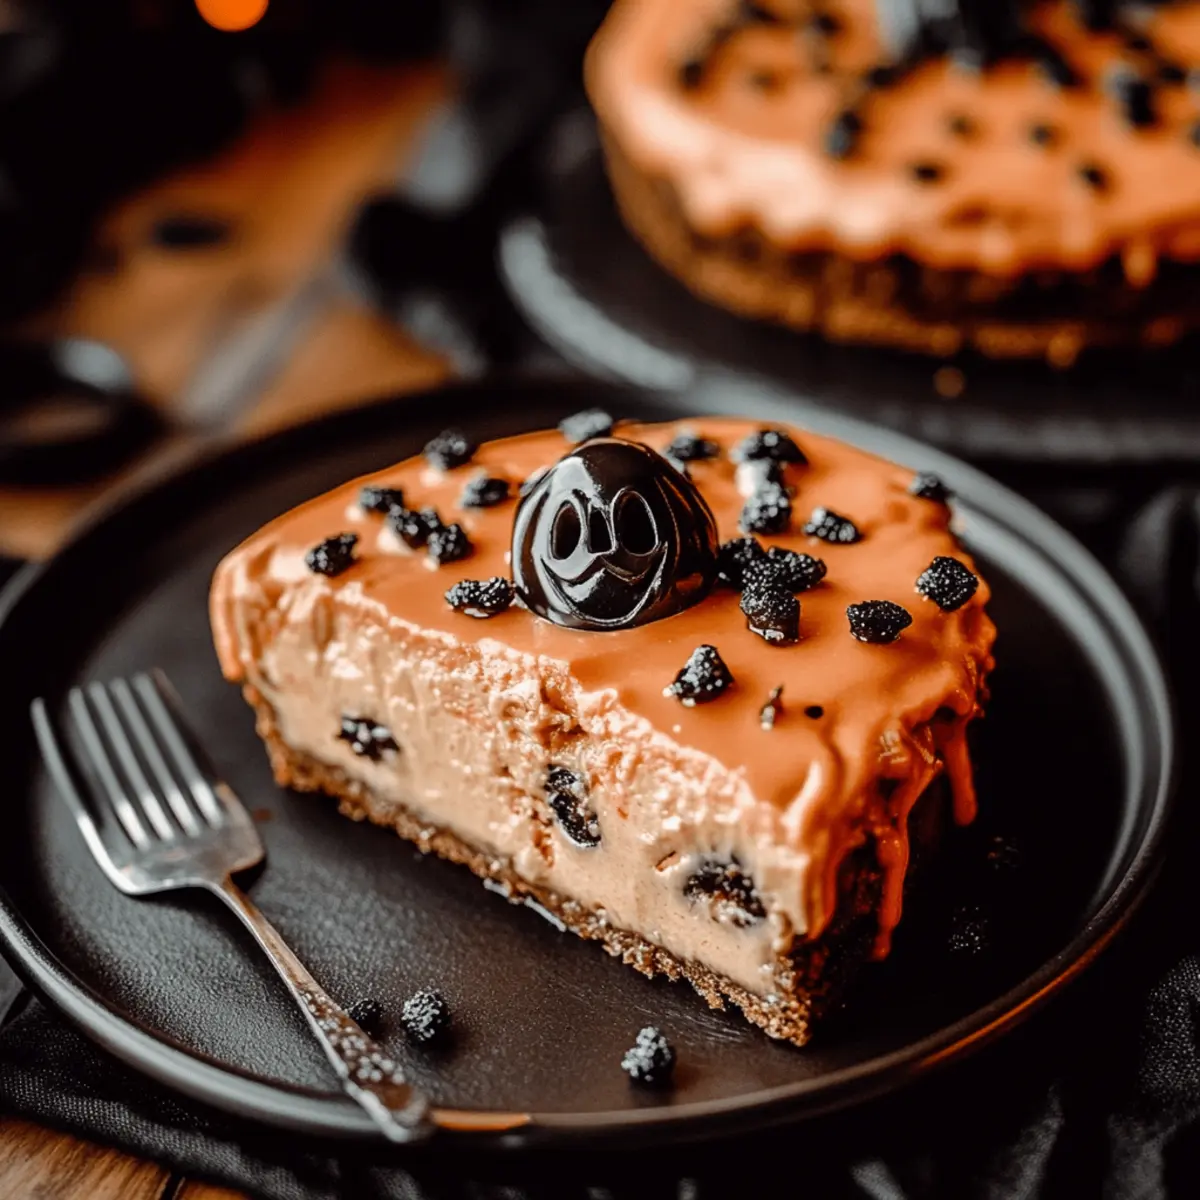
Slice your stunning Halloween Cheesecake into 12 equal pieces and present it at your festive gathering. The blend of creamy, crunchy, and indulgent flavors will surely wow your guests and leave them wanting more!
Expert Tips for Halloween Cheesecake
Chill Thoroughly: Ensure your cheesecake is chilled for at least 6 hours to enhance its creamy texture and flavor.
Avoid Cracks: Use a water bath during baking to create steam, which helps prevent surface cracks in your Halloween Cheesecake.
Room Temperature Ingredients: Allow cream cheese and eggs to reach room temperature for smoother blending and an even texture throughout the cheesecake.
Don’t Overmix: When adding eggs, mix just until incorporated to avoid incorporating too much air, which can lead to cracks.
Garnish Smartly: Add toppings right before serving. This keeps your cheesecake looking fresh and delightful while preserving texture.
What to Serve with Halloween Cheesecake
Elevate your Halloween gathering by pairing this creamy delight with dishes that resonate with the festive spirit and complement its charm.
-
Spooky Spider Cookies: Fun and playful cookies with chocolate and peanut butter that bring a whimsical touch to your spread.
-
Witch's Brew Punch: A refreshing, fizzy drink with hints of citrus and green apple, perfect for a ghostly toast alongside dessert.
-
Chocolate-Covered Strawberries: These delicious fruits dipped in chocolate provide a sweet, fresh contrast to the rich cheesecake, creating a decadent bite.
-
Ghoulish Fruit Salad: A mix of seasonal fruits, including oranges and pomegranate seeds, adds freshness and color, balancing the cheesecake's creaminess.
-
Crispy Pumpkin Chips: These savory snacks bring a crunchy element that contrasts beautifully with the cheesecake's texture while nodding to the Halloween theme.
-
Melted Marshmallow Dip: Serve alongside graham crackers or fruit for dipping; this gooey treat pairs wonderfully with the rich flavors of your Halloween Cheesecake.
-
Candied Apples: Classic and nostalgic, these sweet treats offer a crunchy texture and tartness that complements the creaminess of the cheesecake.
-
Orange Soda Float: A delightful dessert drink featuring ice cream and fizzy soda, evoking a fun nostalgia that enhances any festive table.
Each of these pairings adds a touch of creativity and fun, ensuring your Halloween celebration is a deliciously memorable experience!
Make Ahead Options
These Halloween Cheesecakes are perfect for busy home cooks looking to save time during the hectic holiday season! You can prepare the crust and filling up to 24 hours in advance. Simply make the crust and filling as directed, then pour the filling over the cooled crust in the springform pan. Cover it tightly with plastic wrap and refrigerate. This not only keeps it fresh but also allows the flavors to deepen, making it just as delicious when you're ready to serve. On the day of your gathering, simply bake it, cool, and chill as instructed. Finish by garnishing with fresh berries or chocolate sauce just before serving for a delightful presentation.
How to Store and Freeze Halloween Cheesecake
Fridge: Store your Halloween Cheesecake in an airtight container for up to 5 days. This will keep it fresh and delicious for family or any spontaneous Halloween parties!
Freezer: To freeze, wrap individual slices in plastic wrap and then place them in a freezer-safe bag. They can be stored for up to 3 months—perfect for enjoying later!
Thawing: When ready to enjoy, transfer slices to the fridge to thaw overnight. This helps maintain the cheesecake's creamy texture, allowing the flavors to shine.
Reheating: While not usually necessary, if you prefer a warm slice, simply let it sit at room temperature for about 30 minutes before serving. Enjoy your delightful Halloween Cheesecake!
Halloween Cheesecake Variations & Substitutions
Feel free to mix things up with these fun variations and substitutions that will add your personal touch to this delightful dessert!
-
Gluten-Free Base: Substitute Oreos with gluten-free cookies for a delicious crust that everyone can enjoy. Baking shouldn't be limited by dietary restrictions!
-
Low-Sugar Version: Use sugar alternatives like erythritol or monk fruit to sweeten your cheesecake, making it perfect for those watching their sugar intake. Your guests won’t even notice the difference!
-
Vegan Twist: Swap cream cheese for a vegan cream cheese alternative and use aquafaba (chickpea water) instead of eggs. You'll create a creamy cheesecake that everyone can enjoy!
-
Pumpkin Spice Remix: Add 1 cup of pumpkin puree and 1 teaspoon of pumpkin spice to the filling for a seasonal twist that embodies everything autumn.
-
Nutty Crust: Enhance your crust by mixing in crushed nuts like walnuts or almonds for a fantastic texture and flavor addition. The nutty crunch balances perfectly with the creamy filling.
-
Fruit-Infused Delight: Incorporate mashed ripe bananas or pureed strawberries into your cheesecake mixture for a fruity flavor that adds natural sweetness.
-
Spicy Kick: If you enjoy a little heat, blend in a pinch of cayenne pepper or chili powder for an unexpected twist that contrasts beautifully with the sweet creaminess.
-
Chocolate Lovers’ Indulgence: Fold in mini chocolate chips to the cheesecake batter for added richness, or drizzle melted chocolate throughout before baking for a marbled effect.
Unleash your creativity and turn this Halloween Cheesecake into your family's new favorite dessert with these thoughtful variations!
Halloween Cheesecake Recipe FAQs
How do I choose ripe ingredients for my Halloween Cheesecake?
Absolutely! When selecting your ingredients, ensure the cream cheese is at room temperature for easy blending, while eggs should also be at room temperature to provide a smooth texture. As for the heavy whipping cream, look for a high-fat content (at least 36%) for the best results; it's key for achieving that rich creaminess that defines this cheesecake.
What’s the best way to store leftover Halloween Cheesecake?
Very! Store your leftover Halloween Cheesecake in an airtight container in the fridge for up to 5 days. If you want to extend its life, consider slicing it and wrapping each piece in plastic wrap. You can store these wrapped slices in a freezer-safe bag for up to 3 months without losing flavor or texture!
Can I freeze Halloween Cheesecake, and how?
Absolutely! To freeze your Halloween Cheesecake, individually wrap slices in plastic wrap securely, then place them in a freezer-safe bag. This way, they’re protected from freezer burn and can be stored for up to 3 months. For thawing, simply transfer the desired slices to the refrigerator the night before you want to enjoy them.
What if my Halloween Cheesecake cracks while baking?
A common issue! If your cheesecake cracks, it might be due to overmixing or baking at too high a temperature. To avoid this, remember to use the water bath method during baking. This creates steam and provides a gentle baking environment. Plus, ensure you don’t overmix after adding the eggs; just blend until incorporated to prevent too much air getting in, which can also cause cracks.
Are there any dietary considerations for my Halloween Cheesecake?
Of course! If you're catering to guests with specific dietary needs, you can make a few adjustments. For a gluten-free option, use gluten-free Oreos or a graham cracker alternative for the crust. For dairy-free variations, you can experiment with cream cheese alternatives and non-dairy whipping cream. Noted allergies are important; just ensure to clarify all ingredients, especially with your guests!
Indulgent Halloween Cheesecake That Wows Every Bite
Ingredients
Equipment
Method
- Preheat your oven to 325°F (162°C).
- Lightly coat a 9-inch springform pan with nonstick spray.
- In a food processor, crush 24 Oreo cookies and mix with ½ cup melted unsalted butter. Press into the springform pan and bake for 8-10 minutes.
- In a mixing bowl, beat 16 oz cream cheese until smooth. Gradually add ¾ cup sugar until free of lumps.
- Add 1 cup heavy whipping cream, ½ cup Greek yogurt, 1 tablespoon vanilla extract, and 1 tablespoon orange food coloring. Blend until smooth.
- Add 3 large eggs one at a time, mixing thoroughly. Fold in 1 cup chopped Oreos.
- Place the springform pan in a larger baking dish and fill with hot water halfway up the sides.
- Bake for 1 hour and 35-50 minutes until edges are firm and center jiggles slightly.
- Turn off the oven and let the cheesecake sit inside for an hour before cooling to room temperature.
- Cover and refrigerate for at least 6 hours or overnight.
- Remove from springform pan, drizzle with chocolate sauce or top with berries before serving.
- Slice into 12 equal pieces and serve.