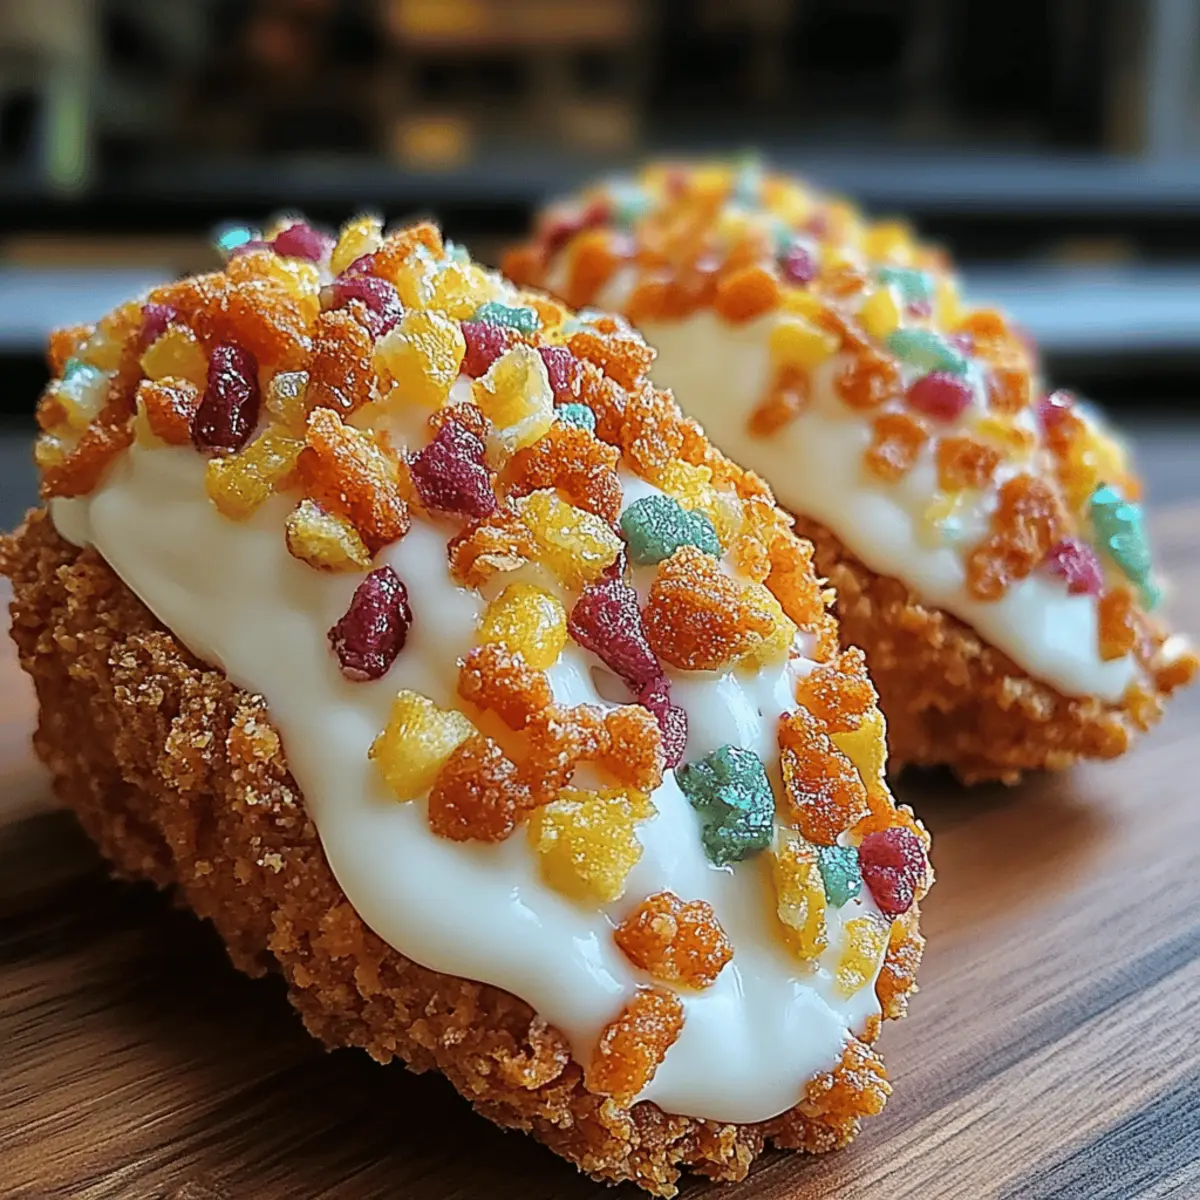
As I pulled out the vibrant box of Fruity Pebbles cereal, a wave of nostalgia washed over me—those colorful, crunchy morsels remind me of carefree Saturday mornings. Today, they are the star of an unexpected culinary delight: Fruity Pebbles Cheesecake Tacos. This playful twist on dessert not only packs in the fun but also brings two delicious worlds together—it’s quick to prepare and perfect for impressing friends and family at gatherings. With a crispy cereal shell wrapped around rich cream cheese filling, you get a delightful crunch with each bite. As you dive into making these irresistible treats, you’ll soon find yourself dreaming up toppings and variations to suit every sweet tooth. Ready to elevate dessert with a sprinkle of whimsy? Let’s get started!
Why are Fruity Pebbles Cheesecake Tacos a Must-Try?
Unforgettable Flavor: Each bite is a burst of nostalgia, combining the unique crunch of Fruity Pebbles with a rich cheesecake filling.
Easy to Make: This recipe is a breeze, perfect for anyone from casual cooks to seasoned chefs.
Crowd-Pleasing Treat: Serve these at your next gathering, and watch them vanish in moments—everyone loves the playful twist!
Customizable Options: Top with your favorite goodies like mini marshmallows or chocolate drizzle for an extra layer of fun.
Make Ahead Possibilities: Prep the taco shells a day in advance, filling them right before serving for optimal freshness and crunch!
Get ready to impress with this delightful dessert!
Fruity Pebbles Cheesecake Tacos Ingredients
For the Taco Shells
• Fruity Pebbles cereal – adds a fun, crunchy texture that's sure to spark joy.
• Melted butter – binds the cereal together and brings in a delicious buttery flavor.
For the Cheesecake Filling
• Cream cheese – the creamy base that gives rich depth to your dessert.
• Powdered sugar – sweetens the filling and helps achieve a smooth, velvety consistency.
• Vanilla extract – enhances the flavors with a warm, aromatic touch.
• Whipped cream – lightens the mixture for a fluffy, delightful finish.
These Fruity Pebbles Cheesecake Tacos come together effortlessly for a memorable dessert experience!
Step-by-Step Instructions for Fruity Pebbles Cheesecake Tacos
Step 1: Prepare the Taco Shells
In a large mixing bowl, combine 3 cups of Fruity Pebbles cereal with ½ cup of melted butter. Stir thoroughly until every piece is coated and the mixture clumps together. Preheat your oven to 350°F (175°C) if you’re using a baking method. For taco-shaped molds or muffin tins, press the cereal mixture firmly into the shapes, ensuring it's compact for structure.
Step 2: Chill the Shells
Once your taco shells are formed, place the molds in the refrigerator for at least 30 minutes. This chilling process allows the shells to firm up, making them easier to handle and providing a crispier bite. As time passes, you’ll notice the mixture setting beautifully, ready to cradle your cheesecake filling.
Step 3: Make the Cheesecake Filling
While the taco shells are chilling, grab a separate mixing bowl and beat 8 oz of cream cheese until it's light and fluffy. Incorporate ½ cup of sifted powdered sugar and 1 teaspoon of vanilla extract gradually, mixing until the texture is smooth and creamy. This step will transform your dessert and infuse it with delightful flavors.
Step 4: Fold in Whipped Cream
Next, gently fold in 1 cup of whipped cream into the cream cheese mixture. Use a spatula to blend, ensuring you maintain that airy fluffiness. Combining the whipped cream seamlessly will give your Fruity Pebbles Cheesecake Tacos a light and delightful texture, perfect for filling your crunchy taco shells.
Step 5: Fill the Taco Shells
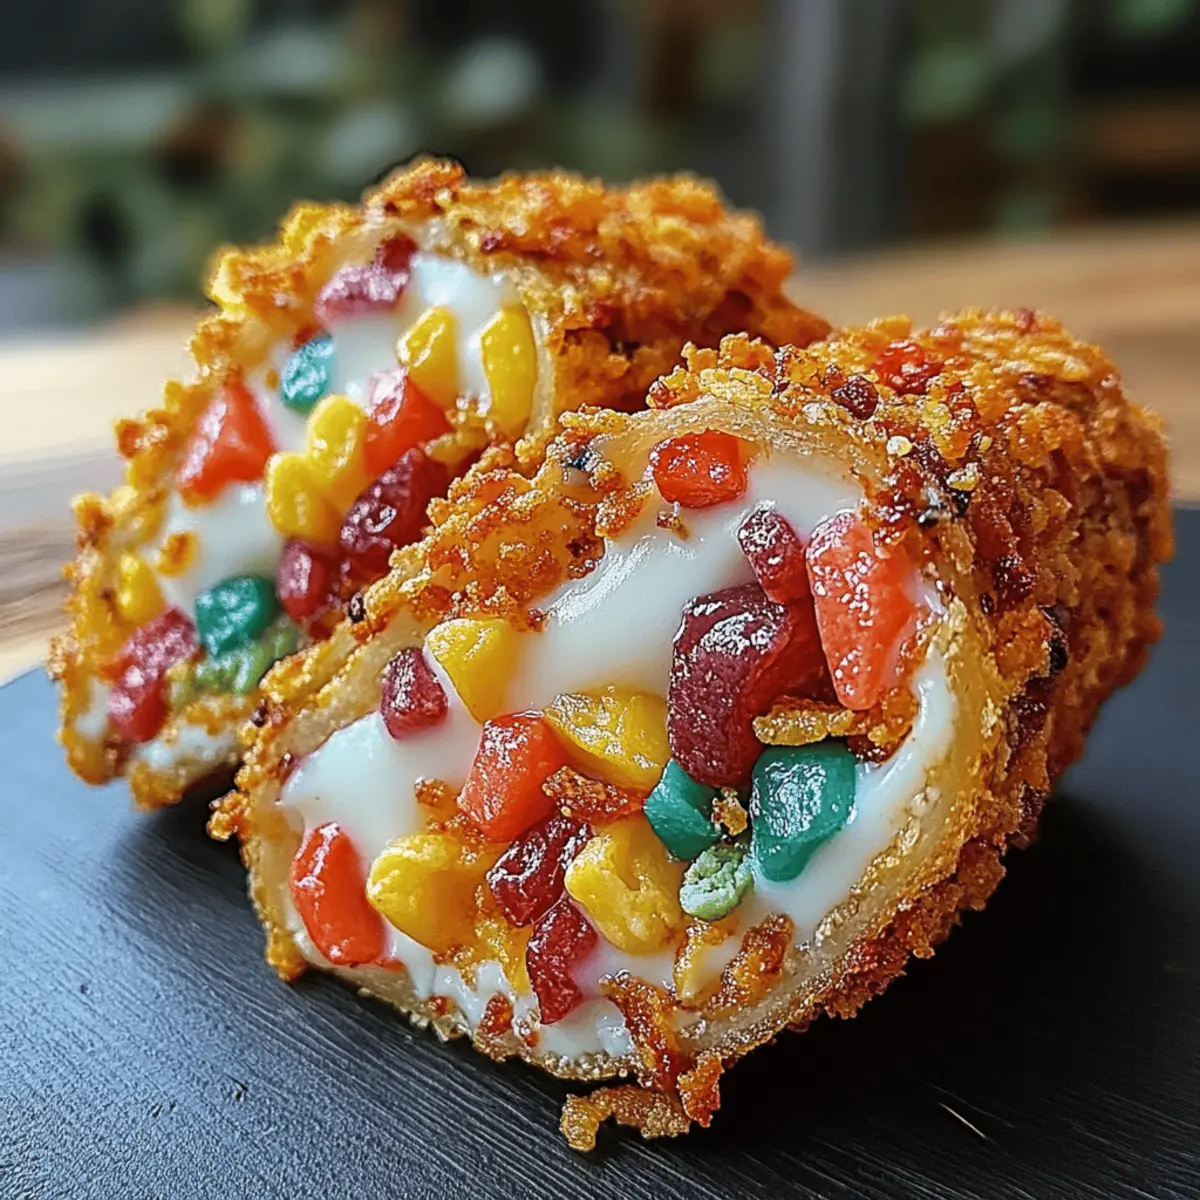
Once the cheesecake filling is ready, take your taco shells out of the refrigerator. Using a spoon, generously scoop and fill each taco shell with the dreamy cheesecake mixture. Aim for them to be heaping, as each bite should be rich and satisfying, showcasing the fun and colorful essence of Fruity Pebbles.
Step 6: Garnish and Serve
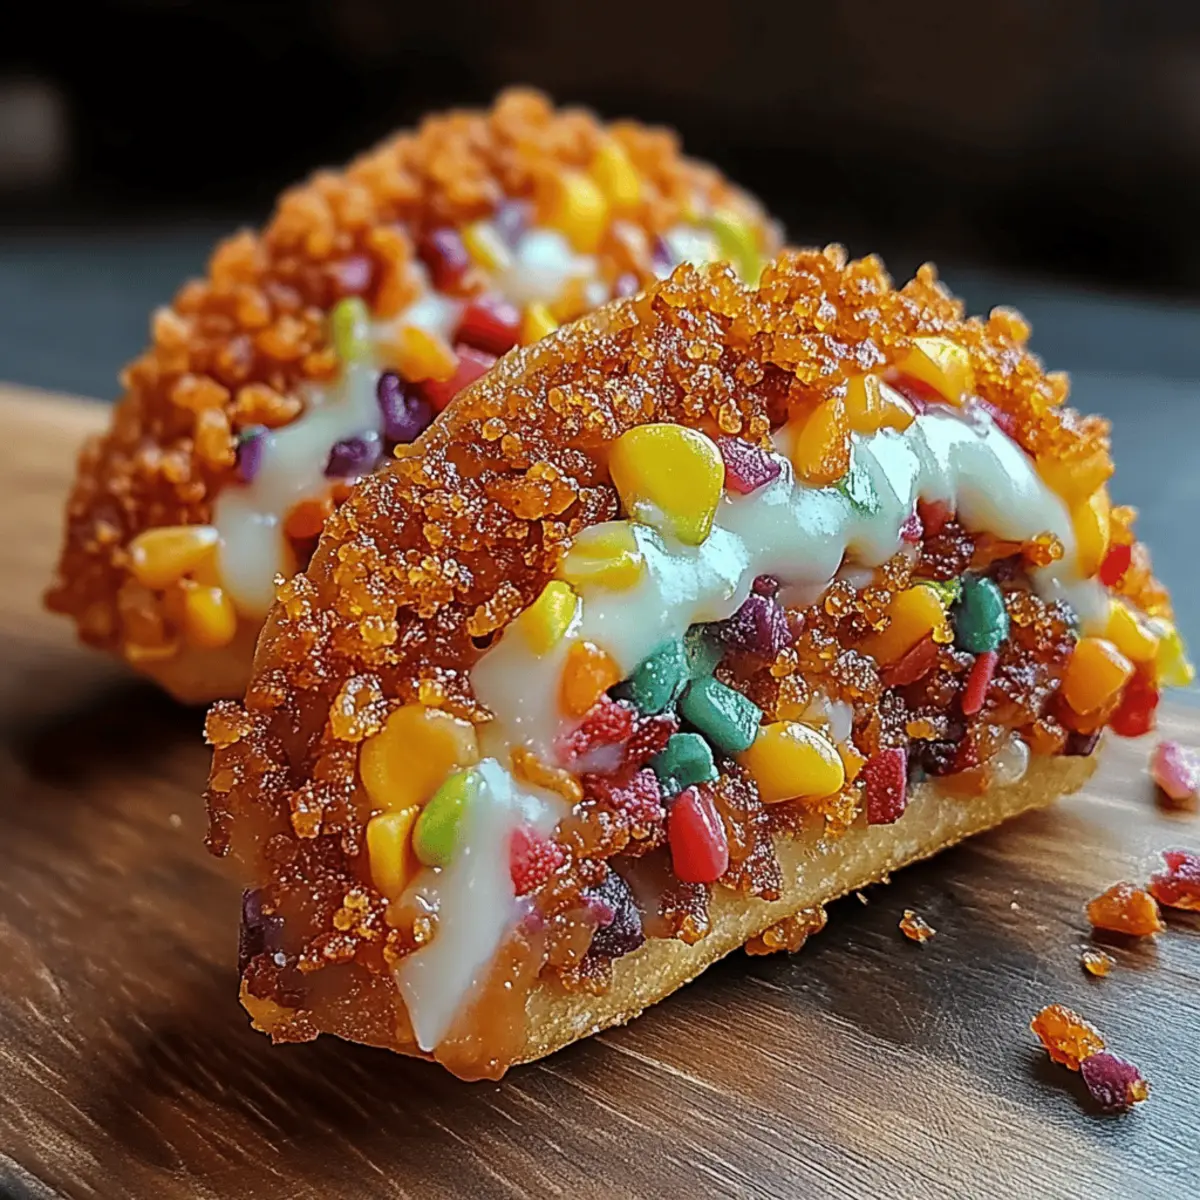
To finish off your Fruity Pebbles Cheesecake Tacos, sprinkle additional Fruity Pebbles on top for a vibrant garnish that adds both color and crunch. You can serve them immediately for a delightful treat or refrigerate them for another 15 minutes for a firmer texture. Either way, these tacos are sure to be a hit!

Expert Tips for Fruity Pebbles Cheesecake Tacos
-
Crispy Shells: Ensure your taco shells are pressed firmly into the molds—this prevents them from crumbling when filled with the cheesecake mixture.
-
Chill Well: Don’t skip the refrigeration step! Allowing the shells to chill for at least 30 minutes is crucial for a firm, crunchy base.
-
Smooth Filling: Mix the cream cheese until fluffy and smooth before adding the powdered sugar. This prevents lumps in your cheesecake filling.
-
Gentle Folding: When adding whipped cream to the filling, fold gently to maintain the light texture. This will ensure your Fruity Pebbles Cheesecake Tacos are airy and delightful!
-
Topping Time: Get creative with your toppings! Mini marshmallows or chocolate drizzle can enhance both the flavor and appearance of these delightful tacos.
How to Store and Freeze Fruity Pebbles Cheesecake Tacos
-
Fridge: Store any leftover Fruity Pebbles Cheesecake Tacos in an airtight container for up to 2 days to maintain freshness and texture.
-
Freezer: If you want to make batches ahead, freeze the taco shells separately in a freezer-safe bag for up to 1 month. Fill them with cheesecake mixture just before serving.
-
Reheating: While best served cold, let the taco shells sit at room temperature for about 10 minutes if they were frozen, ensuring a delightful crunch when enjoyed.
-
Serving Tips: If you've refrigerated the filled tacos, allow them to sit for a few minutes before serving; this will bring out the flavors beautifully.
Make Ahead Options
These Fruity Pebbles Cheesecake Tacos are perfect for busy home cooks looking to save time without sacrificing flavor! You can prepare the taco shells up to 24 hours in advance. Simply follow the initial steps to form the shells, then refrigerate them in an airtight container to maintain their crunch. It's best to fill the taco shells with the cheesecake mixture just before serving for optimal freshness and texture. The cheesecake filling can also be made ahead and stored in the refrigerator for up to 3 days. Just give it a gentle stir before filling, and you'll have a delightful dessert ready to impress, making your meal prep a breeze!
What to Serve with Fruity Pebbles Cheesecake Tacos
When it comes to impressing your guests, pairing these delightful taco desserts with the right accompaniments can transform them into a full feast.
-
Fresh Berry Medley: A colorful mix of strawberries, blueberries, and raspberries brightens your plate while adding a refreshing tartness that balances sweetness.
-
Vanilla Ice Cream: Creamy and rich, vanilla ice cream offers a smooth contrast to the crunchy taco shell and is a classic that never disappoints.
-
Chocolate Drizzle: Elevate your dessert with a rich chocolate sauce that brings a decadent touch, perfect for those who crave a little extra indulgence.
-
Whipped Cream Clouds: A dollop of light whipped cream enhances the fluffy texture of your cheesecake filling, making each bite even more delightful.
-
Coconut Whipped Topping: This tropical flair adds a subtle sweetness and light texture, perfectly complementing the fruity flavors of your tacos.
-
Fruit-Infused Sparkling Water: Quench thirst while refreshing the palate with bubbling fizz and hints of citrus, making every sweet forkful a delightful experience.
No matter what you choose, each pairing beautifully enhances the whimsical charm of Fruity Pebbles Cheesecake Tacos!
Fruity Pebbles Cheesecake Tacos Variations
Feel free to make these delightful Fruity Pebbles Cheesecake Tacos your own with these fun twists and substitutions!
-
Gluten-Free: Use gluten-free cereal for the taco shells to keep this treat friendly for everyone at the table.
Transform the experience while ensuring that your gluten-sensitive friends can enjoy the flavors without worry. -
Vegan: Swap cream cheese for a plant-based alternative and use coconut whipped cream to keep it vegan-friendly.
The creamy richness remains delightful, making it inclusive for different dietary needs without sacrificing taste. -
Chocolate Lovers: Add cocoa powder to the cheesecake filling for a chocolatey twist that indulgent sweet tooth will adore.
Mix in about two tablespoons to enhance the flavor and create a rich experience reminiscent of chocolate cheesecake. -
Nutty Crunch: Toss in chopped nuts like pecans or almonds for added texture and flavor in the cheesecake filling.
The added crunch brings a delightful surprise with every bite, creating layers of flavor that dance on your palate. -
Fruity Boost: Stir in diced fresh fruits like strawberries or bananas into the cheesecake filling for a fruity explosion.
Not only does this add a vibrant twist, but it also brings a refreshing contrast to the richness of the cream cheese. -
Spicy Kick: For a unique contrast, sprinkle a hint of cinnamon or nutmeg into the filling to warm up the flavors with a spicy touch.
This twist adds depth and makes your dessert feel cozy, perfect for cooler evenings or festive gatherings. -
Caramel Drizzle: Drizzle caramel sauce on top before serving for an extra layer of sweetness that’s hard to resist.
The gooey texture of the caramel provides a luscious complement to the crunchy taco shell and creamy filling. -
S'mores Style: Add crushed graham crackers and mini marshmallows to the filling for a delightful s'mores-inspired variation.
This nostalgic twist captures the essence of summer nights while offering both sweetness and texture in every taco.
Fruity Pebbles Cheesecake Tacos Recipe FAQs
How do I choose the right Fruity Pebbles cereal?
Absolutely! Look for a box where the colorful cereal pieces seem vibrant and without dark spots all over. Fresh, crisp cereal will ensure a delightful crunch in your taco shells.
What is the best way to store leftover Fruity Pebbles Cheesecake Tacos?
Store any leftovers in an airtight container in the refrigerator for up to 2 days. Make sure to consume them quickly to enjoy that perfect balance of crunch and creaminess!
Can I freeze the taco shells for later use?
Yes! To freeze your taco shells, first cool them completely. Place them in a single layer in a freezer-safe bag, squeezing out as much air as possible. They can be stored for up to 1 month. When ready to serve, simply fill with the cheesecake mixture just before enjoyment.
What should I do if my cheesecake filling is lumpy?
No worries! If you find lumps in your filling, make sure to beat the cream cheese thoroughly before adding any powdered sugar. If lumps persist, you can use a hand mixer for an additional minute or two to smooth out the texture—just ensure not to overmix after adding the whipped cream.
Are Fruity Pebbles Cheesecake Tacos safe for my pets?
It's best to avoid sharing these tasty treats with pets. Ingredients like cream cheese and sugar can upset their stomachs. Stick to pet-friendly treats, and save these delicious tacos for yourself!
Can I make the taco shells ahead of time?
Definitely! You can prepare the shells a day in advance. Simply store them in an airtight container at room temperature. Fill them with the cheesecake mixture just before serving for that amazing crunch.
Indulgent Fruity Pebbles Cheesecake Tacos You’ll Crave!
Ingredients
Equipment
Method
- In a large mixing bowl, combine 3 cups of Fruity Pebbles cereal with ½ cup of melted butter. Stir thoroughly until every piece is coated and the mixture clumps together.
- Preheat your oven to 350°F (175°C) if you’re using a baking method. For taco-shaped molds, press the cereal mixture firmly into the shapes.
- Place the molds in the refrigerator for at least 30 minutes.
- Beat 8 oz of cream cheese in a separate bowl until light and fluffy. Gradually incorporate ½ cup of sifted powdered sugar and 1 teaspoon of vanilla extract.
- Gently fold in 1 cup of whipped cream into the cream cheese mixture.
- Once the cheesecake filling is ready, fill each taco shell with the mixture.
- Sprinkle additional Fruity Pebbles on top for garnish before serving.