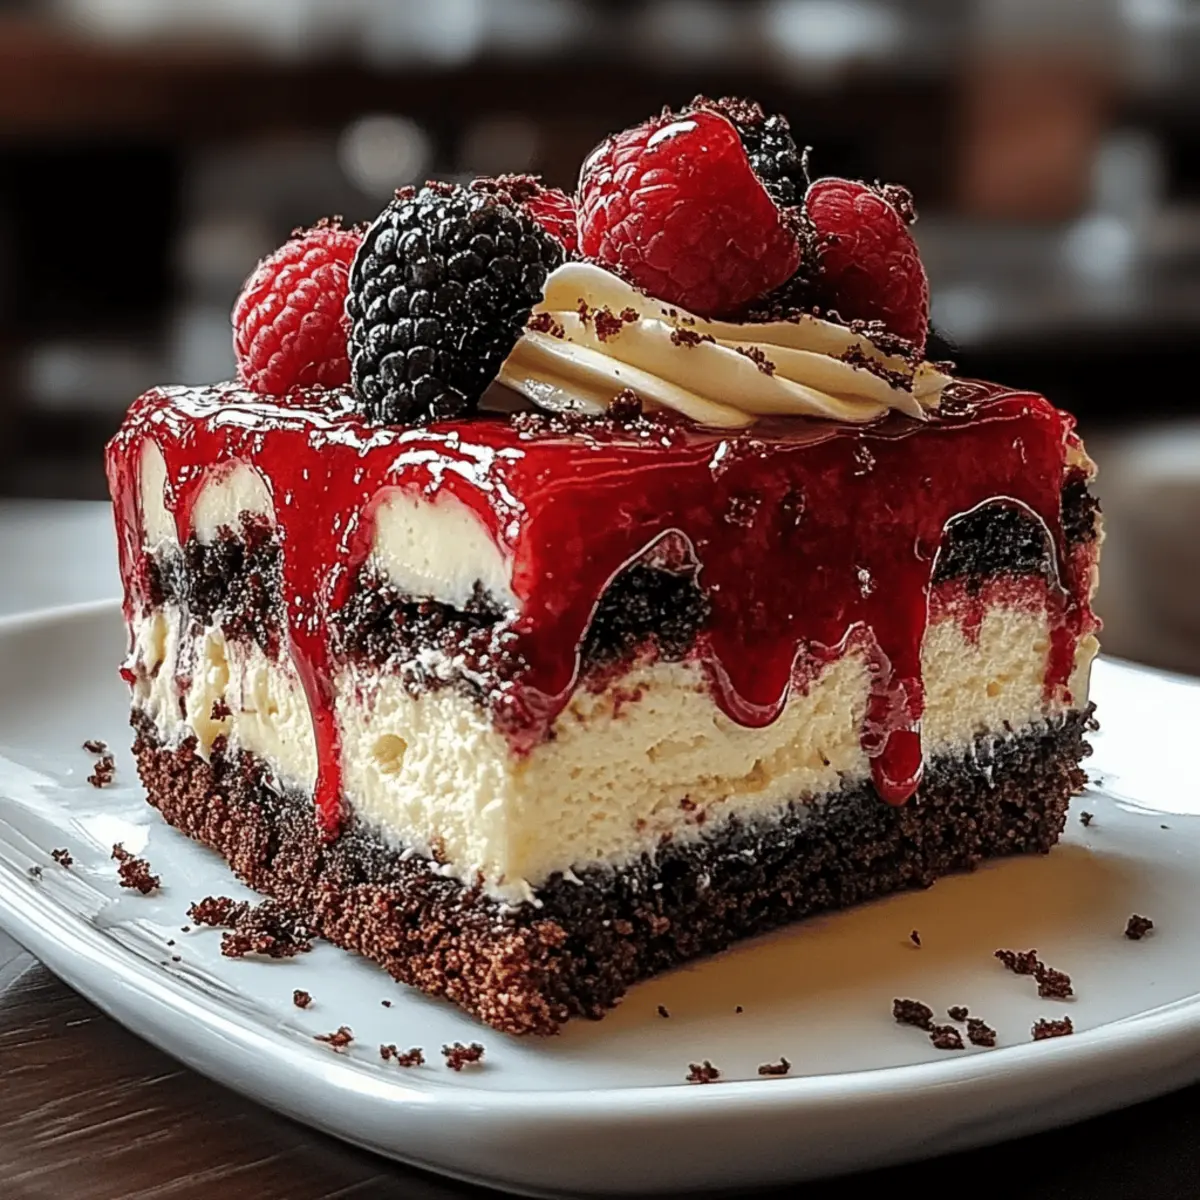
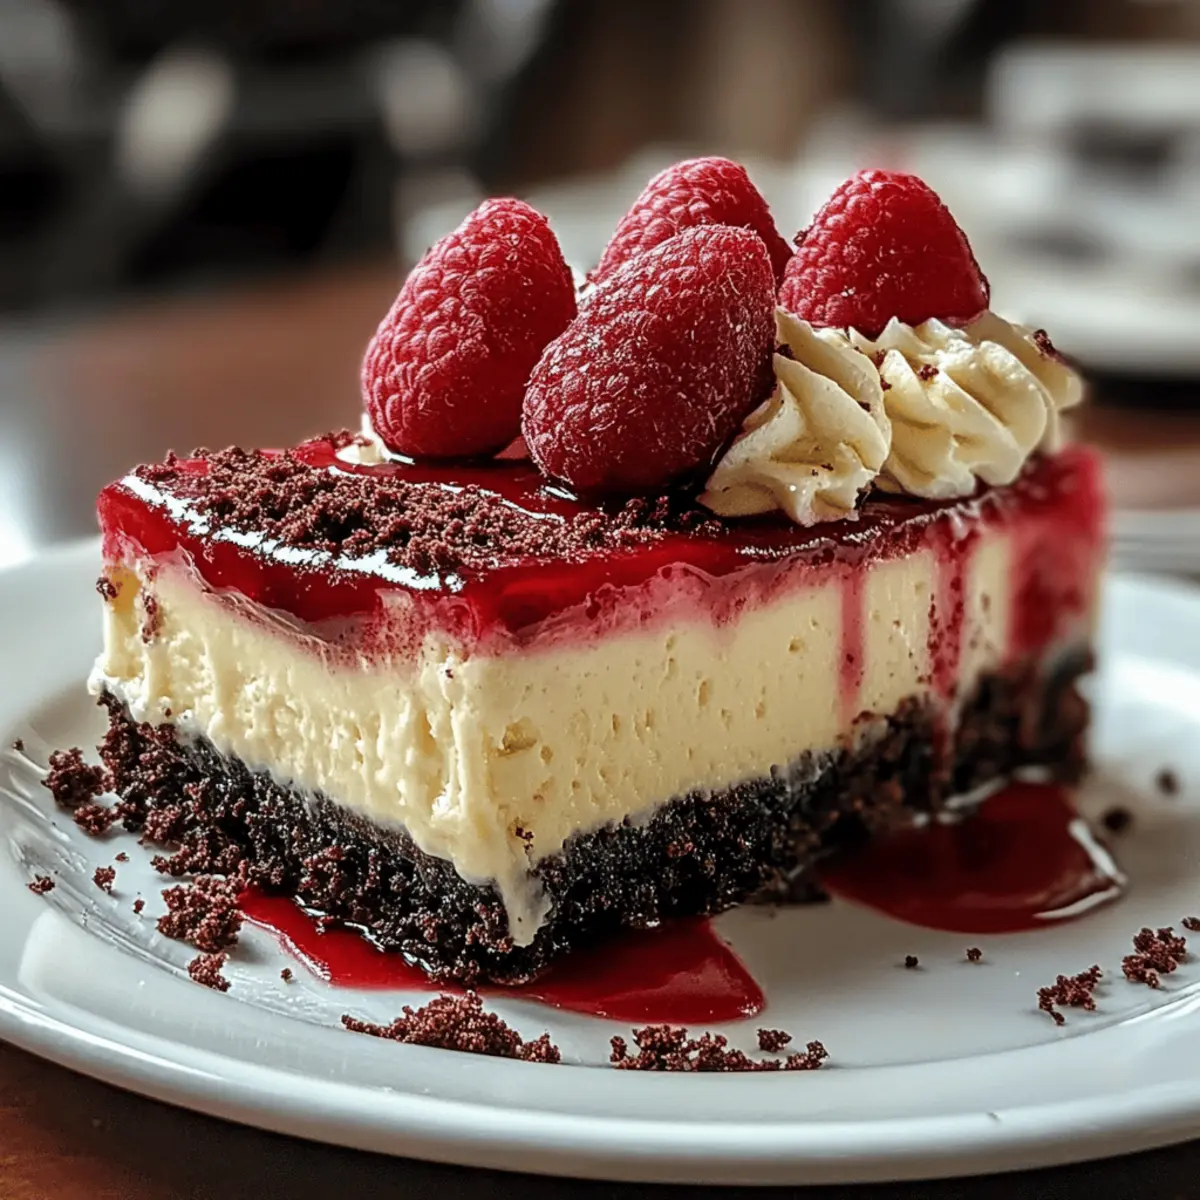
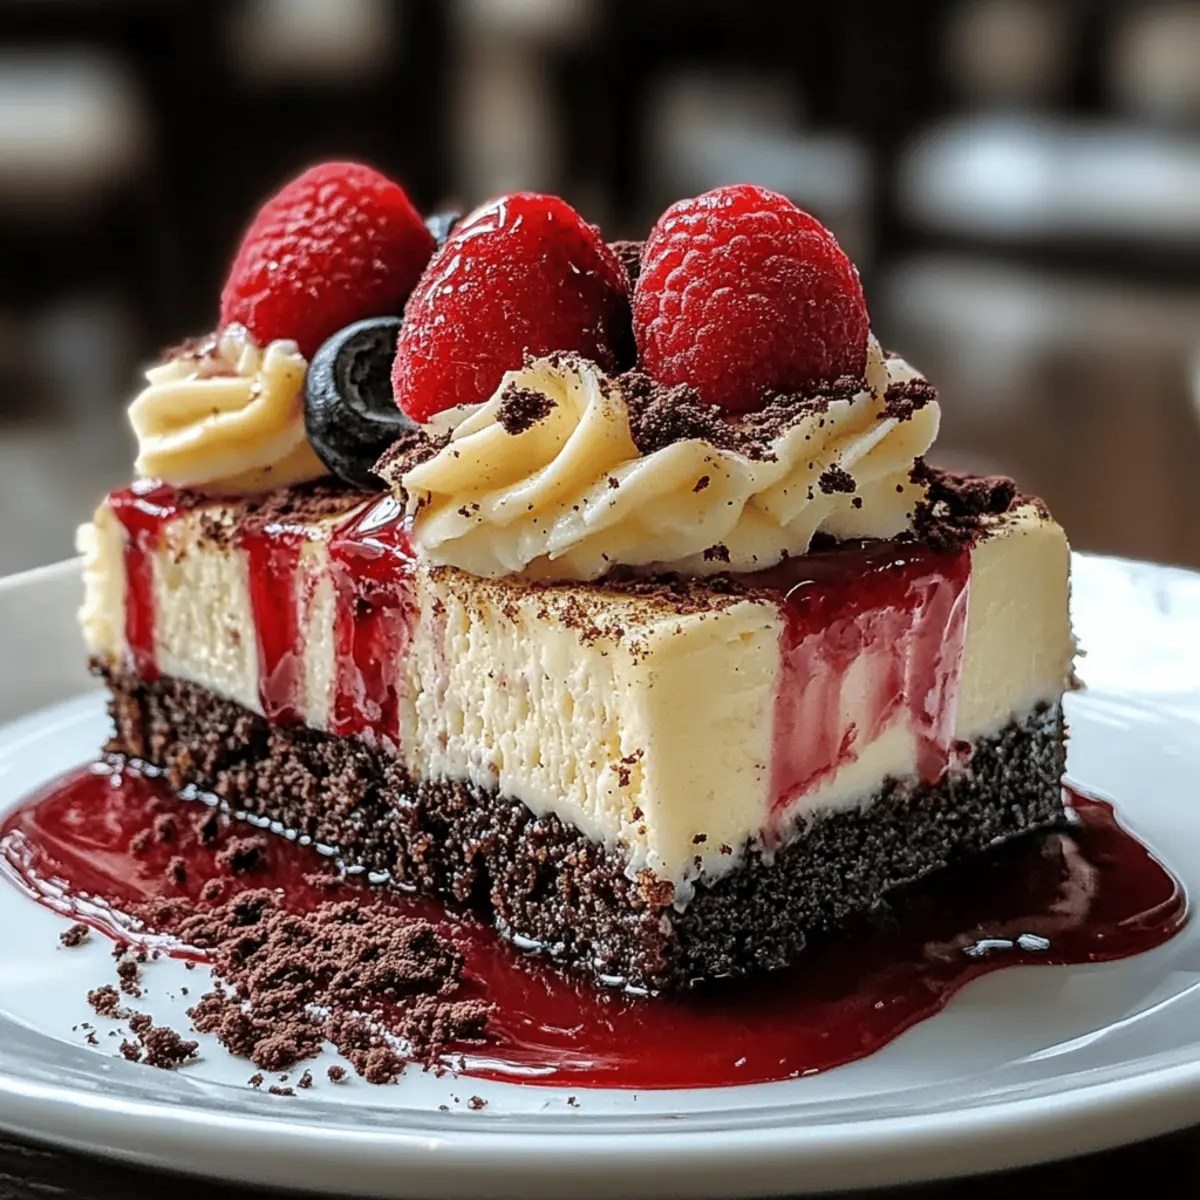
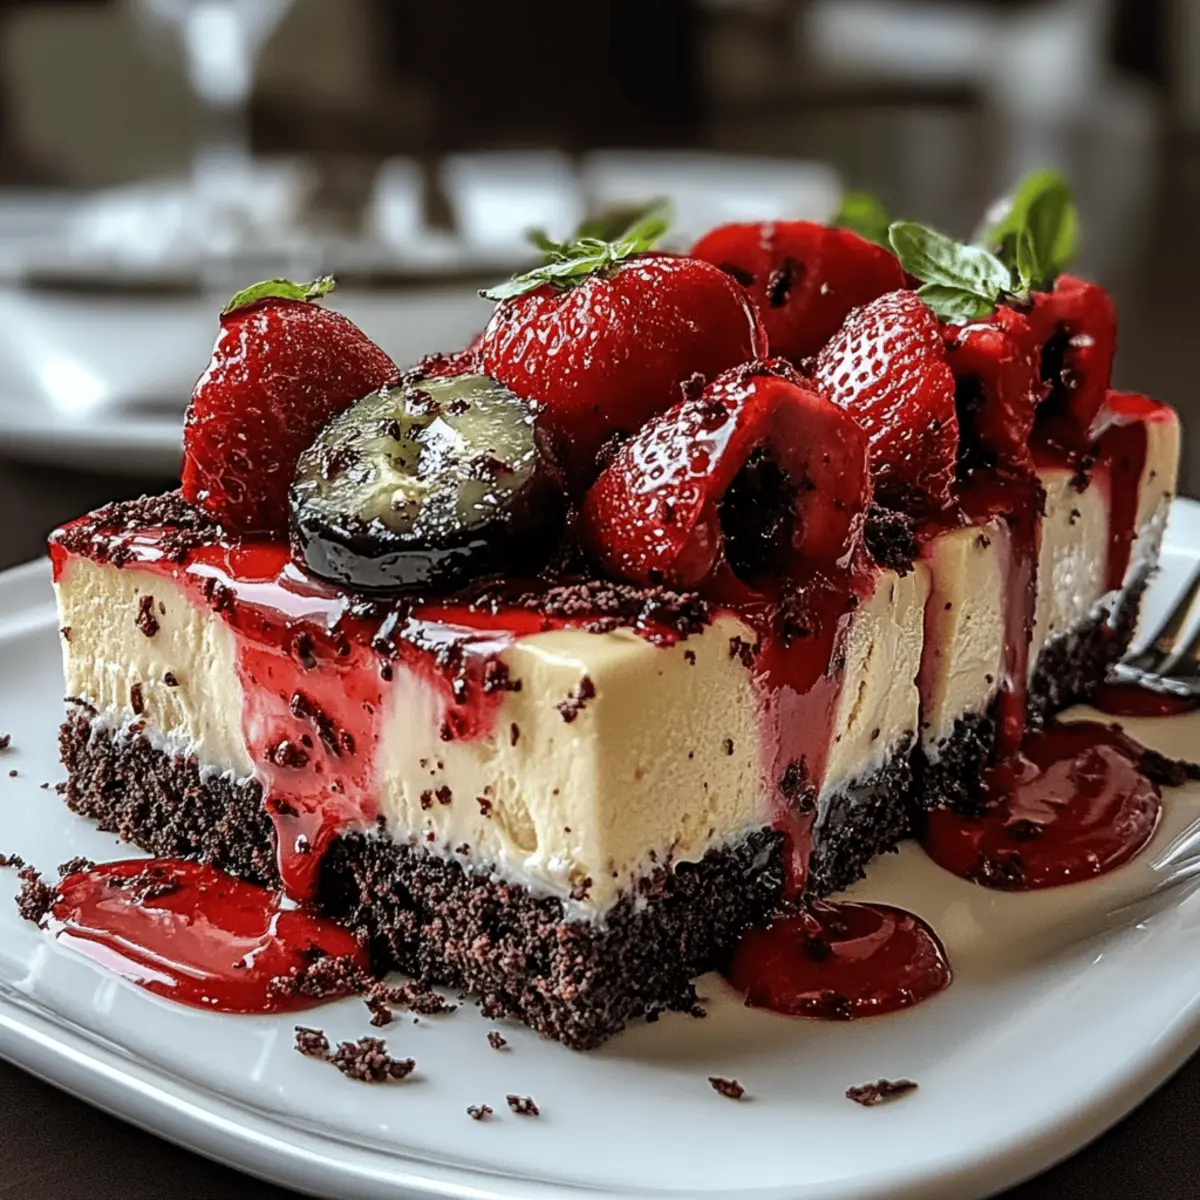
Did you know that a swirl of vibrant red can transform an ordinary dessert into a show-stopping masterpiece? My Red Velvet Oreo Cheesecake is a luscious blend of creamy goodness, perfectly combining the decadent flavors of classic red velvet and everyone’s beloved Oreo cookies. Not only is it incredibly easy to whip up, but this cheesecake also makes a dazzling centerpiece for any occasion, leaving your friends and family in awe. The delightful crust, crafted from crushed Oreos, contrasts beautifully with the rich, velvety filling that’s sure to please any sweet tooth. Whether you’re hosting a dinner party or simply indulging in a slice after a long day, this recipe is your ticket to dessert bliss. So, are you ready to dive into a slice of this irresistible delight?
Why is this cheesecake a must-try?
Decadent Layers: This Red Velvet Oreo Cheesecake offers a unique twist on classic flavors, blending cream cheese and rich chocolate for a sumptuous experience.
Easy to Make: With just 20 minutes of prep, it’s incredibly simple, making it perfect for both novice and seasoned bakers.
Showstopper Appeal: Its stunning red color and delightful Oreo crust make it a visual masterpiece that will impress your guests at any gathering.
Versatile Treat: Ideal for celebrations, holidays, or simply satisfying a sweet craving, this cheesecake is a crowd-pleaser that fits any occasion.
Satisfying Texture: The creamy filling atop a crunchy crust delivers a perfect marriage of flavors and textures, ensuring each bite is deliciously memorable.
Red Velvet Oreo Cheesecake Ingredients
Here’s what you’ll need to create your stunning Red Velvet Oreo Cheesecake!
For the Crust
- Oreo cookies – crushed – a fantastic base that adds delightful chocolatey flavors.
- Butter – melted – binds the crumbs together, creating a rich and delicious crust.
For the Cheesecake Filling
- Cream cheese – softened – ensures a smooth and creamy texture for your cheesecake.
- Sugar – balances the flavors, adding sweetness to the rich filling.
- Eggs – large, beaten – crucial for binding and providing structure to the cheesecake.
- Vanilla extract – adds an aromatic sweetness that elevates the overall flavor.
- Sour cream – enhances creaminess and adds a slight tang to the filling.
- Cocoa powder – contributes a rich chocolate flavor that complements the red velvet.
- Red food coloring – essential for achieving that vibrant red color characteristic of red velvet desserts.
With these ingredients, you're all set to indulge in a delightful slice of Red Velvet Oreo Cheesecake!
Step‑by‑Step Instructions for Red Velvet Oreo Cheesecake
Step 1: Preheat Your Oven
Begin by preheating your oven to 325°F (160°C). This ensures the perfect baking environment for your luscious Red Velvet Oreo Cheesecake. While the oven heats up, gather your ingredients and prepare your springform pan to save time later.
Step 2: Make the Oreo Crust
In a medium bowl, combine the crushed Oreo cookies with the melted butter until well-mixed. The mixture should resemble wet sand. Pour this crumbly mix into a 9-inch springform pan and press it firmly into the bottom, creating an even crust layer. This will be the delightful foundation of your cheesecake.
Step 3: Bake the Crust
Place the crust in the preheated oven and bake for about 10 minutes. You'll know it's ready when the edge turns slightly firm and the aroma of chocolate wafts through your kitchen. Once baked, remove it from the oven and set it aside to cool completely while you prepare the filling.
Step 4: Prepare the Cream Cheese Mixture
In a large mixing bowl, beat the softened cream cheese and sugar together using an electric mixer on medium speed until the mixture is smooth and creamy, about 3–5 minutes. This step is essential for achieving the velvety filling that defines your Red Velvet Oreo Cheesecake.
Step 5: Add Eggs One at a Time
Next, add the eggs to the cream cheese mixture one at a time, ensuring to mix well after each addition. This process helps to maintain the light and airy texture of your cheesecake. Once all the eggs are fully incorporated, you’ll have a luscious batter ready for the next ingredients.
Step 6: Mix in Flavorings and Color
Stir in the vanilla extract, sour cream, cocoa powder, and red food coloring into the cream cheese mixture. This will contribute to the vibrant color and decadent flavor of your cheesecake. Mix until everything is well blended, letting the rich red hue shine through.
Step 7: Pour Filling Over Crust
Carefully pour the cheesecake filling over the cooled Oreo crust, using a spatula to smooth the top for an even layer. The contrasting colors of the red filling and dark crust will create a stunning visual effect. This is the moment your Red Velvet Oreo Cheesecake begins to take shape!
Step 8: Bake the Cheesecake
Bake your cheesecake in the preheated oven for 60 minutes. It’s done when the edges are set but the center still has a gentle jiggle. This ensures the perfect texture that is creamy and delicious while preventing over-baking.
Step 9: Cool Gradually
After the hour is up, turn off the oven and crack the door open. Allow your cheesecake to cool inside for about 30 minutes. This step helps to prevent cracks from forming on the surface by gradually reducing the temperature, preparing it for refrigeration.
Step 10: Chill in the Fridge
Once cooled, cover the Red Velvet Oreo Cheesecake with plastic wrap and refrigerate for at least 4 hours, or overnight if time allows. This chilling time is crucial for the flavors to meld together and for the cheesecake to set perfectly.
Step 11: Serve and Enjoy
After chilling, carefully remove the springform pan sides. Your stunning Red Velvet Oreo Cheesecake is now ready to be served! Slice it up and delight in every creamy, flavorful bite, perfect for any occasion or simply a treat for yourself.
What to Serve with Red Velvet Oreo Cheesecake?
Elevate your dessert experience with delicious accompaniments that enhance the irresistible charm of this cheesecake!
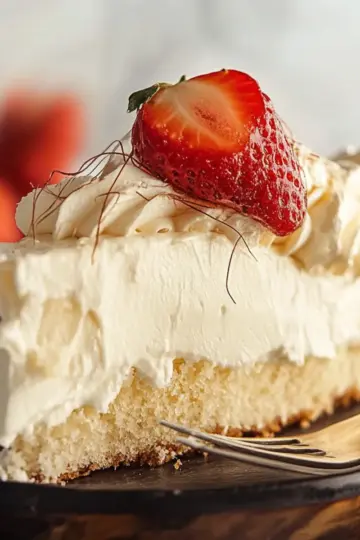
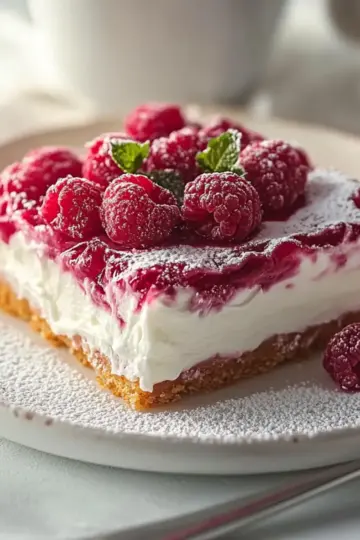
- Fresh Berries: The tartness of strawberries and raspberries provides a refreshing contrast to the rich cheesecake, balancing the flavors beautifully. Serve them on the side for a burst of color and flavor!
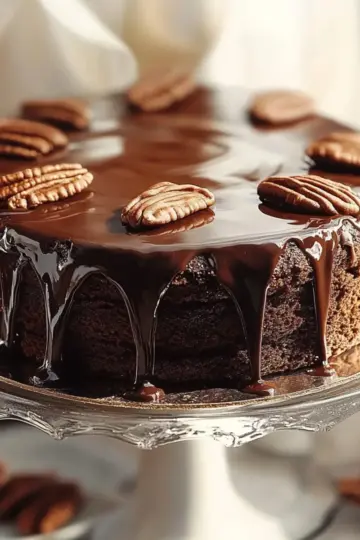
- Chocolate Sauce: A drizzle of warm chocolate sauce adds an indulgent touch, enhancing the dessert's cocoa flavor while making every bite even more decadent.
- Whipped Cream: Light and airy, a dollop of homemade whipped cream brings a delightful creaminess that complements the cheesecake’s texture perfectly.
- Ice Cream: Vanilla or raspberry sorbet makes for a luscious pairing, adding a cold, creamy element that contrasts wonderfully with the warm spices of the red velvet.
- Coffee or Espresso: Sipping a rich coffee or bold espresso alongside your cheesecake creates a delightful synergy between the sweet dessert and the robust flavors of your brew.
- Mint Leaves: Garnishing with fresh mint not only adds vibrant color but also a refreshing flavor that cuts through the sweetness for a more balanced treat.
- Chocolate-Covered Strawberries: These delightful bites are a perfect fusion of flavors, offering both visual appeal and a delightful texture alongside the cheesecake’s creamy layers.
- Butter Pecan Ice Cream: The nutty elements of the butter pecan flavor harmonize beautifully, enhancing the cheesecake's richness and adding another dimension to your dessert experience.
With these delicious pairings, every slice of Red Velvet Oreo Cheesecake becomes an unforgettable moment of indulgence and joy!
Expert Tips for Red Velvet Oreo Cheesecake
Use Room Temperature Ingredients: Ensure your cream cheese and eggs are at room temperature for a smoother batter, preventing lumps in your cheesecake.
Avoid Overmixing: While mixing the filling, be careful not to overmix after adding eggs. This keeps your cheesecake light and fluffy instead of dense.
Check for Doneness: Bake until the edges are set but the center still jiggles slightly. This indicates a creamy texture, avoiding drying out your Red Velvet Oreo Cheesecake.
Cooling Method: Letting the cheesecake cool gradually in the oven prevents cracks on the surface—make sure to leave the door ajar!
Chill Long Enough: Refrigerate for at least 4 hours or overnight for the best flavor and texture. Patience is key for the ultimate dessert experience!
How to Store and Freeze Red Velvet Oreo Cheesecake
Fridge: Keep leftovers in an airtight container in the fridge for up to 5 days. This helps maintain the cheesecake's creamy texture and flavor.
Freezer: For long-term storage, wrap slices tightly in plastic wrap and aluminum foil. Freeze for up to 3 months; just thaw in the refrigerator before serving.
Reheating: This cheesecake is best enjoyed chilled straight from the fridge. Avoid reheating as it may alter its delightful texture.
Make Ahead Options
These Red Velvet Oreo Cheesecakes are perfect for meal prep enthusiasts! You can prepare the Oreo crust and cheesecake filling up to 24 hours in advance, allowing you to save time on busy days. Simply make the crust and bake it, then let it cool completely. In a separate bowl, mix the cheesecake filling, pour it over the cooled crust, and cover it tightly with plastic wrap before refrigerating overnight. This will ensure the cheesecake is just as delicious and allows the flavors to deepen. When ready to serve, bake the cheesecake as instructed, and you'll have a stunning dessert with minimal effort, perfect for impressing your guests!
Red Velvet Oreo Cheesecake Variations
Feel free to let your creativity shine by customizing this cheesecake with these fun twists!
-
Gluten-Free: Use gluten-free Oreo cookies for the crust to make this cheesecake accessible without compromising flavor.
-
Nutty Crunch: Add crushed nuts like walnuts or pecans to the Oreo crust for an extra layer of texture and nutty flavor.
-
Chocolate Ganache: Drizzle a rich chocolate ganache on top for an indulgent finish that elevates the presentation and taste.
-
Fruit Swirl: Swirl in raspberry or strawberry puree into the filling before baking for a fruity burst that complements the rich flavors.
-
Mini Cheesecakes: Turn this recipe into individual mini cheesecakes by using cupcake liners in a muffin tin for easy serving and sharing.
-
Vegan Option: Substitute cream cheese with cashew cream and eggs with flaxseed meal to create a delicious vegan version of this beloved dessert.
-
Spicy Kick: Incorporate a pinch of cayenne pepper or chili powder in the filling for a surprising heat that balances the sweetness beautifully.
-
Lemon Zest: Add lemon zest to the filling for a refreshing citrus note that brightens up the rich flavors of the cheesecake.
Red Velvet Oreo Cheesecake Recipe FAQs
How do I choose the best ripe ingredients for my cheesecake?
Absolutely! When selecting your cream cheese, opt for a high-quality brand that’s full-fat for the creamiest texture. For the eggs, look for large fresh ones with bright yellow yolks, ensuring they’re at room temperature for maximum incorporation in the batter. As for sour cream, choose a full-fat variety to add richness. Lastly, use vibrant red food coloring—gel food coloring works perfectly for a bold hue!
How long can I store leftover Red Velvet Oreo Cheesecake in the fridge?
You can keep your cheesecake in an airtight container in the refrigerator for up to 5 days. Ensure it’s properly sealed to prevent smells from absorbing and maintain its creamy texture. If you're not ready to indulge again just yet, you can also pop it in the freezer!
What are the best freezing instructions for my cheesecake?
For those precious slices you want to save for later, wrap each piece tightly in plastic wrap and then in aluminum foil. This ensures it's well-protected from freezer burn. You can safely freeze it for up to 3 months. When it’s time to dig in, just transfer the slices to the refrigerator overnight to thaw slowly. Patience is key to keeping that creamy texture!
What should I do if my cheesecake cracks during baking?
If you notice cracks forming, don’t worry! This can sometimes happen. It’s crucial to bake the cheesecake at a lower temperature and gradually cool it in the oven. To prevent this, keep a close eye on the baking time—look for the edges to be set with a gentle jiggle in the center. Also, opening the oven door occasionally while baking can help regulate temperature changes that cause cracking.
Can I make this cheesecake gluten-free?
Very! To make a gluten-free version, simply substitute regular Oreo cookies with gluten-free Oreo alternatives. Be sure to also check that your other ingredients, like vanilla extract and food coloring, are gluten-free as well. This way, everyone can enjoy a delicious slice of your Red Velvet Oreo Cheesecake regardless of dietary restrictions!
Is this cheesecake safe for pets or people with allergies?
It’s important to note that cheesecake is not suitable for pets, especially dogs and cats, due to the high cream cheese and sugar content, which can be harmful. Additionally, if you or your guests have allergies, be cautious—this recipe contains dairy, eggs, and gluten. Always check your ingredient labels, and consider making substitutions if needed for dietary restrictions or allergies. So, always best to ask before serving!
Indulgent Red Velvet Oreo Cheesecake That Will Wow You!
Ingredients
Equipment
Method
- Preheat your oven to 325°F (160°C).
- In a medium bowl, combine the crushed Oreo cookies with the melted butter until well-mixed. Pour into a springform pan and press firmly to create a crust.
- Bake the crust for about 10 minutes, then remove and cool completely.
- In a large bowl, beat the cream cheese and sugar together until smooth and creamy, about 3–5 minutes.
- Add the eggs one at a time, mixing well after each addition.
- Stir in the vanilla extract, sour cream, cocoa powder, and red food coloring until well blended.
- Pour the cheesecake filling over the cooled Oreo crust.
- Bake for 60 minutes, until edges are set but the center jiggles slightly.
- Turn off the oven and crack the door open, allowing the cheesecake to cool for 30 minutes.
- Refrigerate the cheesecake for at least 4 hours or overnight before serving.
- Remove the springform pan sides and serve the cheesecake.