As I was standing in the kitchen, the sun shining through the window, I found myself dreaming of a summer treat that could offer a perfect balance of rich flavors and light textures. That’s when I decided to whip up this Easy No-Bake Mocha Cookies and Cream Icebox Cake. With its luscious layers of creamy goodness and crunchy Oreos, this delightful dessert requires minimal effort while ensuring an impressive presentation, making it the ultimate crowd-pleaser. Whether you're hosting a barbecue or just craving something sweet, this six-ingredient masterpiece promises to deliver both indulgence and ease. Have you ever made an icebox cake before? Let's dive into this dreamy recipe and embark on a delicious adventure together!
Why try this Mocha Cookies and Cream Icebox Cake?
Effortless Delight: This no-bake dessert is a breeze to prepare, making it ideal for both novice cooks and seasoned chefs.
Rich Flavors: With bold mocha fused with creamy layers, each bite offers a decadent experience that will leave taste buds dancing with joy.
Perfect for Any Occasion: Whether it’s a picnic, barbecue, or family gathering, this cake is sure to impress your guests and spark conversations.
Versatile Ingredients: You can easily customize this recipe by swapping in different cookies or flavors, ensuring every version is a hit!
Crowd-Pleasing Appeal: It’s a stunning centerpiece that not only tastes divine but also adds elegance to any dessert table.
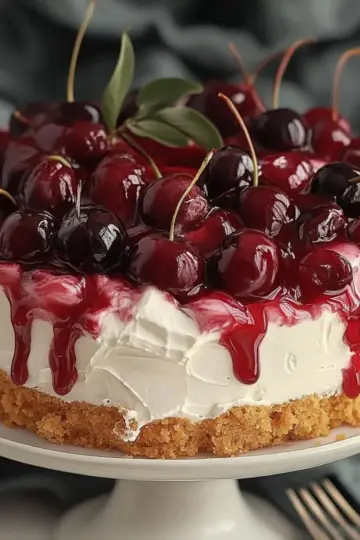
Get creative and explore more delightful summer desserts like the strawberry lemon icebox cake for a variety of sweet options!
Mocha Cookies and Cream Icebox Cake Ingredients
• This simple yet indulgent recipe calls for just six ingredients, making it a breeze to whip up a delightful summer dessert!
For the Ganache
- Semi-Sweet Chocolate Chips – Adds depth of chocolate flavor; consider using dark chocolate for a richer taste.
- Heavy Cream – Provides creaminess and structure to the cake; substitute with a non-dairy cream alternative for a vegan version.
For the Whipped Cream
- Heavy Cream – Whipped to luxurious perfection; using chilled cream helps achieve better volume.
- Powdered Sugar – Sweetens the whipped cream effortlessly; granulated sugar can be used but requires more whisking to incorporate.
For the Cake Layers
- Brewed Coffee – Enhances the mocha flavor; for a non-coffee version, milk can be substituted or simply omitted.
- Oreo Cookies – Provides crunchy texture and rich chocolate flavor; opt for gluten-free Oreos if necessary.
Now that we're all set with the ingredients, let’s move on to the fun part—making this stunning Mocha Cookies and Cream Icebox Cake!
Step‑by‑Step Instructions for Mocha Cookies and Cream Icebox Cake
Step 1: Prepare the Ganache
In a medium saucepan, heat 1 cup of heavy cream over medium heat until it's just about to boil, pausing to stir occasionally. Once the cream is hot, pour it over 1 cup of semi-sweet chocolate chips in a bowl. Stir until the mixture is smooth and glossy, then set aside to cool slightly while you whip the cream.
Step 2: Whip the Cream
In a large mixing bowl, pour in 1 cup of heavy cream along with ½ cup of powdered sugar. Using a hand mixer or stand mixer, whip on medium speed until soft peaks form, about 3-5 minutes. The cream should be fluffy and hold its shape but not overly stiff. This will create the luscious frosting that complements the Mocha Cookies and Cream Icebox Cake.
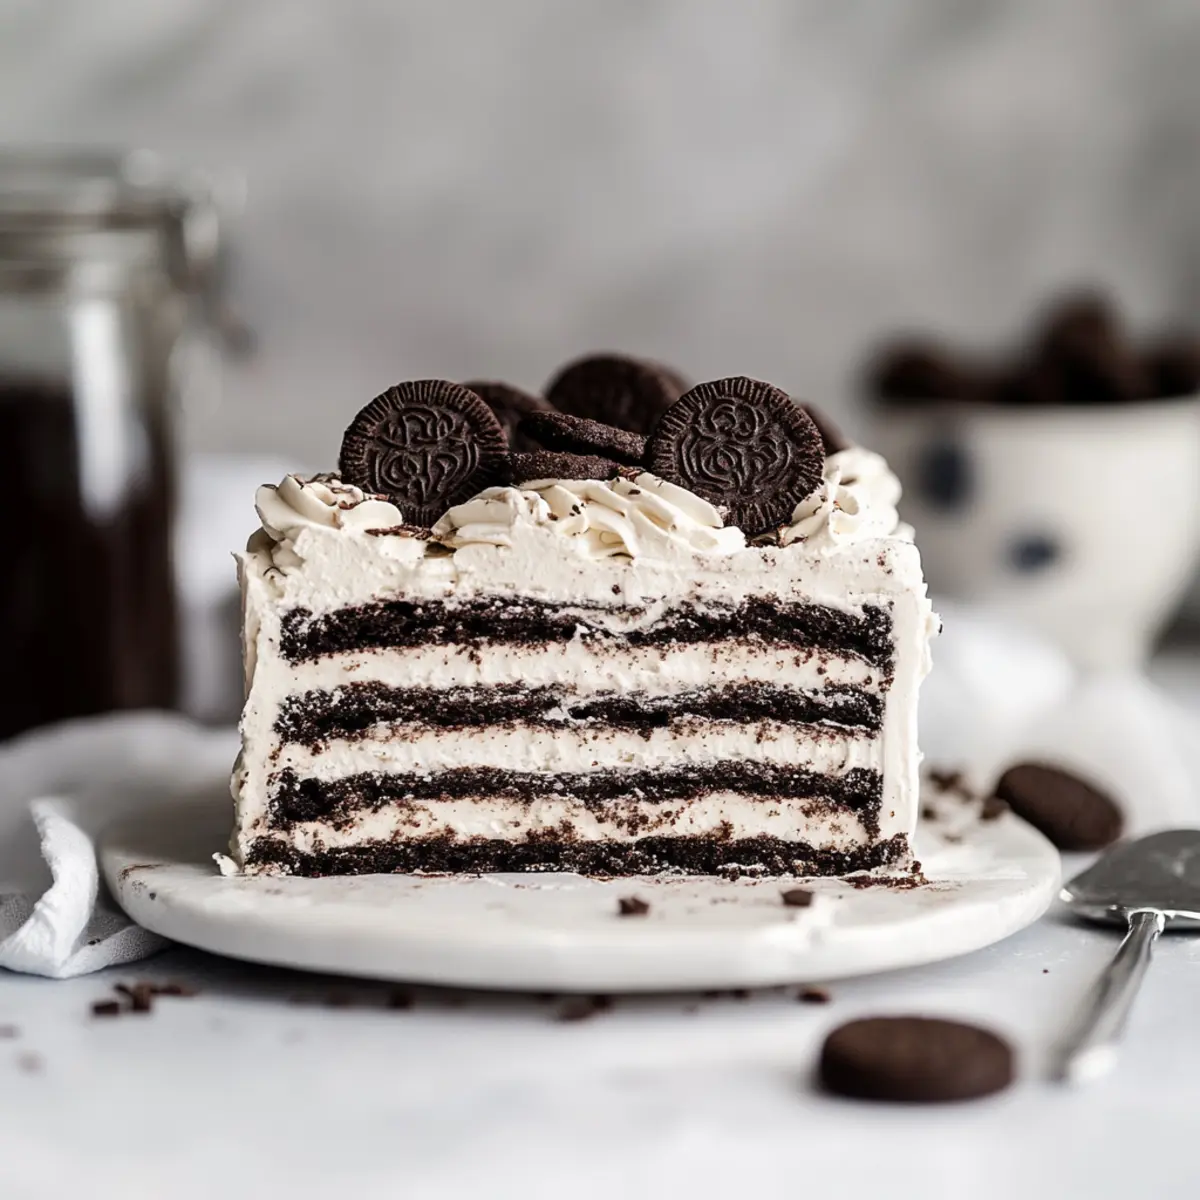
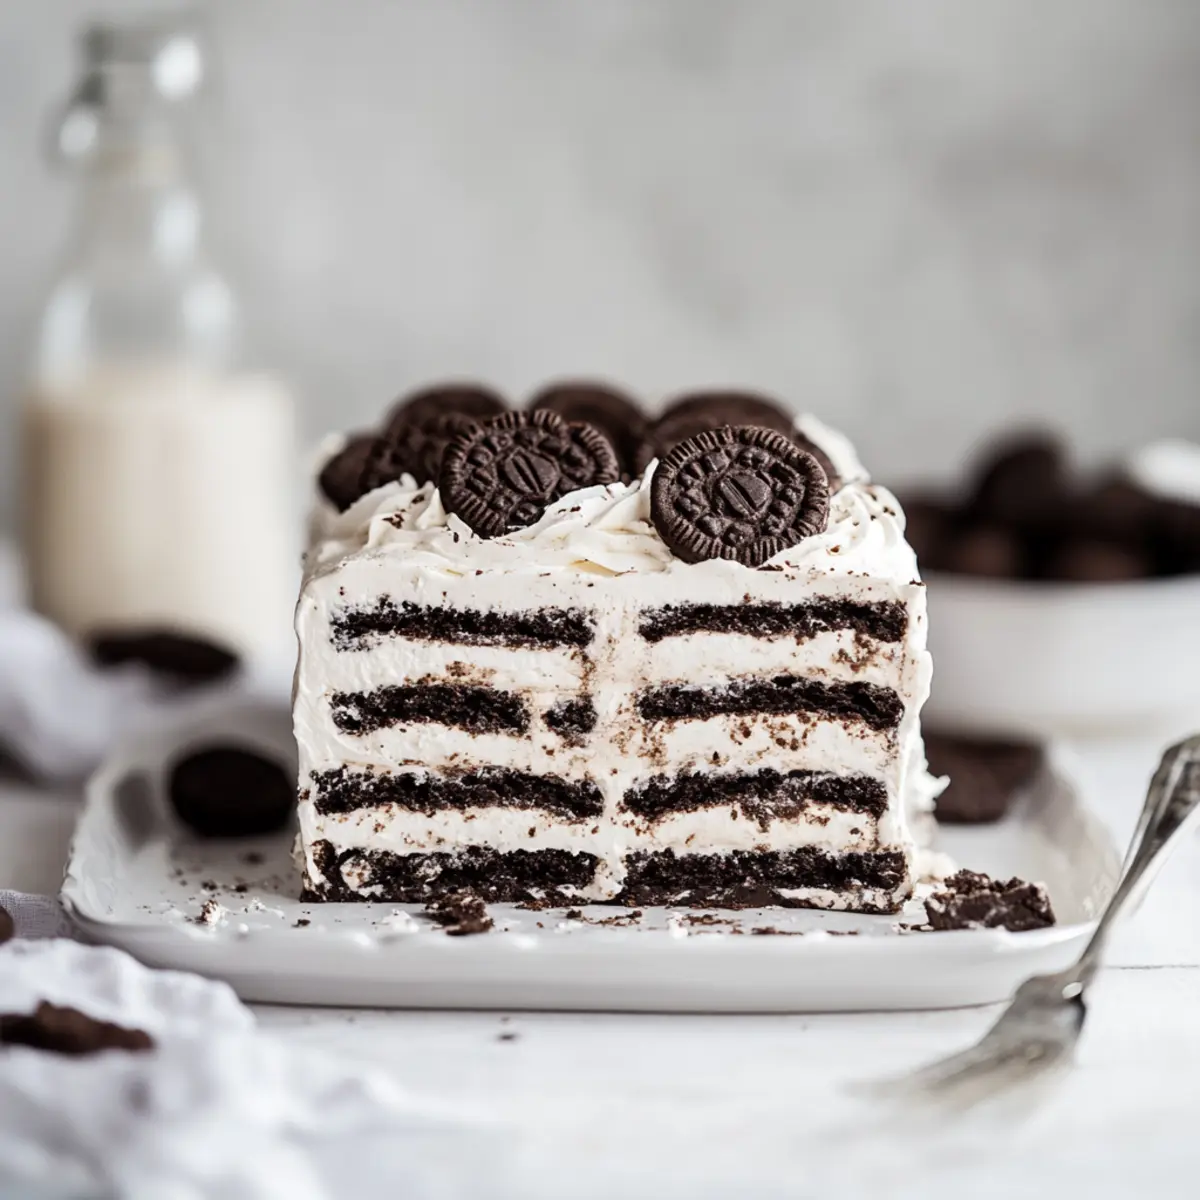
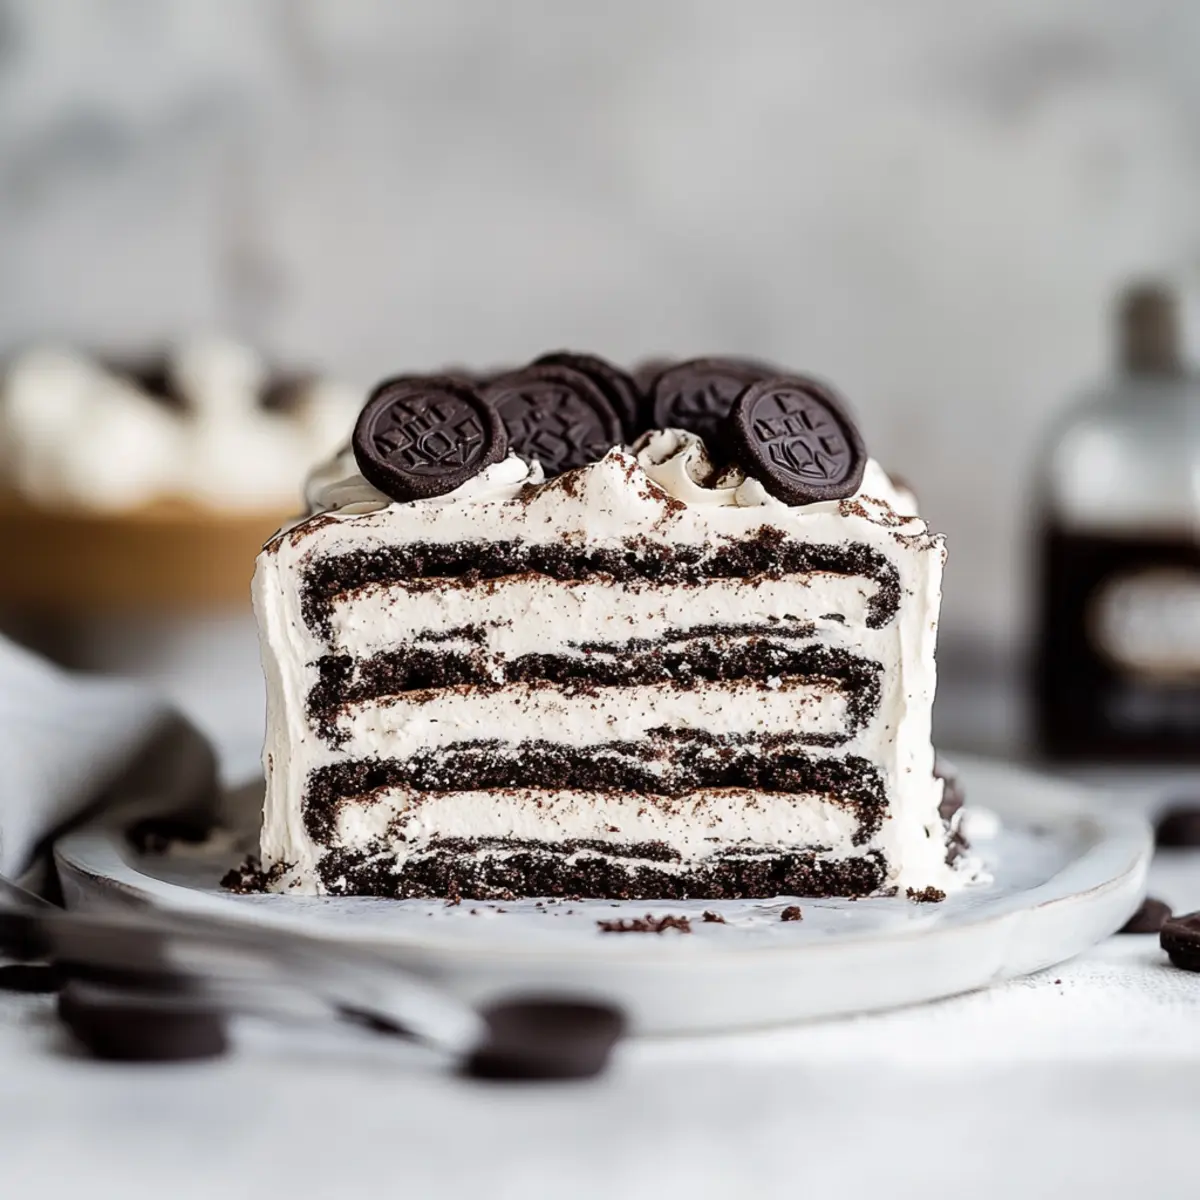
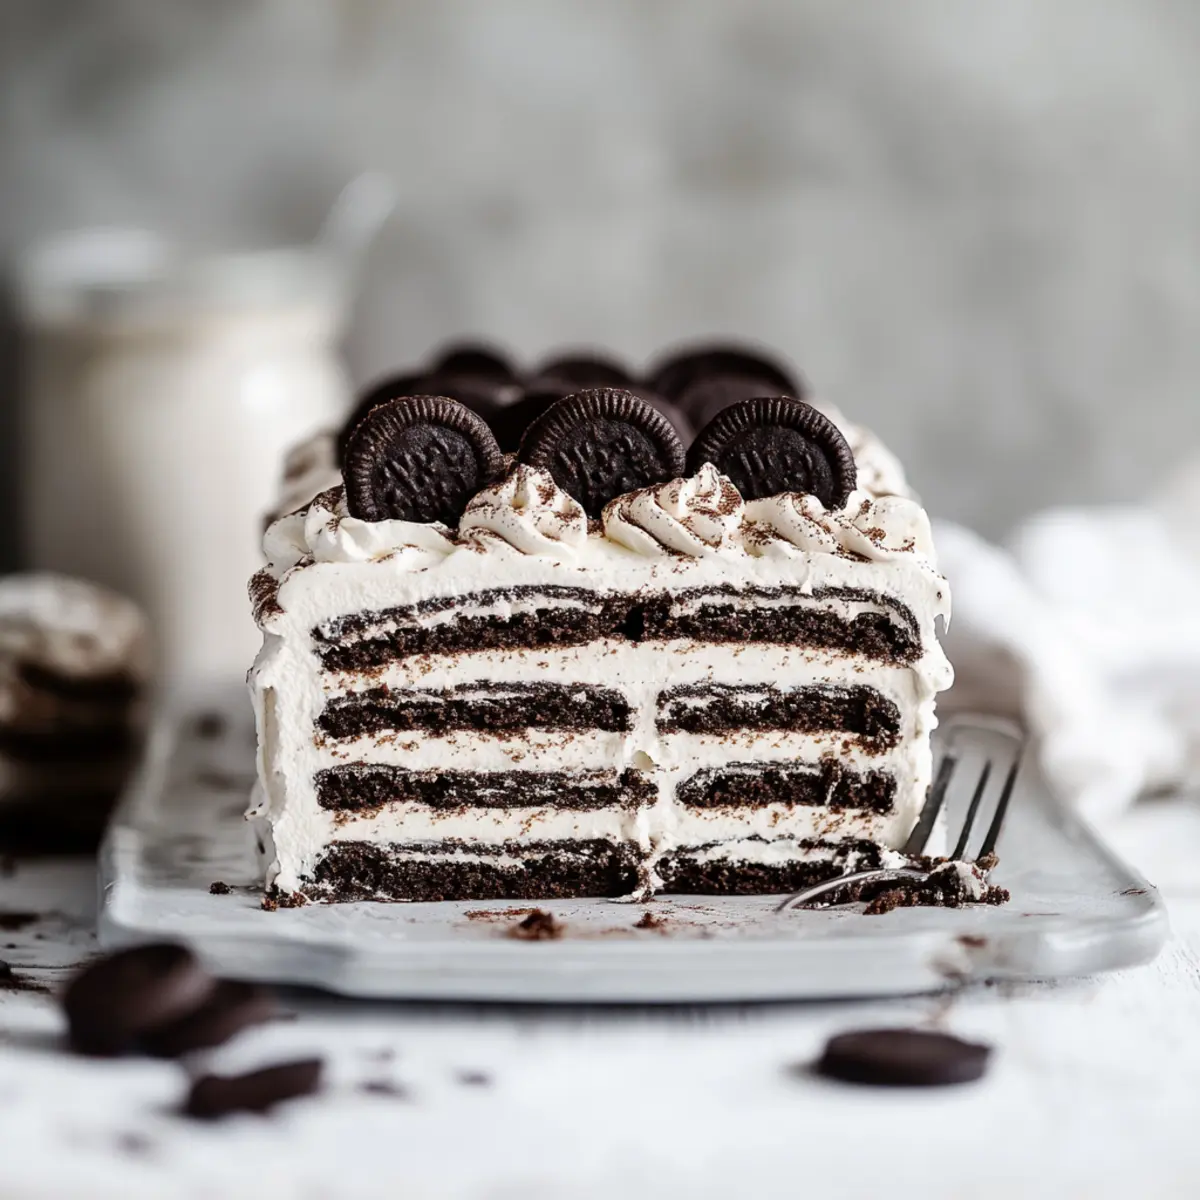
Step 3: Layer the Cake
Dip each Oreo cookie into ½ cup of brewed coffee for a quick soak, then layer them in the bottom of a loaf pan, arranging them closely together. Once the layer is formed, spread half of the whipped cream over the cookies, then drizzle half of the prepared ganache on top. Repeat the layers, finishing with ganache on top for a beautiful presentation.
Step 4: Chill
Cover the loaf pan with plastic wrap, ensuring no air gets in, and place it in the refrigerator. Let the Mocha Cookies and Cream Icebox Cake chill for at least 3 hours, or overnight for best results. This allows the flavors to meld beautifully, and the cake to set up, making it easier to slice.
Step 5: Serve
Once chilled and set, remove the cake from the refrigerator and carefully take it out of the loaf pan. Slice into thick pieces, revealing the gorgeous layers, and serve on a decorative plate. This no-bake dessert is refreshing and indulgent, making it the perfect treat for any occasion.
Expert Tips for Mocha Cookies and Cream Icebox Cake
Temperature Check: Ensure your heavy cream is cold before whipping; this will give you the best texture and volume for the creamy layers.
Mocha Magic: To intensify the mocha flavor, consider using espresso instead of regular brewed coffee, enhancing that rich taste throughout your cake.
Layer Evenly: Spread the layers smoothly and evenly to ensure a balanced cake. Press down lightly on the layers before chilling for a compact structure.
Storage Savvy: Wrap your Mocha Cookies and Cream Icebox Cake tightly in plastic wrap before storing in the freezer, keeping it fresh and tasty for up to two months.
Presentation Perfection: For a professional touch, drizzle extra ganache on top just before serving and add crushed Oreos as a garnish for visual appeal!
Mocha Cookies and Cream Icebox Cake Variations
Feel free to get creative and personalize your dessert adventure with these fun twists!
- Vegan Alternative: Use coconut cream instead of heavy cream and dairy-free chocolate chips for a rich, vegan-friendly treat.
- Crushed Cookie Boost: Crushed Oreos can be mixed into the whipped cream layer for an extra crunchy kick that elevates every bite.
- Nutty Delight: Fold in some chopped walnuts or pecans into the whipped cream for added texture and a delightful nutty flavor.
- Flavored Ganache: Add a splash of your favorite liqueur or flavored extract, like peppermint or hazelnut, to the ganache for exciting new dimensions.
- Fruit Infusion: Layer in fresh berries like raspberries or strawberries to balance the creamy texture with bursts of tangy sweetness.
- Spicy Kick: Sprinkle a pinch of cayenne pepper in the whipped cream to create a surprisingly delightful contrast against the rich mocha flavor.
- Decadent Drizzle: Instead of ganache, top with a rich caramel sauce for an indulgent twist that harmonizes beautifully with the mocha.
- Chocolate Layer: Swap out half the whipped cream for chocolate mousse to create a decadent, chocolatey layer that will please any chocoholic!
Embrace your inner chef and switch things up; each variation promises a stellar dessert experience!
Make Ahead Options
These Mocha Cookies and Cream Icebox Cake are perfect for busy home cooks looking to save time! You can prepare the ganache and whipped cream up to 24 hours in advance, keeping them stored separately in the refrigerator for optimal freshness. The cake layers can also be assembled and left to set in the refrigerator overnight, allowing the flavors to meld beautifully. Just be sure to cover the loaf pan tightly with plastic wrap to prevent any air exposure, which could affect the texture. When it’s time to serve, simply slice the chilled cake and enjoy a delightful dessert that’s just as impressive as if you made it last-minute!
What to Serve with Mocha Cookies and Cream Icebox Cake
This dreamy dessert pairs beautifully with a variety of complementary flavors and textures, creating a delightful summer feast.
- Fresh Berries: Juicy strawberries or raspberries add a bright, tart contrast that cuts through the richness of the cake.
- Vanilla Ice Cream: A scoop of creamy vanilla ice cream enhances the indulgence and balances the mocha flavor perfectly.
- Chocolate Drizzle: A simple drizzle of warm chocolate ganache on top adds an extra layer of decadence that dessert lovers will adore.
- Whipped Cream: Light and airy, a dollop of fresh whipped cream atop each slice takes the experience to a heavenly level.
For a refreshing twist, consider serving it alongside a Mint Mojito: This refreshing cocktail with its cool minty notes will cleanse the palate between bites of the cake.
Lastly, a Dark Roast Coffee: A cup of robust coffee will echo the mocha notes, making it an ideal beverage choice for the ultimate coffee lover’s dessert pairing.
How to Store and Freeze Mocha Cookies and Cream Icebox Cake
Fridge: Keep the cake covered with plastic wrap in the refrigerator for up to 3 days to maintain its freshness and prevent it from absorbing any other food odors.
Freezer: Wrap the Mocha Cookies and Cream Icebox Cake tightly in plastic wrap and aluminum foil to prevent freezer burn. It can be stored in the freezer for up to 2 months.
Thawing: To thaw, transfer the cake from the freezer to the fridge and let it sit overnight. It will regain its creamy texture, perfect for serving.
Reheating: There's no need to reheat this dessert as it's best enjoyed chilled. Simply slice and serve directly from the refrigerator or after thawing.
Mocha Cookies and Cream Icebox Cake Recipe FAQs
What type of Oreos should I use for the cake?
You can use regular Oreos, but feel free to get creative! Gluten-free Oreos are a fantastic alternative if you're catering to dietary restrictions. You could also experiment with chocolate wafers or even Nutella Oreos for a twist that complements the mocha flavor nicely.
How do I know if my heavy cream is at the right temperature for whipping?
Absolutely! The heavy cream should be cold, ideally around 35°F (2°C). Cold cream whips up beautifully, resulting in a fluffy texture. If the cream is too warm, it won’t whip properly, so always check your cream before whipping!
How long does this mocha cake stay fresh in the fridge?
Your Mocha Cookies and Cream Icebox Cake can be kept in the fridge for up to 3 days when covered tightly with plastic wrap. This helps keep the flavors fresh and avoids any unwanted odors from other foods in your refrigerator.
Can I freeze the Mocha Cookies and Cream Icebox Cake?
Absolutely! This cake is perfect for freezing. To do this, wrap it tightly in plastic wrap followed by aluminum foil to prevent freezer burn. It can hold up well in the freezer for about 2 months. When you’re ready to enjoy, simply transfer it to the fridge to thaw overnight.
What should I do if I notice my whipped cream isn’t forming soft peaks?
If your whipped cream isn't forming soft peaks, it's often because the cream was either too warm or not whipped long enough. Try chilling your mixing bowl and beaters before whipping, and ensure you whip it on medium speed until soft peaks begin to form, which should take about 3-5 minutes. If you find it still won't whip, consider adding a tablespoon of cornstarch or instant pudding mix to help stabilize the cream.
Is there a non-dairy option for this recipe?
Yes, you can easily adapt this recipe for non-dairy diets! Simply substitute heavy cream with full-fat coconut cream or a non-dairy heavy cream alternative, and use a dairy-free chocolate option for the ganache. Additionally, you can leave out the brewed coffee or substitute it with almond milk for a mocha flavor without the caffeine!
Indulgent Mocha Cookies and Cream Icebox Cake to Impress
Ingredients
Equipment
Method
- Heat 1 cup of heavy cream over medium heat until just about to boil, then pour over 1 cup of semi-sweet chocolate chips and stir until smooth. Set aside to cool slightly.
- In a large mixing bowl, combine 1 cup of heavy cream and ½ cup of powdered sugar. Whip on medium speed until soft peaks form, about 3-5 minutes.
- Dip each Oreo cookie into ½ cup of brewed coffee and layer them in the bottom of a loaf pan. Spread half of the whipped cream over the cookies, then drizzle half of the ganache on top. Repeat the layers, finishing with ganache.
- Cover the loaf pan with plastic wrap and refrigerate for at least 3 hours or overnight.
- Remove the cake from the fridge, slice into thick pieces, and serve on a decorative plate.